13
548 977_e
GB
Combi BF 5002-R
Transporting and storing the device.
Assembling the cutter bar.
Replace the protective strip if damaged.
Front rotary mower
Only use the device on grassy surfaces.
When moving outside the surface to be mown, switch
off the mower.
Rotary tiller
Do not use the device on ground with large stones.
Rotary sweeper
Dirt, stones, twigs, etc., can be thrown up during
sweeping.
Keep third parties away from the danger area.
Mounting
Observe the separate, enclosed assembly
instructions for information on assembling this
machine.
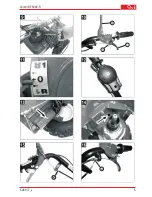
The Fig. references refer to the illustrations at the start of
this documentation.
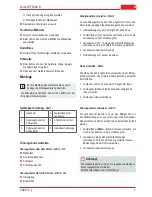
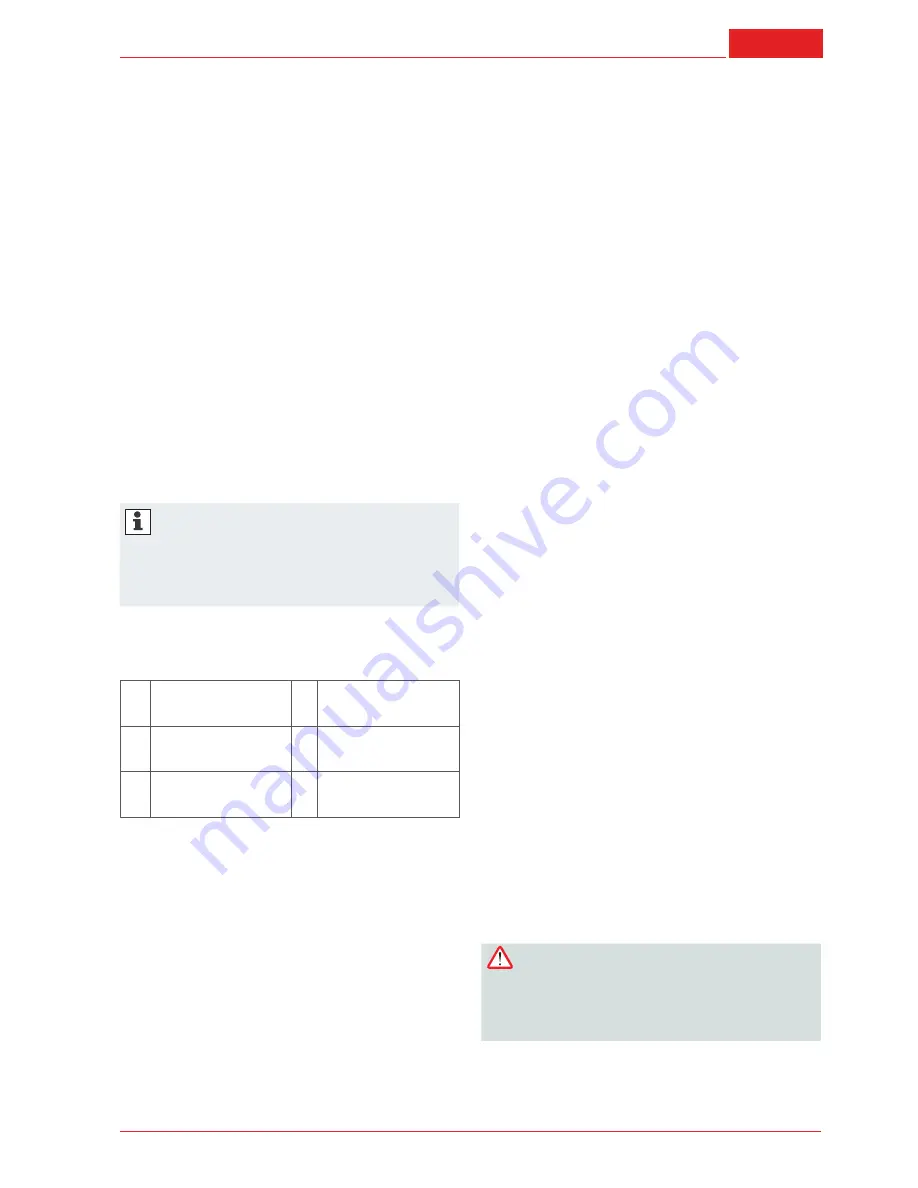
Description of machine -
Fig. 1
1
Throttle
4 Locking lever for
steering column
2
Clutch lever for drive
mechanism
5 4-stroke petrol
engine
3
Clutch lever for at-
tachment
6 Gear shifting shaft
Adjusting the guide bar
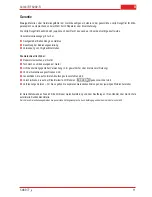
Guide bar above the engine
-
Fig. 3 -
for:
Cutter bar
Front rotary mower
Rotary sweeper
Snowplough
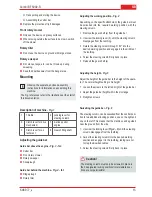
Guide bar behind the machine
-
Fig. 4 -
for:
Ridge plough
Rotary tiller
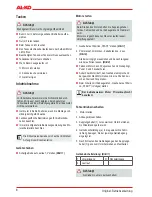
Adjusting the working position -
Fig. 2
Depending on the specific attachment, the guide bar must
be swivelled into the required working position with the
steering column.
Remove the gear shaft (a) from the guide bar.
1.
Unscrew the locking lever (b) until the steering column
2.
disengages from the toothing.
Rotate the steering column through 180° into the
3.
desired working position and engage it in the middle of
the toothing.
Screw the steering column firmly back in place.
4.
Reinsert the gear shaft (a).
5.
Adjusting the height -
Fig. 5
Adjust the height of the guide bar to the height of the opera-
tor. The normal height setting is hip height.
Loosen the screws to the left and right of the guide bar.
1.
Adjust the guide bar height within the slot range.
2.
Retighten screws.
3.
Swivelling the guide bar -
Fig. 6
The steering column can be swivelled from the central posi-
tion to two additional locking positions, one on the right and
one on the left. This means that the machine can be guided
near the ground from the side.
Unscrew the locking lever (
1.
Fig. 2 - b
) until the steering
column disengages from the toothing.
Swivel the steering column into the desired working
2.
position and engage it in the toothing, taking care not
to trap the Bowden cables.
Screw the steering column firmly back in place.
3.
Caution!
The steering column must only be screwed in place in
the 3 designated locking positions! Intermediate posi-
tions are not permissible!

