11
6.4 Fitting the control unit
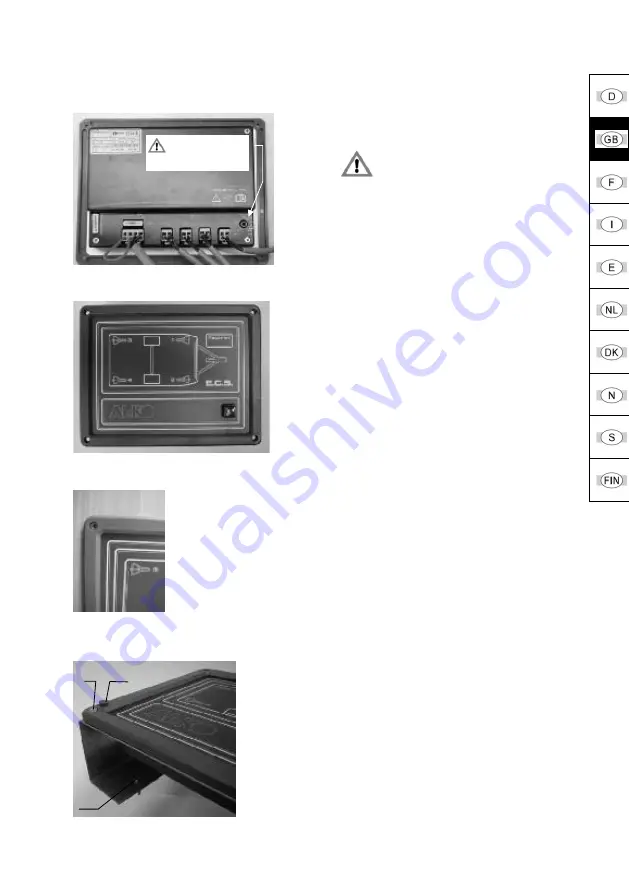
foto 16
foto 17:
without mounting plate
:
foto 18
with mounting plate:
foto 1019:
Insert the connecting cables 1-4 into the
sockets provided on the rear of the control
unit.
Pay attention to the numbering.
Group excess cables at suitable places and
fasten using cable ties.
Insert the supply connection cables into the
sockets provided (see Fig. 16).
Screw the mounting plate onto the caravan
wall or floor using button-headed screws.
Connect the cable as shown in Fig. 16.
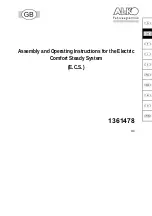
Insert the E.C.S. control unit in the mounting
plate & frame and tighten using self-tapping
screws.
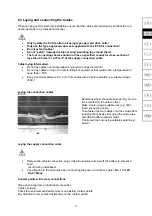
1 = M3 x 8 mm self-tapping screw
2 = Protective cap
3 = Button-headed screws 3.5x16mm
1 2
3
Screw the frame tight into the wooden plate
using countersunk screws 2.5 x 16 mm and
push the protective caps in place.
Insert the control unit and connect to the
frame.
GG = 1200kg !
(>1200kg
⇒
6.5)
Summary of Contents for E.C.S12
Page 1: ...Montage und Bedienungsanleitung f r Elektrisches Comfort St tzensystem E C S 1361478 _...
Page 24: ......
Page 25: ...Assembly and Operating Instructions for the Electric Comfort Steady System E C S 1361478 _...
Page 48: ......
Page 49: ...Notice de montage et d utilisation du syst me de v rins r glage lectronique E C S 1361478 _...
Page 72: ......
Page 96: ......
Page 97: ...Manual de instrucciones y de montaje para Sistema de patas Comfort el ctrico E C S 1361478 _...
Page 120: ......
Page 121: ...Montage en bedieningshandleiding voor Elektric Comfort Steunsysteem E C S 1361478 _...
Page 145: ...Monterings og betjeningsvejledning til Elektrisk komfortst ttesystem E C S 1361478 _...
Page 168: ......
Page 169: ...Monterings og bruksanvisning for elektrisk comfort st ttebensystem E C S 1361478 _...
Page 192: ......
Page 193: ...Monterings och bruksanvisning f r elektriskt komfort st dbenssystem E C S 1361478 _...
Page 216: ......
Page 217: ...Asennus ja k ytt ohjeet S hk k ytt inen Comfort tukij rjestelm E C S 1361478 _...
Page 240: ......


