background image


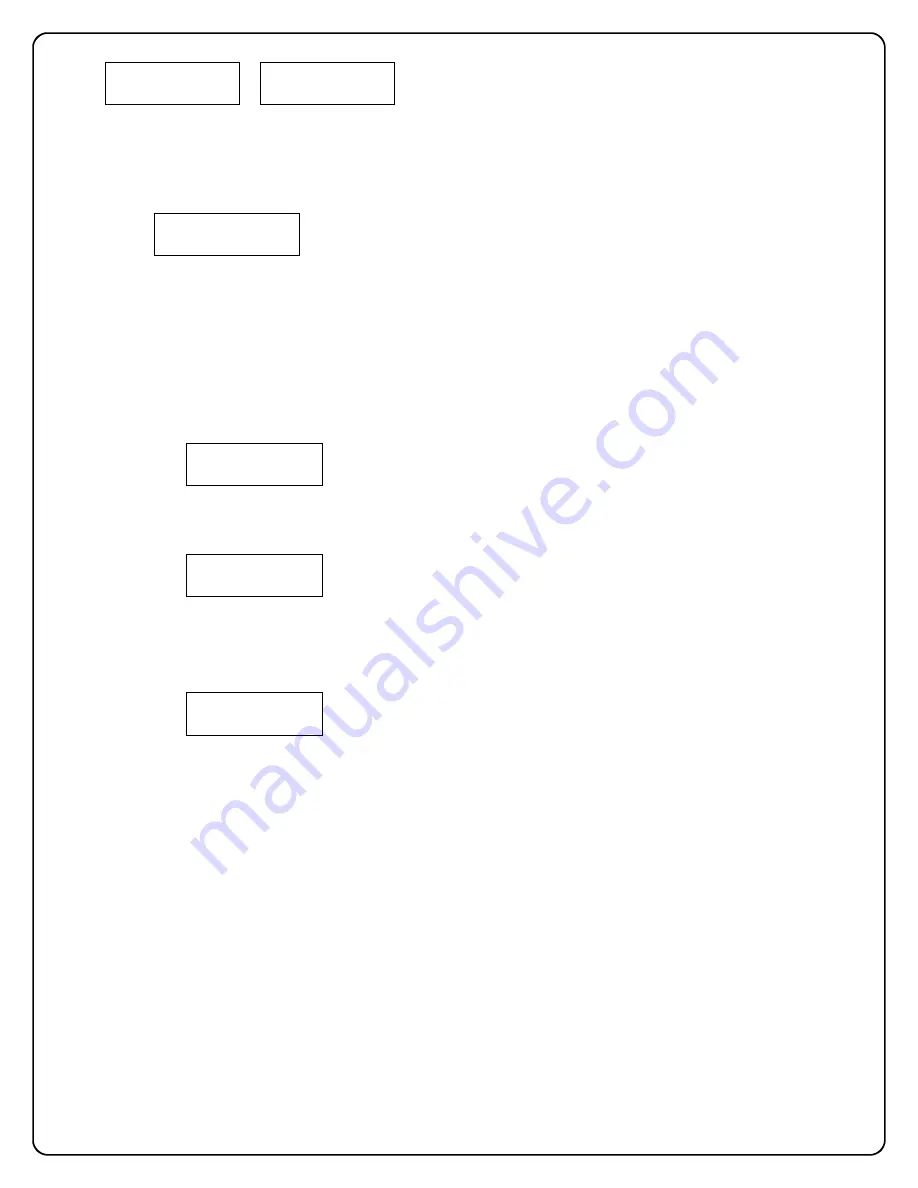
     Re-enter the Function 299 code a second time, (or 

re-present Function Card 2 for PL series locks) 
and the following screen appears during 
download: 


    (Packet numbers will increase until all packets 

have been transferred to the lock).  The Lock will 
continue to beep while in communication with the 
AL-DTM.   

 
8. At the end of the transfer process, the lock will 

sound a series of beeps.  You can now disconnect 
the mini banana plug.  The following will display: 


9. The DTM will then provide a memory status and 

proceed to the following Lock Mode screen: 


    To start again, press the right button (below 

NO

to exit 

Lock Mode 

and then press the left button 

(below 

YES

) to use 

Door Select Mode

.   


Continue again at step 3, above. 
 

Note:  

The AL-DTM will only allow the selection of a 

"door number" for which it has valid data currently 
programmed (step 2, above, must be performed). 


Warning:  

The "door number" (LockID) selected will 

override the number (if any) programmed in the 
lock.  Care must be taken to ensure that the cor-
rect data is being transferred to the correct lock. 

Door 08,   Sending 
PGM Packet     005 

Com. Complete 
10/10/06 03:47PM 

LOCK  MODE 

YES            NO 

DOOR SELECT MODE 

YES            NO 

Door **** 
Detected 

Re-enter 299 code 
to continue 

Summary of Contents for AL-DTM-III

Page 1: ...icates that Door Select mode is currently off the bottom line corresponds to the three buttons on the DTM Therefore if using DL Windows Version 3 5 3 or later and you wish to use the AL DTM III to provide initial programming to existing locks press the left button selecting ON to enable DOOR SELECT Mode The top line of the display will now read Note You may press the center button to keep Door Sel...

Page 2: ...he two other modes of operation PC Comm Mode and Lock Mode The following screen appears indi cating the DTM is now in PC Communication Mode 2 Download the lock data from the PC to the DTM the PC must be running DL Windows 3 5 3 or later This lock data will be the data intended to be sent to the locks Refer to the DL Windows manual OI237 for the full procedure 3 Press the green button until the dis...

Page 3: ...s and proceed to the following Lock Mode screen To start again press the right button below NO to exit Lock Mode and then press the left button below YES to use Door Select Mode Continue again at step 3 above Note The AL DTM will only allow the selection of a door number for which it has valid data currently programmed step 2 above must be performed Warning The door number LockID selected will ove...

Page 4: ...rson purporting to act on its behalf to modify to change or to assume for it any other warranty or liability concerning its products In no event shall ALARM LOCK be liable for an amount in excess of ALARM LOCK s original selling price of the product for any loss or damage whether direct indirect incidental consequential or otherwise arising out of any failure of the product Seller s warranty as he...

Reviews: