OMEGA OM-CP-PR2000
Section 4: Front Panel Overview
Section 4: Front Panel Overview
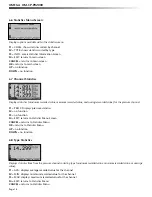
4.1 Changing the display units
The OM-CP-PR2000 comes with factory default display units of PSI for pressure and the real-time pressure graphing
feature. These units can be easily changed by pressing the F3 button in the main screen and then selecting F1 for pressure
or F2 for the pressure graph. After selecting the channel, the available units can be scrolled through by either pressing the
channel’s function key repeatedly or using the UP and DOWN keys.
Button pressing chain:
Main Screen -> F3 -> F1(pressure) or F2 (pressure graph) -> function key repeatedly or UP and DOWN
4.2 Changing the number, type, and size of channels viewed
By default the OM-CP-PR2000 displays recently measured values of the pressure channel and the real-time pressure
graph on its Main Screen in a large size font. The channel and graph can, however, be hidden or viewed on a smaller or
larger scale.
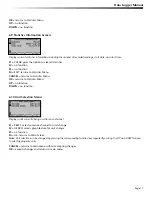
To change the number and type of displayed channels:
From the Main Screen, press the F4 key to enter the Setup Menu and from this menu press the F1 key to enter the
Display screen. On this screen, F1 and F2 correspond to the Pressure channel and Pressure graph respectively. Press-
ing these function keys repeatedly will cause the channels to scroll between “show” or “hide” channels displaying
“show” will appear on the main screen and channels displaying “hide” will not.
Button pressing chain:
Main Screen -> F4 -> F1 -> F1(pressure) or F2 (pressure graph)
To change the size of displayed channels:
From the Main Screen, press the F4 key to enter the Setup Menu and from this menu press the F1 key to enter the
Display screen, then F4 to scroll to the next screen. Here the F2 key will change the size of the channels viewed. By pressing
F2 repeatedly the size parameter will scroll between 3 sizes: small, medium, and large.
Button pressing chain:
Main Screen -> F4 -> F1 -> F4 -> F2 repeatedly to scroll
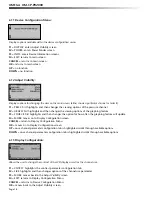
4.3 Checking the memory status
A status icon appears on all screens representing memory, but further information including percent memory left and
number of readings taken can also be viewed. From the Main Screen press the F1 key to enter the Status screens then
press F2 to view memory status information.
Button pressing chain:
Main Screen -> F1 -> F2
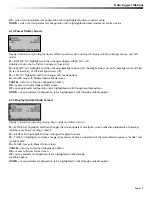
4.4 Checking power status
A battery status and external power status (if available) icon appear on all screens, but percent battery power remain-
ing and external power presence as well as battery type, current battery voltage, and current external voltage can also be
viewed. From the Main Screen press F4 to view the Device Confi guration Menu, F2 to access the power options, then F4
twice to view the Power Status screen, including battery power percent remaining and the presence of external power.
Battery type and battery voltage are also displayed, as well as external power voltage (if connected).
Page 8


