99
4
10 Convertible
Raw Water System
Completely drain the raw water systems. Disconnect all hoses
and blow the water from the system. Use only very low air
pressure when doing this to prevent possible system damage.
Because of the check valve mechanism built in the raw water
washdown and livewell pumps, blowing the lines will not re-
move the water from that raw water pump. Remove the outlet
hose on the pump. Turn the pump on and allow it to pump
out any remaining water....about a cupful. A recommended
alternative to the above-mentioned procedure is the use of com-
mercially available non toxic, potable water system antifreeze.
If potable water antifreeze is used, pour the mixture into a pail
and put the raw water intake lines into the solution. Run the
pumps one at a time until the antifreeze solution is visible at
all raw water faucets, discharge fittings and drains. Be sure
antifreeze has flowed through all of the raw water drains.
Engine and Generator Raw Water Systems
Drain all of the sea strainers, heat exchangers and raw water
supply and discharge lines for the engine and generator raw
water supply pumps. Make sure all seawater has drained from
the exhaust system. Some, but not all, engine mufflers could
have a drain plug that must be removed to properly drain the
muffler. Once this is accomplished, pour a non toxic marine
engine antifreeze mixture into a large pail and put the engine
raw water intake lines into the solution. Run the engines one
at a time until the antifreeze solution is visible at the transom
exhaust port, then shut the engine off.
Note:
Properly winterize the engines and fuel system by
following the engine manufacturer’s winterizing
procedures located in your engine owner’s manuals
or contact a Albemarle dealer.
Refer to the Raw Water System chapter for additional informa-
tion on the raw water system.
Marine Toilet
The marine toilet must be properly winterized by following
the manufacturer’s winterizing instructions in the marine toilet
owner’s manual. Drain the intake and discharge hoses com-
pletely using low air pressure if necessary. The head holding
tank and macerator discharge pump must be pumped dry and
three gallons of potable water antifreeze poured into the tank
through the deck waste pump out fitting. After the antifreeze
has been added to the holding tank, open the overboard dis-
charge valve and activate the macerator pump until the anti-
freeze solution is visible at the discharge thru-hull.
Note: Make sure you follow the marine toilet manufac-
turer’s winterizing instructions exactly.
Air Conditioners and Freezer
Disconnect and drain the seawater pump intakes and discharge
hoses. Remove all water from the sea strainers and thru-hull
fittings. Allow all water to drain from the system. The air
conditioner and freezer components must be properly winter-
ized by following winterizing procedure in the manufacturer’s
owner’s manual.
The air conditioning and freezer drain sump system must be
properly winterized. Clean debris from the drain and sump
and flush for several minutes with fresh clean water. After the
system is clean, pump the drain sump as dry as possible. Then
pour a potable water antifreeze mixture into each air condition-
ing condensation pan until antifreeze has been pumped through
the entire system and out of the thru-hull. The optional fly-
bridge air conditioner condensation pan drains to the flybridge
deck drain system and does not drain to a sump system.
Note: The air conditioning, engine control system, head,
and steering systems have specific lay up require-
ments. Please refer to their owner’s manuals for
recommended winterizing procedures.
Bilge
Coat all metal components, wire busses, and connector plugs
in the bilge with a protecting oil. It is also important to protect
all strainers, seacocks and steering components. The bilge
pumps and bilge pump lines must be completely free of water
and dried out when the boat is laid up for the winter in climates
where freezing occurs. Compartments in the bilge that will
not drain completely should be pumped out and then sponged
until completely free of water. Dry the hull bilge and self-
bailing cockpit troughs. Water freezing in these areas could
cause damage.
Half Tower
It is imperative that all drain holes in the legs are open and that
the legs are completely free of water. Remove the enclosure
and thoroughly clean and store in a safe, dry place. Remove
all electronics. Coat all wire connectors and bus bars in the
helm compartment with a protecting oil.
Clean the aluminum frame with soap and water and dry thor-
oughly. Apply an aluminum metal protector to the entire frame
to reduce corrosion and pitting.
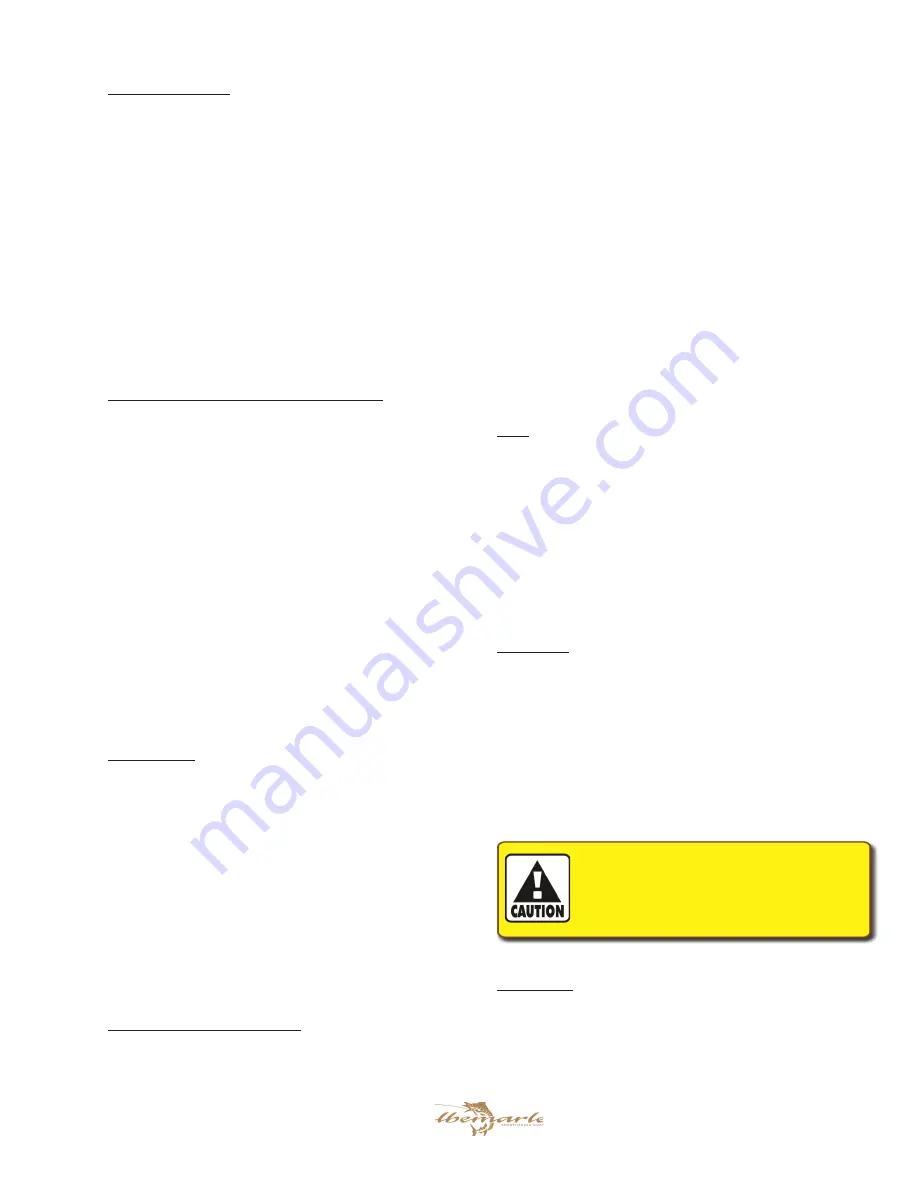
ALWAYS MAKE SURE THE LEG DRAIN HOLES ARE
CLEAR WHEN THE BOAT IS LAID UP FOR THE
WINTER. WATER TRAPPED INSIDE THE HARDTOP
OR TOWER LEGS COULD FREEZE AND CAUSE THE
LEGS TO SPLIT.
Tuna Tower
It is imperative that all drain holes in the tower and hardtop legs
are open and completely free of water. Tower basket drains
should be checked and clear of debris. Remove the tower sun
shade, if installed, and belly band or removable cushions and
thoroughly clean and store in a safe, dry place. Remove all
Summary of Contents for 41 CONVERTIBLE
Page 1: ...41 CONVERTIBLE Albemarle Boats 140 Midway DR P O Box 349 Edenton NC 27932 OWNER S MANUAL...
Page 2: ...410 Convertible 2 Print Date 6 2006 THIS PAGE WAS LEFT BLANK INTENTIONALLY...
Page 6: ...410 Convertible 6 THIS PAGE WAS LEFT BLANK INTENTIONALLY...
Page 8: ...410 Convertible 8 THIS PAGE WAS LEFT BLANK INTENTIONALLY...
Page 10: ...410 Convertible 10 THIS PAGE WAS LEFT BLANK INTENTIONALLY...
Page 26: ...410 Convertible 26 THIS PAGE WAS LEFT BLANK INTENTIONALLY...
Page 44: ...410 Convertible 44 THIS PAGE WAS LEFT BLANK INTENTIONALLY...
Page 52: ...410 Convertible 52 THIS PAGE WAS LEFT BLANK INTENTIONALLY...
Page 56: ...410 Convertible 56 THIS PAGE WAS LEFT BLANK INTENTIONALLY...
Page 60: ...410 Convertible 60 THIS PAGE WAS LEFT BLANK INTENTIONALLY...
Page 68: ...410 Convertible 68 THIS PAGE WAS LEFT BLANK INTENTIONALLY...
Page 90: ...410 Convertible 90 THIS PAGE WAS LEFT BLANK INTENTIONALLY...
Page 96: ...410 Convertible 96 THIS PAGE WAS LEFT BLANK INTENTIONALLY...
Page 102: ...410 Convertible 102 THIS PAGE WAS LEFT BLANK INTENTIONALLY...
Page 103: ...103 410 Convertible Appendix A SCHEMATICS 12 volt DC...
Page 104: ...410 Convertible 104 AC Shore to Panel wiring...
Page 105: ...105 410 Convertible AC Breaker Panel...
Page 106: ...410 Convertible 106 DC Battery Switch Panel...
Page 107: ...107 410 Convertible Batteries and Cables...
Page 108: ...410 Convertible 108 Hydraulic Steering...
Page 109: ...109 410 Convertible Engine Control System...
Page 110: ...410 Convertible 110 Fuel System...
Page 111: ...111 410 Convertible Fuel Valves...
Page 112: ...410 Convertible 112 Fresh Water System...
Page 113: ...113 410 Convertible Sea Water Systems...
Page 114: ...410 Convertible 114 Drainage System...
Page 115: ...115 410 Convertible Rudder Assembly Coupler Assembly Shaft Transmission Coupler Shaft Coupler...
Page 116: ...410 Convertible 116 Shaft Seal Assembly Prop Assembly Shaft Propeller Key Prop Nuts Cotter Key...
Page 117: ...117 410 Convertible Sling Locations...
Page 118: ...410 Convertible 118 Cradle and Blocking positions...
Page 120: ...410 Convertible 120 MAINTENANCE LOG Hours Date Dealer Service Repairs...
Page 121: ...121 410 Convertible MAINTENANCE LOG Hours Date Dealer Service Repairs...
Page 122: ...410 Convertible 122 MAINTENANCE LOG Hours Date Dealer Service Repairs...
Page 123: ...123 410 Convertible MAINTENANCE LOG Hours Date Dealer Service Repairs...
Page 124: ...410 Convertible 124 MAINTENANCE LOG Hours Date Dealer Service Repairs...
Page 126: ...410 Convertible 126 THIS PAGE WAS LEFT BLANK INTENTIONALLY...
Page 137: ...137 410 Convertible THIS PAGE WAS LEFT BLANK INTENTIONALLY...
Page 138: ...410 Convertible 138 Albemarle Boats 140 Midway Dr P O Box 349 Edenton NC 27932...


