20
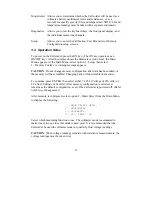
1) With power off, connect the cable supplied with the digital hydrometer to
the hydrometer and to the null modem adaptor. Connect the adaptor to
the Cellcorder serial port.
The null modem adaptor is normally supplied with the hydrometer and is
only needed when connecting directly to the Cellcorder. (Not needed to
connect directly to the computer.)
2) Power on both units. It does not matter which is powered on first.
3) Select the desired battery number on the hydrometer.
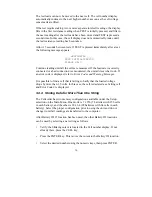
4) Program the Cellcorder as follows:
a)
From the Main Menu, select 1 - Mode Select.
b)
From the Mode Select Menu, select 3 - SG/Temp/OV.
c)
From the SG-Temperature Menu, select 2 - Auto Readings.
d)
Enter the battery string number to which readings will be stored,
then press ENTER.
e)
At the next menu, to load data, press ENTER.
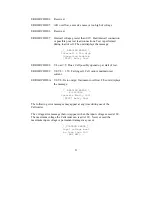
After the transfer starts, the Cellcorder displays the cell number that has been
loaded. When the display reaches 64 or 256, depending on the configuration
selected, all readings have been loaded. Note that all uploaded temperature
values are rounded off to the nearest whole number.
If a message requests a password when attempting to upload, the Cellcorder
is not enabled to upload readings. This is a Cellcorder option purchased
separately from the basic unit. To add this function in the field, have the
Cellcorder unit available and call Albércorp for instructions.
3.4.8 Programming Test Parameters
The Cellcorder can be programmed to warn if the measurements taken are
out of tolerance. After test parameters are programmed, the unit will display
failed readings with a darkened background and sound a series of beeps.
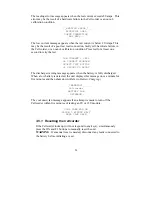
To program the test parameters, from the Main Menu select option 3 - Setup.
In the Setup Menu, select option 2 - Test Parameters to display the Test
Parameters Menu. To set the parameters, select the item, enter the threshold
value, then press ENTER. The following table shows the description and
ranges for each programmable entry.


