background image


5

 
Charge Information  


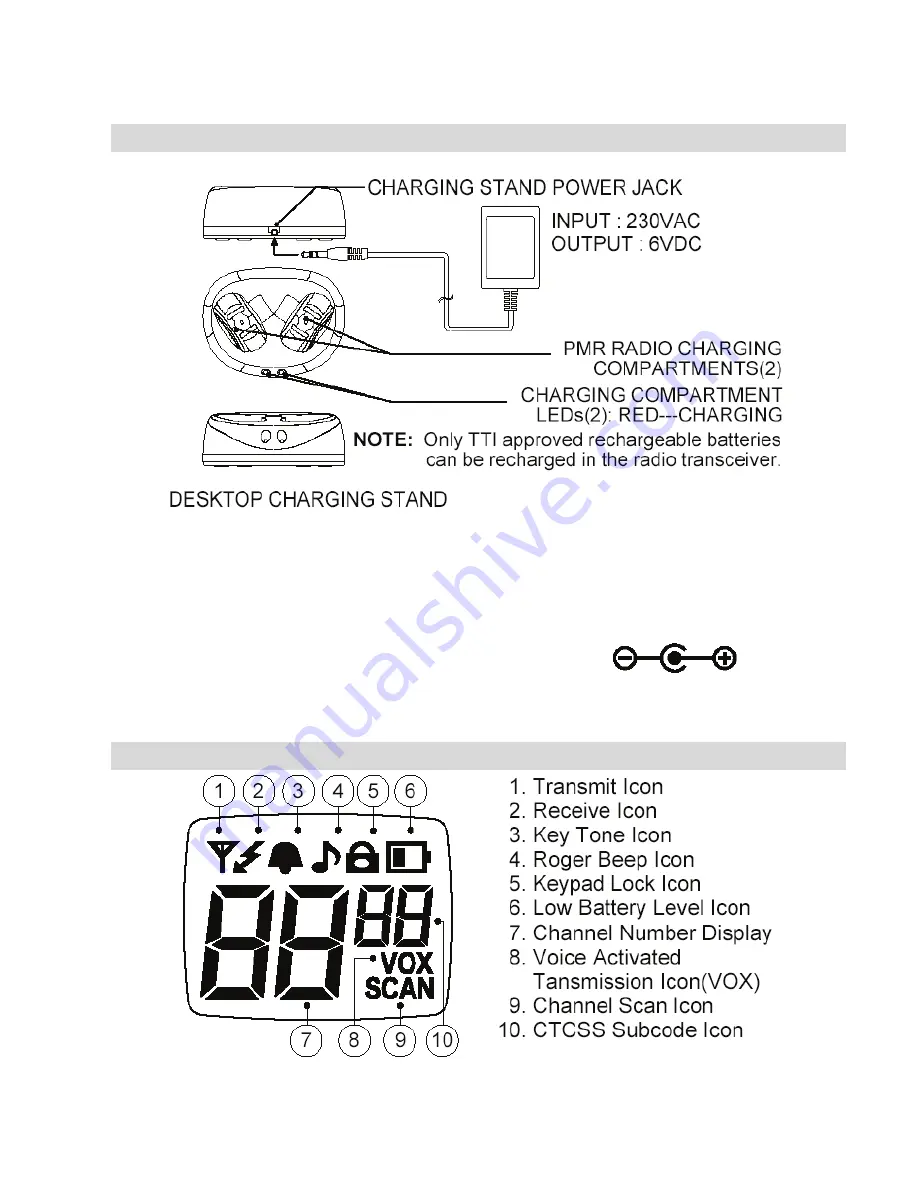
For charging of rechargeable batteries, only the supplied CE-
approved AC adaptor shall be used in compliance with the 
following specifications: 

* INPUT : AC 230V 50Hz 30mA 
* OUTPUT : DC 6V 200mA 


Do not operate the radio during battery charging ! 


LCD-Display: 


Summary of Contents for Tectalk Smart + Series

Page 1: ...Tectalk Smart Series User Manual ...

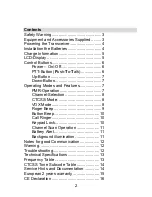
Page 2: ... 7 Operating Modes and Features 7 PMR Operation 7 Channel Selection 8 CTCSS Mode 8 VOX Mode 8 Roger Beep 9 Button Beep 10 Call Ringer 10 Keypad Lock 10 Channel Scan Operation 11 Battery Alert 11 Background illumination 11 Notes for good Communication 12 Warning 12 Troubleshooting 12 Technical Specifications 13 Frequency Table 13 CTCSS Tone Subcode Table 14 Service Hints and Documentation 14 Europe...

Page 3: ...MH batteries Use of the Albrecht charger with other brands of accumulators is not recommended as accumulator charging times will vary with different brands Avoid placing the Tectalk Smart PMR transceiver for prolonged periods of time in direct sunlight or temperatures below 20 C or above 60 C Keep the antenna at least 2 5cm away from your head and body Do not use your Tectalk Smart with a damaged ...

Page 4: ...n of the batteries Battery installation is made more convenient when the belt clip is either rotated left or right to the horizontal position or is removed simply rotate the clip in either direction to the horizontal position Be careful not to use excessive force To remove the clip press down on the spring release tab and pull the clip straight out from the radio body 1 Using thumb press down on b...

Page 5: ...g of rechargeable batteries only the supplied CE approved AC adaptor shall be used in compliance with the following specifications INPUT AC 230V 50Hz 30mA OUTPUT DC 6V 200mA Do not operate the radio during battery charging LCD Display ...

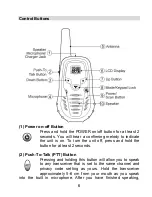
Page 6: ...turn the unit off press and hold the button for at least 2 seconds 2 Push To Talk PTT Button Pressing and holding this button will allow you to speak to any transceiver that is set to the same channel and privacy code setting as yours Hold the transceiver approximately 5 6 cm from your mouth as you speak into the built in microphone After you have finished speaking ...

Page 7: ...n In the standby mode pressing this button will decrease the listening volume When in function edit mode this button will be used to adjust the unit s settings Operating Modes and Features PMR Operation Press and hold the POWER On Off button for 2 seconds to turn on power Press the MODE button so the channel number flashes Select the desired channel with the Up and Down Buttons The Recieve icon ap...

Page 8: ...CSS mode can be turned off by selecting oF as the setting NOTE To communicate with other PMR radios all radios in Your network must be switched to the same channel and CTCSS subcode To communicate with other PMR units that do not have subcodes switch your unit to the same channel with the subcode set to oF The CTCSS subcodes do not prevent others from hearing your transmissions This will only allo...

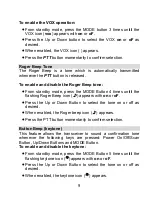
Page 9: ...DE Button 4 times unitil the flashing Roger Beep icon appears with on or oF Press the Up or Down Button to select the tone on or off as desired When enabled the Roger beep icon appears Press the PTT button momentarily to confirm selection Button Beep keytone This feature allows the transceiver to sound a confirmation tone whenever the following keys are pressed Power On Off Scan Button Up Down But...

Page 10: ...o avoid the accidental changes of radio settings Only POWER On Off the PTT and Volume Up Down buttons will operate while lock function is enabled To set the keypad lock operation From standby mode press and hold the MODE button for 2 seconds or until the lock icon appears on the display To disable the lock operation press and hold the MODE button for at least 2 seconds the lock icon will disappear...

Page 11: ...ity and you want to leave the scan mode press the Power On Off button momentarily and the unit will return to normal operation the SCAN icon scan will disappear from the LCD display Battery Alert When the low battery icon blinks steadily on the LCD panel recharge the unit or install fresh charged NiMH batteries Background illumination By pressing any buttons the LCD backlight is turned on the LCD ...

Page 12: ... this device in or near a mining or factory facilities where remotely triggered explosives are used or in areas labelled Blasting Area or Explosion Protected Do not attempt to modify or in any way increase the output of this transceiver Its output is designed to meet the legal limits Do not use this device or charge its batteries in potentially explosive atmospheres Turn your transceiver off where...

Page 13: ...batteries cause problems such as no transmission weak receiving signal and low sound Technical Specification Operating frequency Channel capacity Channel spacing Power source 446 00625 to 446 09375 MHz eight channels 12 5 kHz 3 X 1 2 V AAA rechargeable NiMH batteries Main Channel Frequency Table Channel Frequency MHz Channel Frequency MHz 1 446 00625 5 446 05625 2 446 01875 6 446 06875 3 446 03125...

Page 14: ...9 91 5 19 127 3 29 179 9 OF 10 94 8 20 131 8 30 186 2 Where to find service hints and documentation Our technical documentation is updated regularly You can download the latest versions of user manuals technical documents and also the dual language original Declaration of Conformity as well as service hints or FAQ s any time from our server under http www hobbyradio de If You should have a problem...

Page 15: ...r To obtain repair or replacement within the terms of this warranty the product is to be delivered with proof of warranty coverage e g a copy of your bill of sale specification of defect s to the distributor dealer or his authorized repair center The Company disclaims liability for communications range of this product The warranty does not apply to any product or part there of which in the opinion...

Page 16: ...lidays This unit complies to the European R TTE and LVD Directive and harmonized standards EN 300 296 2 V 1 1 1 EN 301 489 1 V 1 6 1 EN 301 489 05 V 1 3 1 and EN 60 950 1 2006 The product can be used as Class 1 equipment in following countries A B BG CH CY CZ D DK E EST F FIN FL GB GR HR H I IS IRL L LV LT M N NL P PL RO RSM S SK SLO Dreieich 21 01 2009 2009 Alan Electronics GmbH Daimlerstr 1 k D ...

Reviews: