


42
AFTER SALES SUPPORT
AUS
1300 884 987
www.medion.com.au
MODEL: MD 17329 PRODUCT CODE: 13651 05/2020
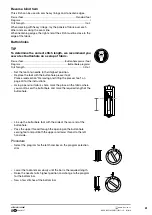
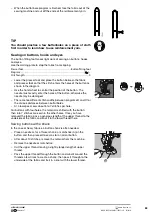
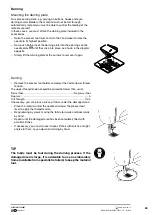
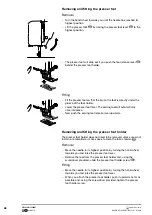
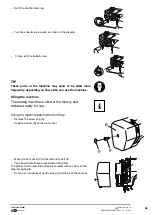
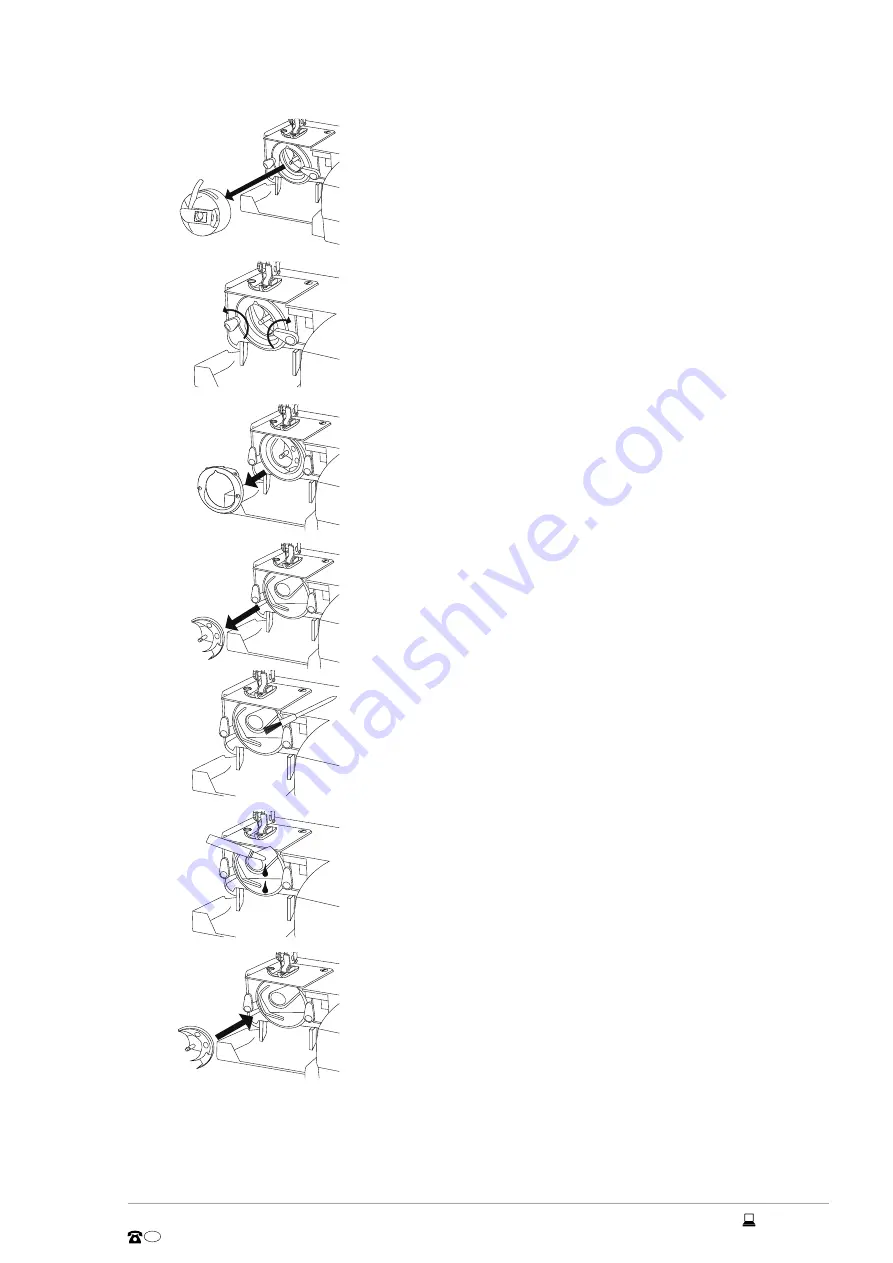
Cleaning and oiling the bobbin housing
−
Move the needle to its highest position, otherwise the shuttle
cannot be removed.
−
Remove the bobbin case.
−
Turn the snap levers outwards, as shown in the diagram.
−
Remove the shuttle track ring.
−
Remove the shuttle by holding the pin in the centre of the shuttle.
−
Remove all the dirt from the shuttle track ring and oil the parts
using a cloth.
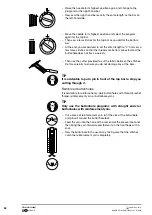
−
Add one or two drops of oil to the bobbin shuttle track, as
illustrated.
−
Refit the shuttle by holding the pin in the centre of the shuttle.
Summary of Contents for Stirling Black Edition MD 17329
Page 50: ...Version V1 4 ...


