Alea Systems, Inc.
Rev.1.13
Pingo-Photo Rep
User manual
17
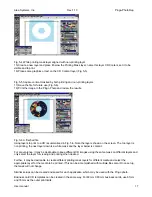
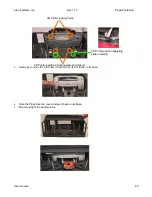
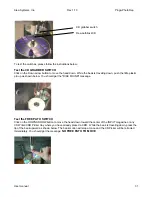
Fig. 5-4 White printing mask layer aligned with non-printing layer
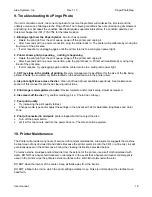
15) Create a new layer and place it below the Printing Mask layer; name this layer CD Content, set it to be
visible and to print.
16) Place some graphics or text on the CD Content layer (Fig. 5-5).
Fig. 5-5 Square content masked by both printing and non-printing layers
17) Save the file for future use (Fig. 5-6).
18) Print the image to the Pingo Photo and review the results.
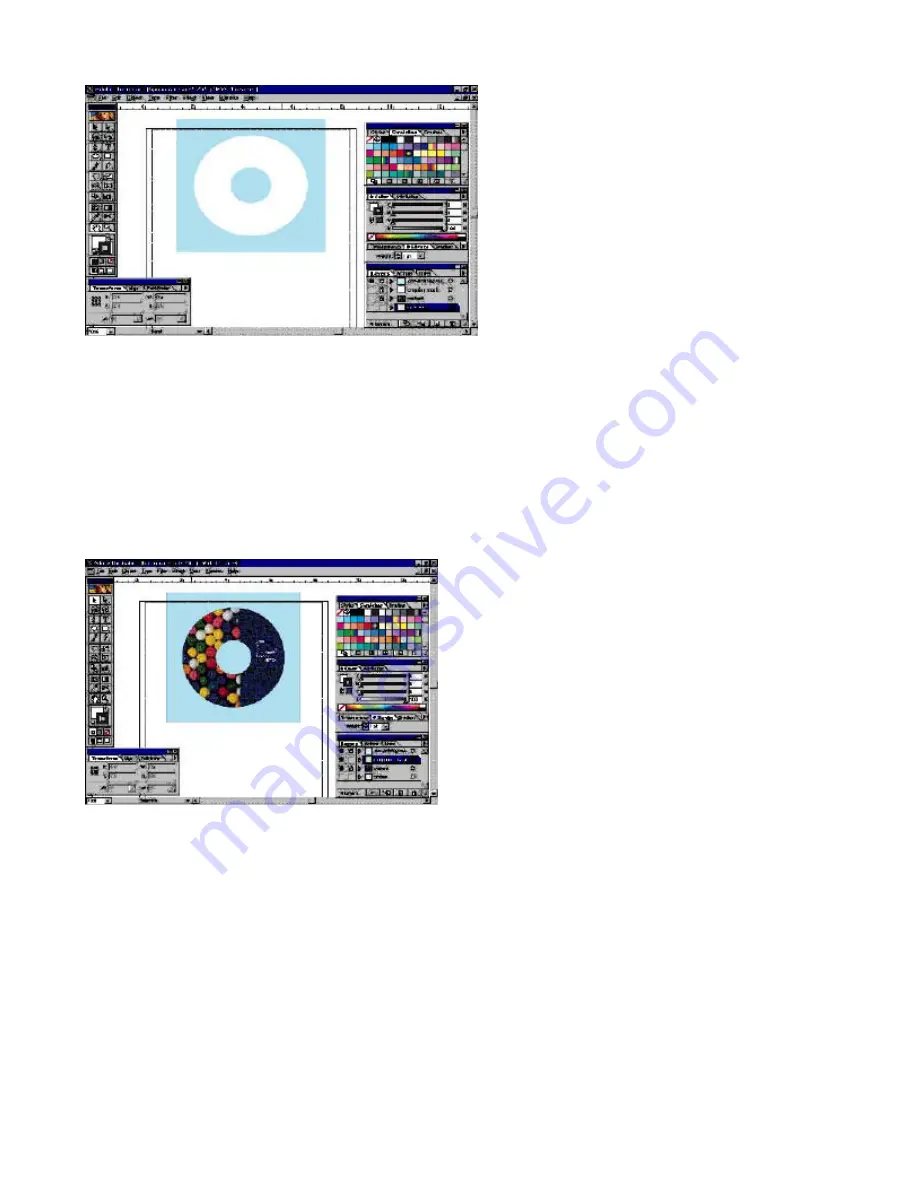
Fig. 5-6 A finished file
Using layers to print to a CD is summarized in Fig. 5-6. Note the layers shown on the screen. The top layer is
non printing, the next layer down is a white mask and the layer below is content.
For convenience, it may be desireable to keep different CD images using the same mask on different layers and
only select the layer for viewing and printing when desired.
Further, it may be desireable to create different printing mask layers for different media and select the
appropriate layer for the media to be printed. (This can be accomplished with multiple files also.) Once set up,
the mask will not change.
Similiar setups can be created and saved for each application, which may be used with the Pingo photo.
Business card CD templates can be created in the same way. For 63mm X 80mm business cards, use 61mm
and 78mm as the outer print limits.


