www.aleratec.com
31
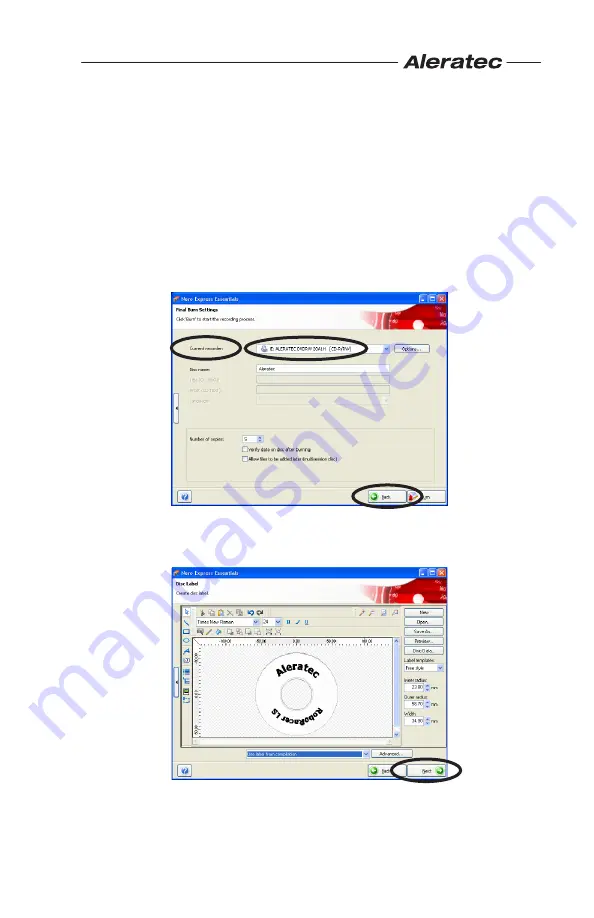
5. If the “Print LightScribe Label” option is not on the screen, go to the
screen as shown below. To get to this screen, refer to “Creating an
Image with Nero” and follow steps 2 through 5. The screen below is
the same screen as described in step 5. While going through steps 2
through 5, you do not need to set up any files, simply use the “Next”
button until you see this screen. Then, select the “Current recorder”
dropdown box and choose the “ALERATEC DVDRW 20A1H” as the
drive to be used. Then use the “Back” button to return to the Nero
Express Essentials main menu. The “Print LightScribe Label” option
should now be selectable.
6. The first screen you will see is the disc layout. Choose the print design
from a file or create your own. When you are done, click “Next”.


