5
MIDI
28
4 ) Set up your receiving device to accept a MIDI sysex dump.
5.) Press [STORE] to transmit the data from the QS. While
transmitting the data, the display will read “SENDING OUT
MIDI DATA.....”.
To send a single Program via MIDI:
1 ) Follow steps 1 and 2 in the instructions above.
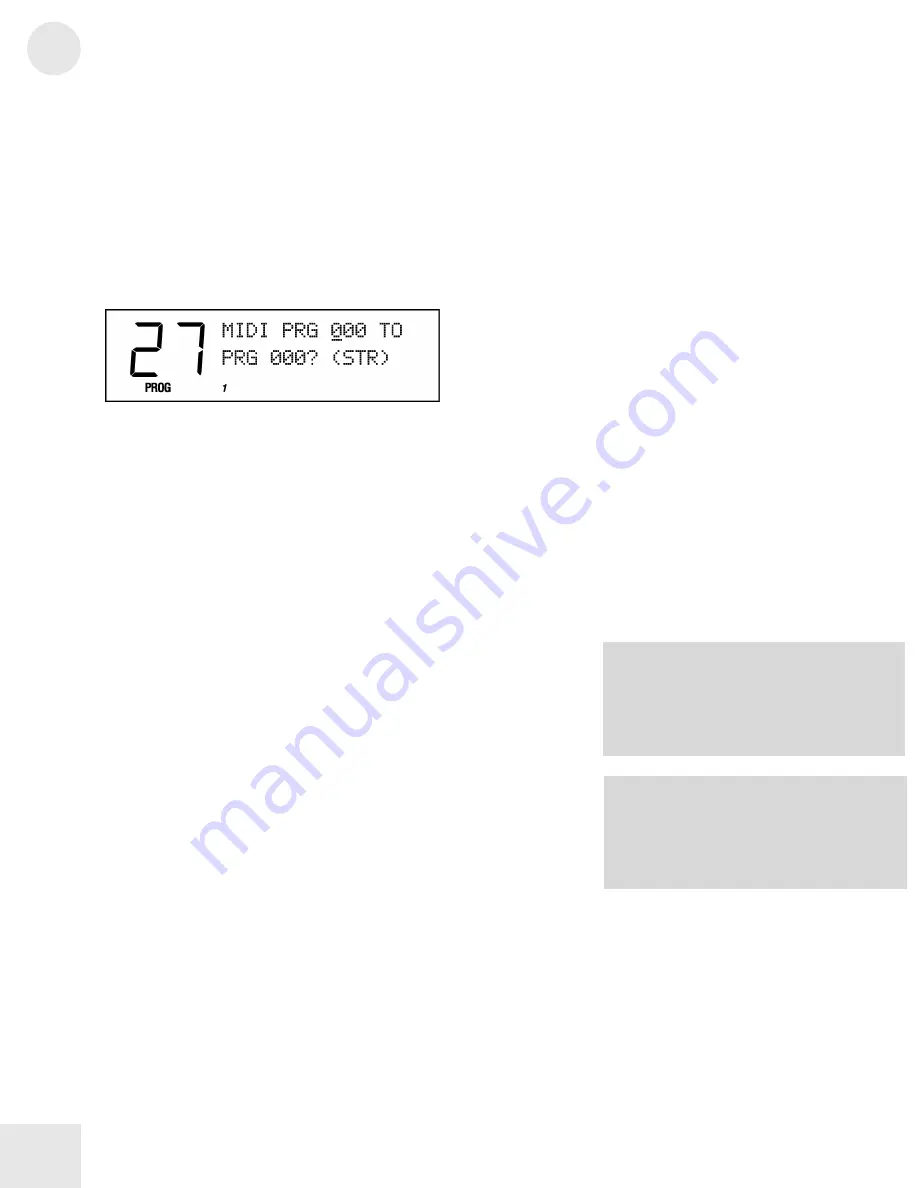
2 ) Press [PAGE >]seven times to select the proper page of the Store
function. The display will look like this:
3 ) Use the [CONTROLLER D] slider and the [VALUE] buttons to
select a Program to transmit. You may select any Program in the
User Bank (000 to 127) or the Program Edit buffer (EDIT) or any
of the 16 Mix Edit buffers (Em01 to Em16).
As this value is changed, the second parameter (destination) will
change also. If you hit [PAGE >] one more time, you can change
the destination number separately.
4 ) Press [STORE] to transmit the data out the [MIDI OUT]
connector.
To send a single Mix via MIDI:
The procedure for sending a single Mix is very similar to that of sending
a Program (see above). Hit [STORE], then [PAGE >] nine times to get
to the MIDI Mix Store page.
Loading Programs and Mixes Via MIDI
The QS doesn’t need to be in a special mode to receive MIDI sysex
information. Simply connect a MIDI cable from the MIDI out jack of
your MIDI player to the [MIDI IN] port of your QS and start the sysex
dump on your MIDI storage device or computer. If everything is
working properly, the QS display will read “RECEIVING MIDI
DATA...” and the Bank, Program, or Mix will be loaded into the User
Bank.
NOTE: Just because you’re storing a Mix to
MIDI doesn’t mean that all of the Programs
used by that Mix are being taken with it. If
you want that Mix to sound the same in
someone else’s QS, you’re going to need to
send along the Programs out of which it was
constructed.
NOTE: Some computers are not fast enough
to transmit MIDI sysex data properly. If you
are experiencing problems, try adjusting the
settings in your MIDI software. Some
programs allow you to slow down the
transmit rate so the computer hardware can
keep up with the software.
Summary of Contents for QS6.2
Page 1: ...Reference Manual...
Page 2: ...This page intentionally left blank 10 20 30 40 50 60 70 80 90 100...
Page 6: ......
Page 14: ...1 Connections 12 Connection Diagram...
Page 26: ......
Page 64: ......
Page 94: ......
Page 102: ......


