23
The button 6 is used for transition to the previous submenu and the adjusted settings are memorized. The button 5
is used for transition to the next submenu and the adjusted settings are memorized. The button 4 is used for
transition to higher menu level, and the adjusted settings are memorized.
15.4.2. Menu 01 – setting the time
This menu is used for setting the current time and date on the display. The electronic card is equipped with a lithium
battery that enables the internal clock to function longer than 3/5 years. In order to set the time, it is required to
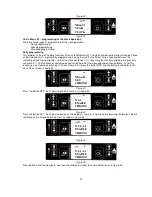
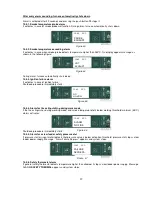
access the menu for setting the time and date. Press the button SET and the button 5 to reach the menu 01 as
shown in figure 35:
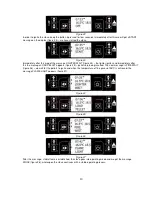
Figure 35
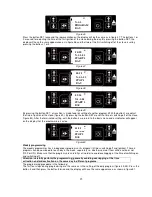
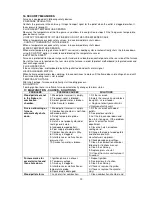
Press the button SET and the buttons 1 or 2 to set the exact day in the week (MONDAY, TUESDAY...) (figure 36)
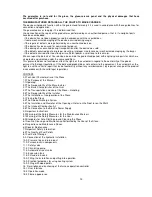
Press the button SET and the buttons 1 and 2 to set the clock time (figure 37).
Figure 36
Figure 37
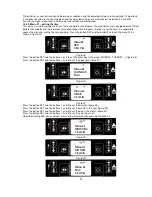
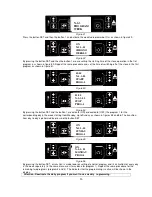
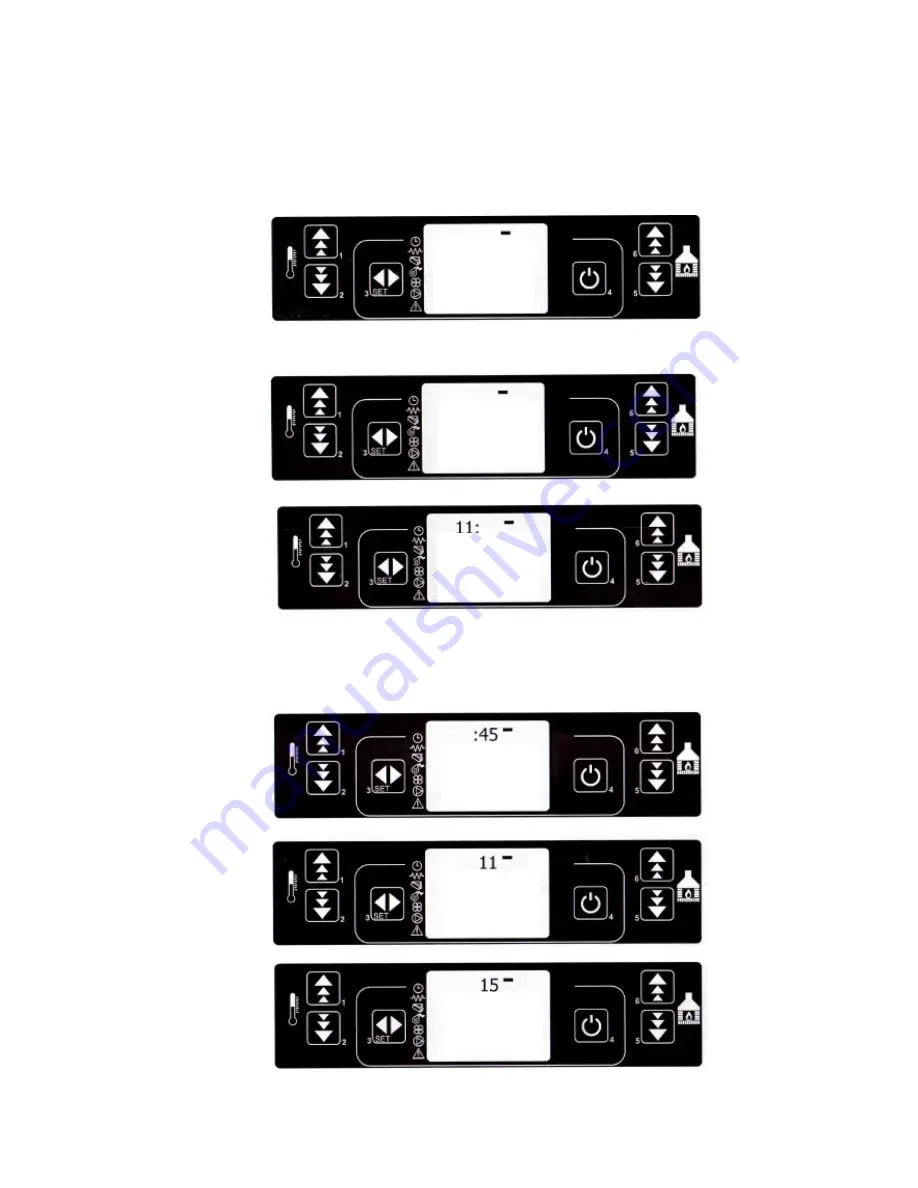
Press the button SET and the buttons 1 and 2 to set the minutes (figure 38).
Press the button SET and the buttons 1 and 2 to set the month in the year (figure 39).
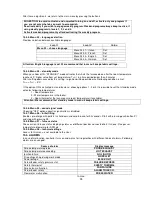
Press the button SET and the buttons 1 and 2 to set the day in the month (figure 40).
Press the button SET and the buttons 1 and 2 to set the year (figure 41).
Upon terminating with these settings, return to the initial menu by pressing the button 4.
Figure 38
Figure 39
NEnu 01
SET
CLOCK
NEnu 01
MONDAY
DAY
NEnu 01
TIME
CLOCK
NEnu 01
MINUTES
CLOCK
NEnu 01
MONTH
CLOCK
NEnu 01
DAY
CLOCK

