25
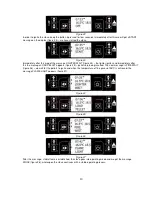
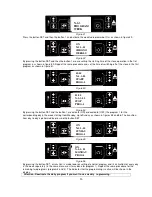
Figure 46
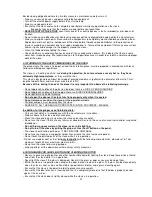
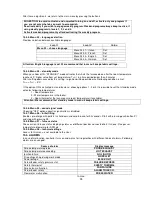
Press the button SET twice and the representation on the display will be the same as in figure 47. The buttons 1 or
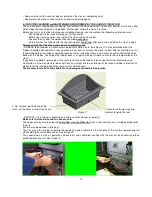
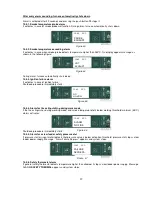
2 are used for adjusting the time of the first ignition of the stove during the day. By pressing the button SET, the
display will have the same appearance as in figure 48 and the time of the first switching off of the stove is set by
pressing the buttons 1 or 2.
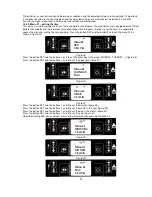
Figure 47
Figure 48
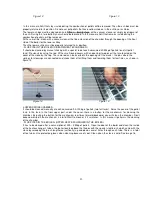
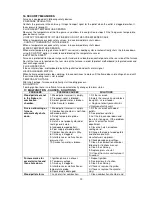
Figure 49
By pressing the button SET, a transition is made towards setting of another program. With the button 1 we adjust
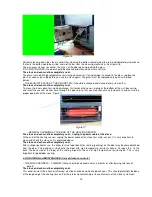
the time of ignition of the stove (figure 49). By pressing the button SET we set the time of switching off of the stove
(figure 50). After the terminated setting, with the button 4 we return to the basic menu and an indicator will appear
on the display that the programming is active.
Figure50
Weekly programming
The weekly programmer has 4 independent programs at its disposal (4 times switching off and ignition). These 4
programs can be combined for each day in the week, separately i.e. whether some of them will be active or not
(OFF or ON). Make sure that the programs are carefully set in order to avoid overlapping of the time of switching on
and switching off.
Attention: carefully perform the programming, generally avoiding overlapping of the time
activation and/or deactivation on the same day in different programs.
The programming procedure is the following:
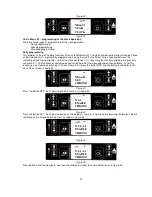
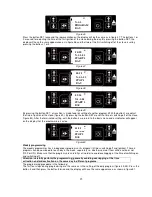
The first four steps during programming are the same as in the setting of the daily program (figure 42-45). Press the
button 4 and then press the button 5 twice and the display will have the same appearance as shown in figure 51.
N-2-2
PROGRAM
DAY
N-2-2- 02
START 1
DAY
14:20
N-2-2- 03
STOP 1
DAY
18:50
N-2-2- 04
START 2
DAY
09:30
N-2-2- 05
STOP 2
DAY
11:50

