35
29/06/2022
EN
DIRECTIONS FOR USE
INSTALL THE BATTERY
Remove the push button from the burner body I by unscrewing it.
Install the OO AA battery (LR6, 1.5V). With the + facing outwards, then screw the pulse igniter back in.
IGNITING THE PILOT LIGHT
Before each use and after installing the gas set point, check all connections.
• Open the gas supply and prime the regulator (push button or tap).
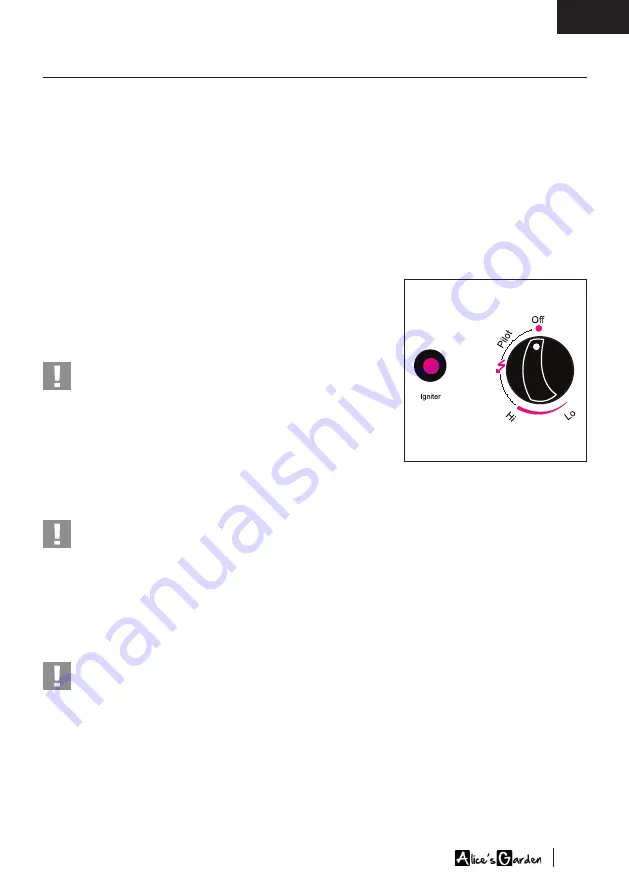
• Push in the control knob and set it to pilot
(PILOT).
• Hold the button down and push the ignition button several times until the pilot lights up. Hold the
switch in the PILOT position for 30 seconds, then release it, the pilot will remain lit.
• If the pilot does not light up, turn the switch back to OFF and
repeat the above steps. Once the pilot light is lit, push the N
switch gently (without pushing it in all the way) and turn it to
the
HI
position. If the sunshade is properly lit, you can now se-
lect the power level by turning the switch between
HI and LO.
Note :
The burner may make a noise when it is first switched
on. To eliminate this noise, turn the control knob to the pilot
position. Then turn the knob back to the desired position.
RE-LIGHTING THE UNIT
• Turn the switch to the OFF position.
• Wait at least 5 minutes, let the gas evaporate before relighting the pilot.
• Repeat the lighting procedure.
Note :
For safety reasons, the switch cannot be turned to the OFF position at one time without first
holding it in the
PILOT
.
SWITCHING OFF THE UNIT
• Hold down the switch and turn the knob clockwise to the
OFF
position.
• Close the gas supply valve and/or the pressure regulator.
• Allow the appliance to cool before storing or covering with a cover.
Note :
After use, the burner grate may be discoloured, this is normal.


