Power Management
3 - 2 The Power Sources
3
The Power Sources
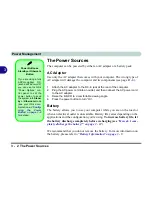
The computer can be powered by either an AC adapter or a battery pack.
AC Adapter
Use only the AC adapter that comes with your computer. The wrong type of
AC adapter will damage the computer and its components (see page
D - 6
).
1.
Attach the AC adapter to the DC-In jack at the rear of the computer.
2.
Plug the AC power cord into an outlet, and then connect the AC power cord
to the AC adapter.
3.
Raise the lid/LCD to a comfortable viewing angle.
4.
Press the power button to turn “On”.
Battery
The battery allows you to use your computer while you are on the road or
when an electrical outlet is unavailable. Battery life varies depending on the
applications and the configuration you're using.
To increase battery life, let
the battery discharge completely before recharging (see
“How do I com-
pletely discharge the battery?” on page 3 - 12
).
We recommend that you do not remove the battery. For more information on
the battery, please refer to
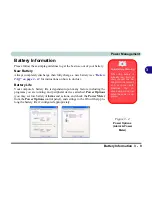
“Battery Information” on page 3 - 9
.
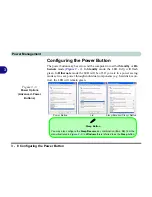
Power Button as
Standby or Hibernate
Button
If you are using a fully
ACPI-compliant OS,
(such as
Windows
XP)
you can use the OS’s
“Power Options” con-
trol panel to set the
power button to send
the system into
Stand-
by
or
Hibernate
mode
(see your OS’s docu-
mentation,
or
“Config-
uring the Power
Button” on page 3 - 8
for details).
Summary of Contents for Area-51 m7700
Page 1: ......
Page 2: ......
Page 20: ...XVIII Preface...
Page 38: ...Concise User s Guide 1 18 1...
Page 104: ...BIOS Utilities 5 16 5...
Page 128: ...Modules 7 14 PC Camera 7 Figure 7 5 Audio Setup...
Page 150: ...Interface Ports Jacks A 6 A...
Page 162: ...NVIDIA Video Driver Controls B 12 B...
Page 174: ...ATI Video Driver Controls C 12 C...
Page 182: ...Specifications D 8 D...


