Modules
RAID Setup 7 - 21
7
RAID Setup
If your purchase includes the
RAID
(Redundant Array of Independent Disks)
option
,
then see the instructions on the following pages for an introduction to
configuring your hard disk(s) in RAID mode, This will allow you to use your
hard disks in combination with
Striping
(
RAID 0)
or
Mirroring
(
RAID 1)
for fault tolerance and performance. Configure the RAID as follows:
1.
Setup the serial hard disks in the computer (this may have already been
done for you, or see
“Upgrading the Hard Disk Drive(s)” on page 6 - 4
).
2.
Create a
RAID Driver Diskette
(from the drivers contained on the
Device
Drivers & Uti User’s Manual CD-ROM
).
3.
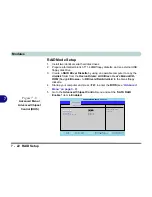
Enable the RAID option in the BIOS.
4.
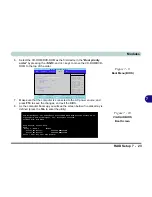
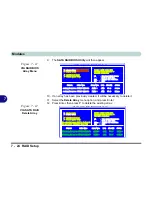
Create the array from the
SATA RAID BIOS Utility
.
5.
Install the
Windows XP
operating system.
RAID Level
Description
RAID 0
Identical drives reading and writing data in parallel to
increase performance
.
RAID 0 implements a striped disk array and the data is broken into blocks and
each block is written to a separate disk drive.
RAID 1
Identical drives in a mirrored configuration used to
protect data
. Should a drive
that is part of a mirrored array fail, the mirrored drive (which contains identical
data) will handle all the data. When a new replacement drive is installed, data
to the new drive is rebuilt from the mirrored drive to restore fault tolerance.
Table 7 - 1
RAID Levels
Summary of Contents for MJ-12 m7700a
Page 1: ......
Page 2: ......
Page 20: ...XVIII Preface...
Page 76: ...Drivers Utilities 4 14 4...
Page 92: ...BIOS Utilities 5 16 5...
Page 106: ...Modules 7 6 Mini PCI Wireless LAN Module 7 Help Menu Figure 7 2 Ralink WLAN Utility...
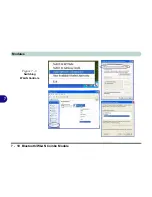
Page 110: ...Modules 7 10 Bluetooth WLAN Combo Module 7 Figure 7 3 Switching WLAN Controls...
Page 118: ...Modules 7 18 PC Camera 7 Figure 7 6 Audio Setup...
Page 128: ...Modules 7 28 7...
Page 140: ...Troubleshooting 8 12 8...

