Modules
RAID Setup 7 - 23
7
6.
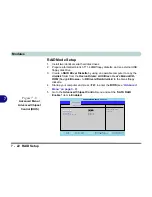
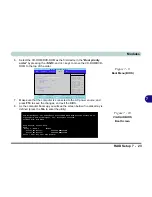
Select the CD-ROM/DVD-ROM as the first device in the "
Boot priority
order
" by pressing the <
Shift
> and <
+
> keys to move the CD-ROM/DVD-
ROM to the top of the order.
7.
Make sure that the computer is connected to the AC power source, and
press
F10
to save the changes, and exit the BIOS.
8.
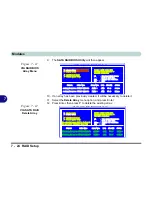
As the computer boots up you will see the screen below if no disk array is
defined (press the
Tab
to enter the utility).
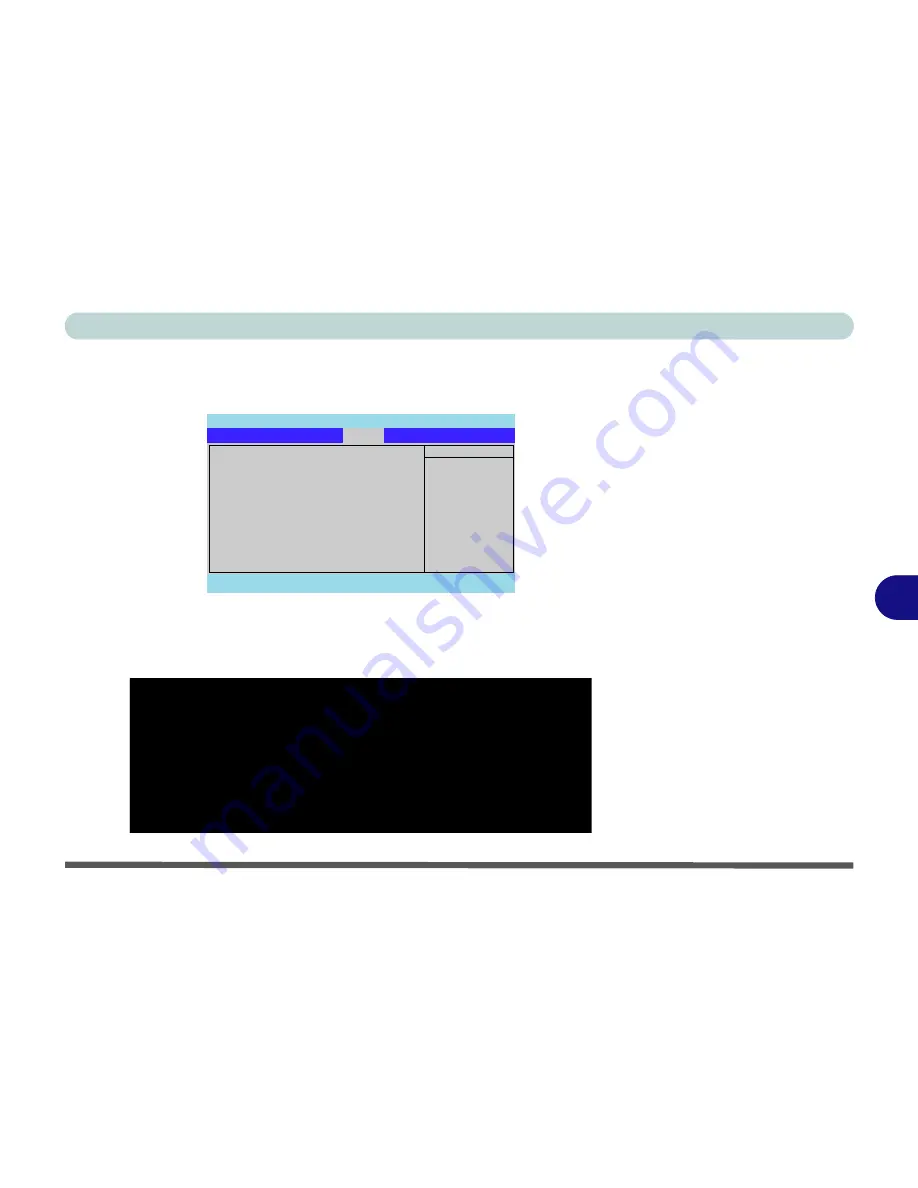
PhoenixBIOS Setup Utility
Main
Advanced
Security
Exit
F1
Help
Select Item
-/+
Change Values
F9
Setup Defaults
Esc
Exit
Select Menu
Enter
Select
Sub-Menu
F10
Save and Exit
Item Specific Help
Keys used to view or
configure devices:
Up and Down arrows
select a device.
<+> and <-> moves the
device up or down.
<f> and <r> specifies
the device fixed or
removable.
<x> exclude or include
the device to boot.
<Shift + 1> enables or
disables a device.
<1 - 4> Loads default
boot sequence.
Boot priority order:
1:
IDE 1:
QSI CD-RW/DVD-ROM SBW242C
2:
IDE 0:
3:
PCI SCSI: FT TX
Ary 1
4:
USB FDC:
5:
PCI LAN:
6:
7:
8:
Excluded from boot order:
: USB HDD:
: USB CDROM:
Boot
Figure 7 - 9
Boot Menu (BIOS)
VIA Technologies, Inc.VIA VIA8237 Series SATA RAID BIOS Setting Utility V4.93
Copyright(C) VIA Technologies, Inc. All rights reserved.
237R493.ROM - FOR RAID
Scan Devices, Please wait...
Raid
Array 0 - RAID 0
Normal
Serial_CH0 Master:
FUJITSU MHT2060BH
Serial_CH0 Master:
FUJITSU MHT2060BH
Press < Tab > Key into User Window!
Figure 7 - 10
VIA RAID BIOS
Boot Screen
Summary of Contents for MJ-12 m7700a
Page 1: ......
Page 2: ......
Page 20: ...XVIII Preface...
Page 76: ...Drivers Utilities 4 14 4...
Page 92: ...BIOS Utilities 5 16 5...
Page 106: ...Modules 7 6 Mini PCI Wireless LAN Module 7 Help Menu Figure 7 2 Ralink WLAN Utility...
Page 110: ...Modules 7 10 Bluetooth WLAN Combo Module 7 Figure 7 3 Switching WLAN Controls...
Page 118: ...Modules 7 18 PC Camera 7 Figure 7 6 Audio Setup...
Page 128: ...Modules 7 28 7...
Page 140: ...Troubleshooting 8 12 8...

