1 - 4 Overview
Quick Start Guide
1
System Startup
1.
Remove all packing materials.
2.
Place the computer on a stable surface.
3.
Securely attach any peripherals you want to use with the
notebook (e.g. keyboard and mouse) to their ports.
4.
Attach the AC/DC adapter to the DC-In jack at the rear of the
computer, then plug the AC power cord into an outlet, and connect
the AC power cord to the AC/DC adapter.
5.
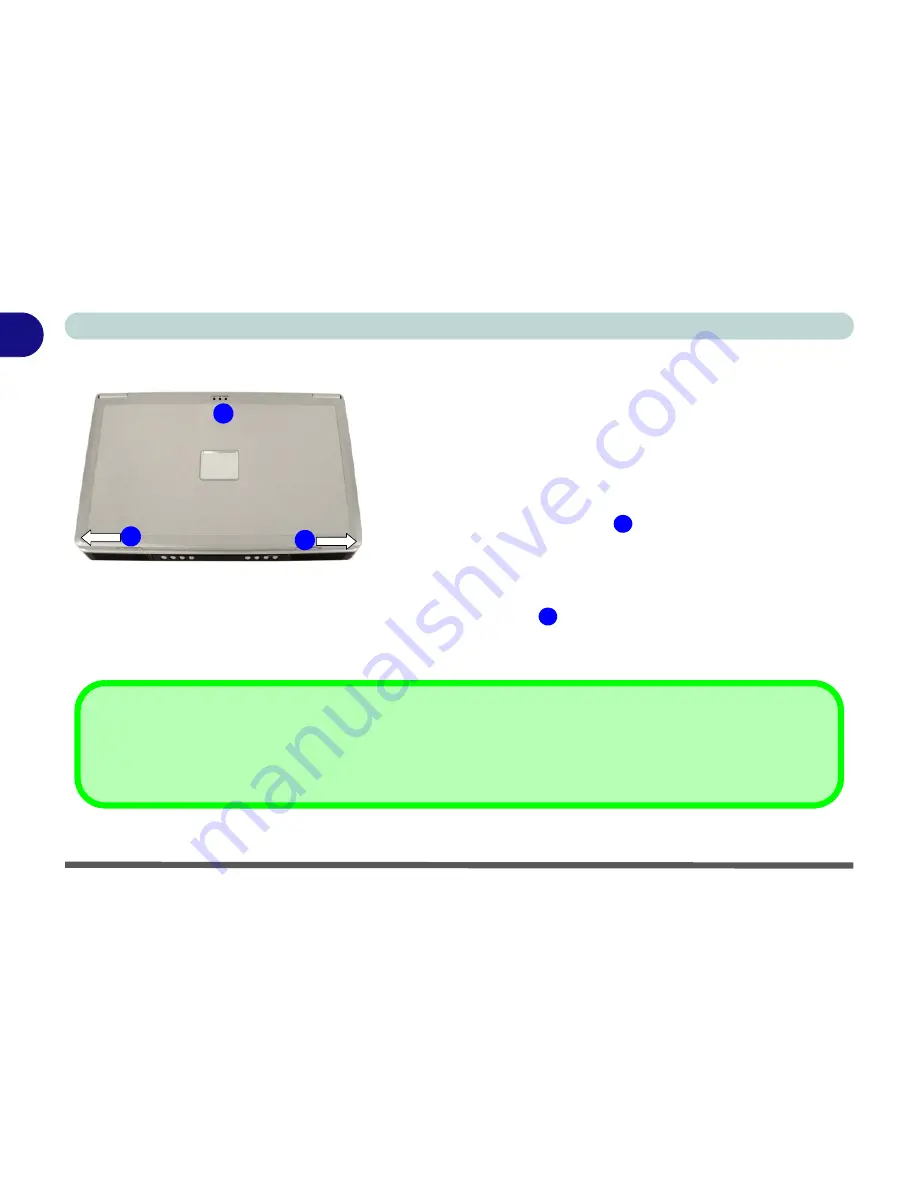
Move and hold the LCD latches
in the direction of the arrows to
release the top cover.
6.
Raise the lid/LCD to a comfortable viewing angle, and press the
power button to turn the computer “on”.
7.
Adjust the LCD panel to a comfortable viewing angle.
8.
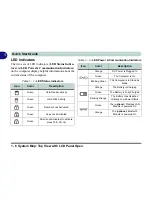
The LED indicators
show the power and battery status of the
computer.
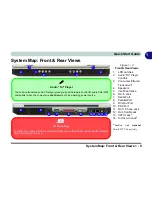
Figure 1 - 1 - Top Panel with LCD Closed
1
2
Shutdown
Please note that you should always shut your computer down by choosing the
Shut Down/Turn Off Computer
command
from the
Start
menu in
Windows.
This will help prevent hard disk or system problems.
1.
LCD Latches
2.
LED Power & Communication
Indicators
1
1
2
Summary of Contents for MJ-12 m7700a
Page 1: ......
Page 2: ......
Page 20: ...XVIII Preface...
Page 76: ...Drivers Utilities 4 14 4...
Page 92: ...BIOS Utilities 5 16 5...
Page 106: ...Modules 7 6 Mini PCI Wireless LAN Module 7 Help Menu Figure 7 2 Ralink WLAN Utility...
Page 110: ...Modules 7 10 Bluetooth WLAN Combo Module 7 Figure 7 3 Switching WLAN Controls...
Page 118: ...Modules 7 18 PC Camera 7 Figure 7 6 Audio Setup...
Page 128: ...Modules 7 28 7...
Page 140: ...Troubleshooting 8 12 8...

