Upgrading The Computer
6 - 4 Upgrading the Hard Disk Drive(s)
6
Upgrading the Hard Disk Drive(s)
The hard disk drive(s) can be taken out to accommodate other 2.5" IDE hard
disk drives with a height of 9.5mm (h) (see
“Storage Options” on page C - 4
).
Follow your operating system’s installation instructions, and install all neces-
sary drivers and utilities (as outlined in
“Drivers & Utilities” on page 4 - 1
),
when setting up a new hard disk.
1.
Turn
off
the computer, and turn it over and remove the battery.
2.
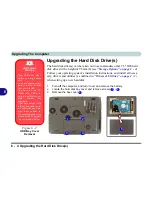
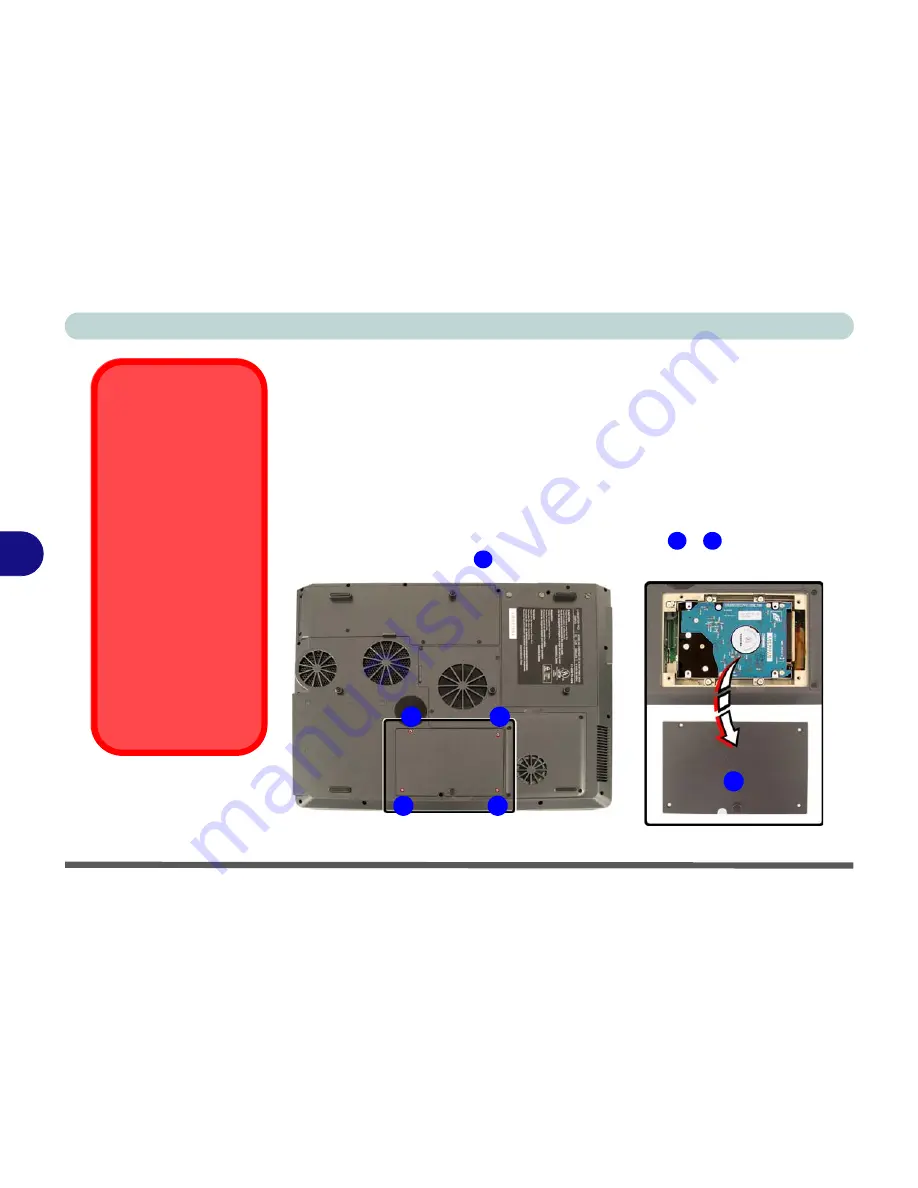
Locate the hard disk bay cover and remove screws
-
.
3.
Remove the bay cover
.
HDD System
Warning
New HDD’s are blank.
Before you begin make
sure:
You have backed up any
data you want to keep
from your old HDD.
You have all the CD-
ROMs and FDDs re-
quired to install your oper-
ating system and
programs.
If you have access to the
internet, download the lat-
est application and hard-
ware driver updates for
the operating system you
plan to install. Copy these
to a removable medium.
1
4
5
Figure 6 - 2
HDD Bay Cover
Removal
1
3
4
2
5
Summary of Contents for MJ-12 m7700a
Page 1: ......
Page 2: ......
Page 20: ...XVIII Preface...
Page 76: ...Drivers Utilities 4 14 4...
Page 92: ...BIOS Utilities 5 16 5...
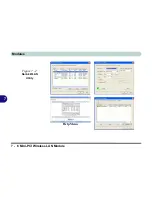
Page 106: ...Modules 7 6 Mini PCI Wireless LAN Module 7 Help Menu Figure 7 2 Ralink WLAN Utility...
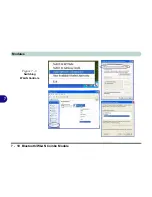
Page 110: ...Modules 7 10 Bluetooth WLAN Combo Module 7 Figure 7 3 Switching WLAN Controls...
Page 118: ...Modules 7 18 PC Camera 7 Figure 7 6 Audio Setup...
Page 128: ...Modules 7 28 7...
Page 140: ...Troubleshooting 8 12 8...


