W 3 1 S E R I E S
H I G H P R E S S U R E B R E A T H I N G A I R C O M P R E S S O R
©ALKIN Kompresör Sanayi ve Ticaret Limited Şirketi
42
2.5.14 Intake Filter Replacement
Instruction no
14
Instruction name
Intake Filter Replace
List of tools required
cloth
No of persons required
1 person
Estimated Completion Time
5 minutes
Parts list to be used in replacement
Intake filter element
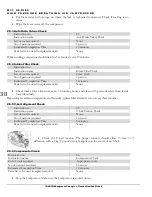
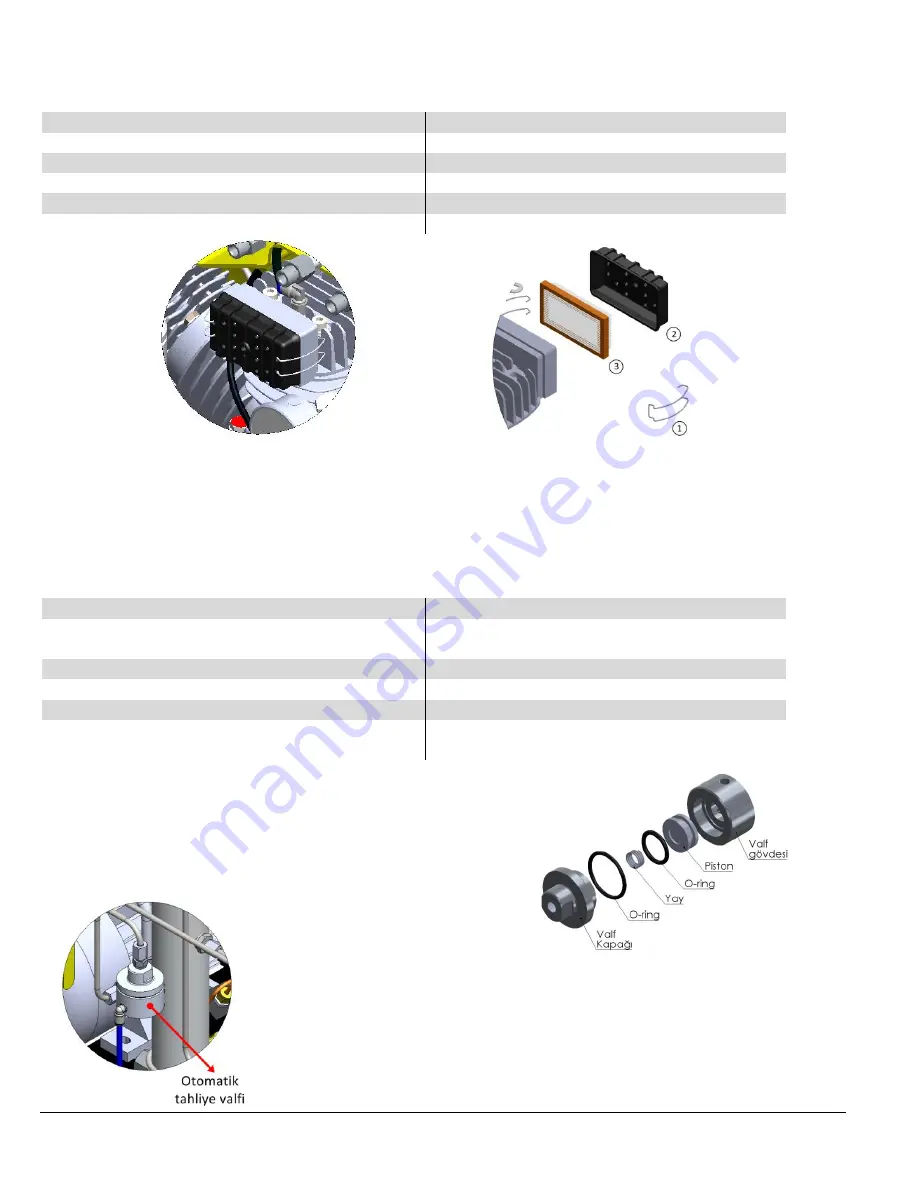
Remove the wires (1) holding the inlet filter head (2).
Remove inlet filter head (2).
Replace intake filter element (3).
Reconnect the wires (1) on the head (2).
2.5.15 Auto Drain Valve Adjustment with Repair Kit
Instruction no
15
Instruction name
Auto Drain Valve Adjustment with Repair
Kit
List of tools required
No of persons required
1 person
Estimated Completion Time
Parts list to be used in replacement
Stop the compressor.
Verify complete depressurization of pressure equipment.
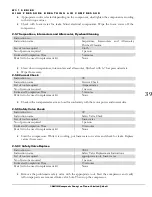
Remove the piping of auto drain valve with appropriate
tools.
Remove the auto drain valve head with no.27 tool with
counter clockwise rotation.
Remove from the auto
drain valve old pistons and spring
and clean auto drain valve ass’y
with pressurized air.
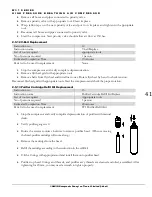
Take the new piston and spring from the manufacturer’s repair
kit. Verify that o-ring on the auto drain valve head is installed (and
oiled). Then, install the new piston Teflon side downwards onto the
assy. Then, install the spring onto the spring housing on the piston.
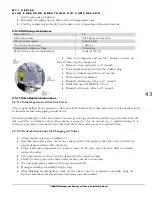
Tighten the valve head with no.27 tool. After tightening, slightly
loosen it with rotating no.27 tool counter clockwise. This is done so

