HERA LS Series CD/DVD Duplication System / User Manual
46
Loader Utilities
1. Drive Alignment
Please Select Drive
Drive 1 Go?
Drive Alignment
Alignment Finished?
Loader Utilities
5.Alignment Protection
Alignment Protection
On
Alignment Protection
Off
To start the alignment, place a disc on to the first input spindle.
Use the
Up or
Down
button to select the
Drive Alignment
menu and
press the
Enter
button to enter that menu. The system will proceed to
the
Please Select Drive
menu.
Use the
Up or
Down
button to select drive # 1 and press the
Enter
button to select it.
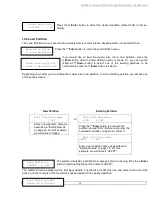
The autoloader will pick a disc from the first input spindle, move it to ¼ inch above the drive tray, and hold it
there. You will see the Drive Alignment screen:
Check the alignment of the drive trays and press the
Enter
button
when you are finished.
Note:
If the drive trays are not properly aligned and there is a need to re-align them, please contact Tech
Support Service for information regarding setting alignments.
Warning:
This function is ONLY for checking the alignment, NOT for setting the alignment. Please do not
move the robotic arm with your hands during this process.
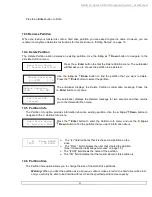
When you have finished checking the alignment of the drive(s), the robotic arm will move the disc to the arms
top position and hold it there. You will see the
Alignment Next
menu.
Drive Alignment
Alignment Next?
Press the
Enter
button to return back to the
Please Select
Drive
menu. This allows you to complete the alignment checking
procedure for each of the installed drives.
If you are through checking the alignment of drives, press the
ESC
button to go back to the
Loader Utility
Menu.
When the drive alignment checking process is complete, the robotic arm will drop the disc in the Reject Area.
15.2 Alignment Protection
Enabling Alignment Protection causes each drive tray to quickly slide in and out after a disc has been loaded
into it. This ensures that the disc is set properly in the disc indentation in the tray by “shaking” the disc into
place.
For example, if the disc is not placed squarely in the center as it should be, but rather slightly off the lip, the
“shake” will cause the disc to slide into position in the center of the tray.
To enable the Alignment Protection function:
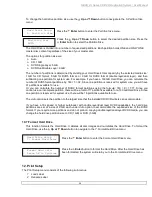
Use the
Up or
Down
button to select the
Alignment
Protection
menu and press the
Enter
button to enter that
menu.
Use the
Up or
Down
button to select whether
Alignment
Protection
is on or off, and press the
Enter
button to select that
option.


