


5
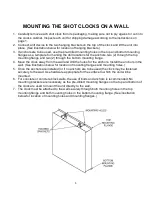
MOUNTING THE SHOT CLOCKS ON A WALL
1. Carefully remove each shot clock from its packaging, making sure not to pry against or cut into
the clock’s cabinet. Inspect each unit for shipping damage according to the instructions on
page 1.
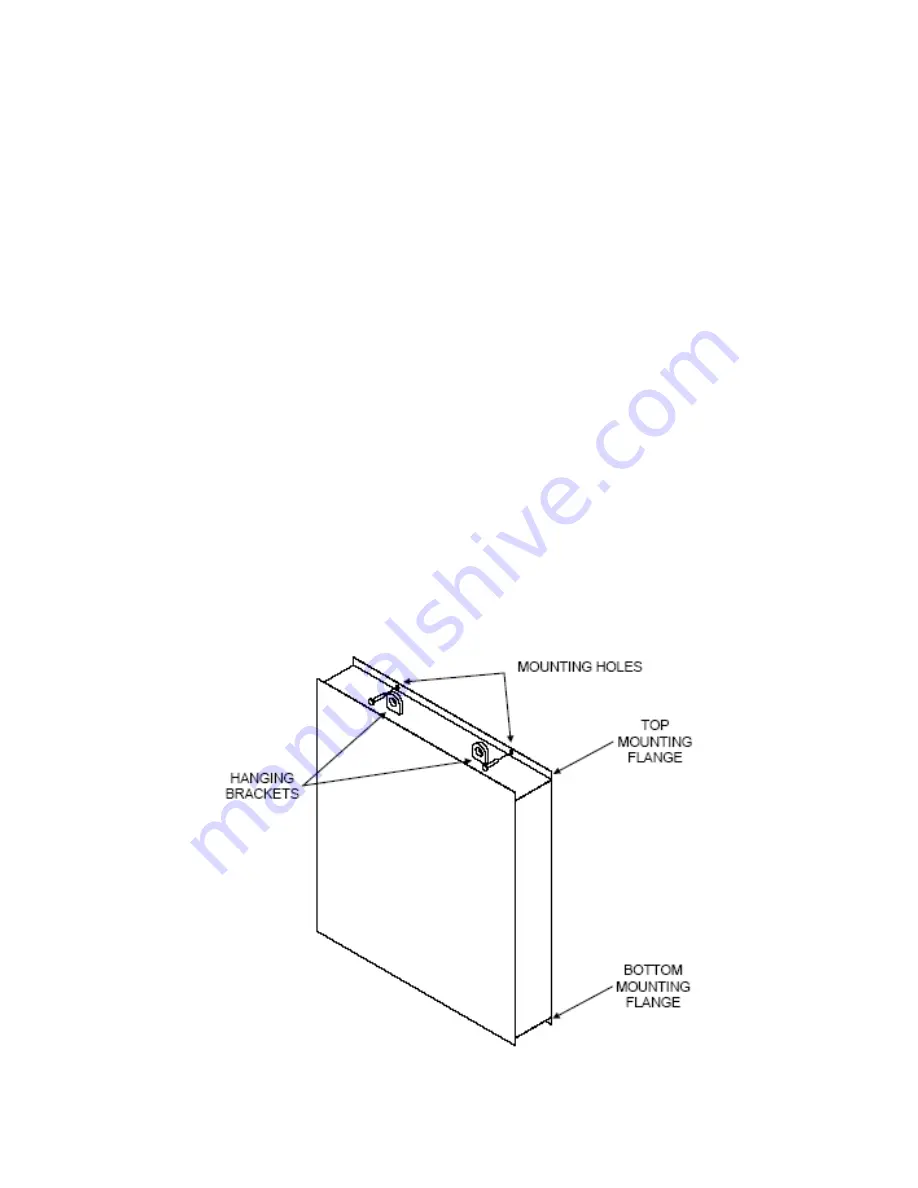
2. Connect a lift device to the two hanging brackets on the top of the clock and lift the unit into
place. (See illustration below for location of hanging brackets.)
3. If anchors are to be used, use the pre-drilled mounting holes in the top and bottom mounting
flanges as a template for marking the drill locations for the anchors, two (2) through the top
mounting flange and two (2) through the bottom mounting flange.
4. Move the clock away from the wall and drill the holes for the anchors. Install the anchors in the
wall. (See illustration below for location of mounting flanges and mounting holes.)
5. Once the anchors are installed (or if no anchors are to be used) the clock may be fastened
securely to the wall. Use hardware appropriate for the surface to which the unit will be
mounted.
6. For concrete or concrete block walls, the use of bolts and anchors is recommended. No
mounting brackets are necessary as the pre-drilled mounting flanges on the top and bottom of
the clock are used to mount the unit directly to the wall.
7. The clock must be attached to the wall securely through both mounting holes in the top
mounting flange and both mounting holes in the bottom mounting flange. (See illustration
below for location of mounting holes and mounting flanges.)


