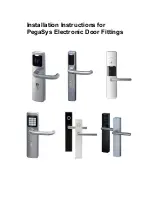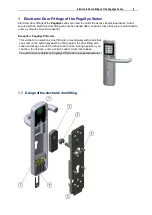
Electronic Door Fittings of the PegaSys Series
15
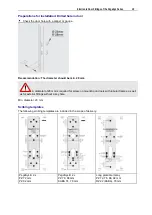
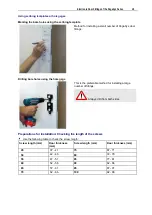
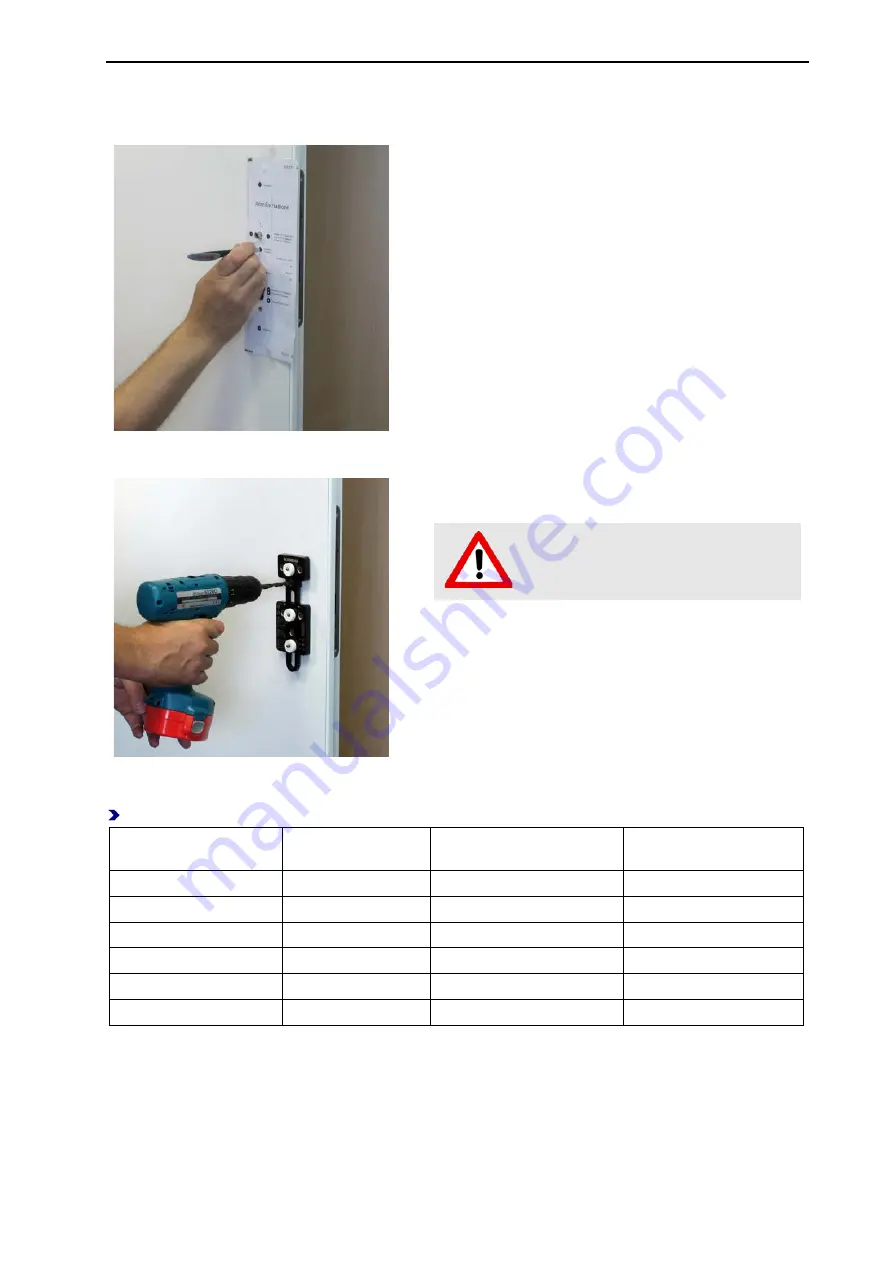
Using scribing templates or hole gages
Marking the bore holes using the scribing template
Method for installing a small number of PegaSys door
fittings.
Drilling bore holes using the hole gage
This is the preferable method for installing a large
number of fittings.
Always drill from both sides.
Preparations for installation: Checking the length of the screws
Use the following table to check the screw length:
Screw length (mm)
Door thickness
(mm)
Screw length (mm)
Door thickness (mm)
45
37 - 41
75
67 - 71
50
42 - 46
80
72 - 76
55
47 - 51
85
77 - 81
60
52 - 56
90
82 - 86
65
57 - 61
95
87 - 91
70
62 - 66
100
92 - 96
Summary of Contents for PegaSys
Page 2: ......
Page 4: ......
Page 7: ...Installation Instructions for PegaSys Electronic Door Fittings ...
Page 8: ......
Page 34: ......
Page 35: ...Installation Instructions for PegaSys Electronic Lock Cylinders ...
Page 36: ......
Page 52: ......
Page 53: ...Installation Instructions for PegaSys Electronic Locker Locks ...
Page 54: ......
Page 61: ...PegaSys Locker Locks 57 Locking lever type 4 6 5 mm angled ...
Page 63: ...PegaSys Teach In or NetworkOnCard Operation Valid for all PegaSys offline components ...
Page 64: ......
Page 78: ......
Page 83: ......

