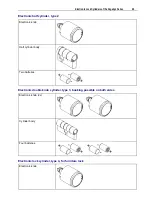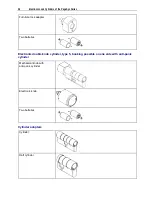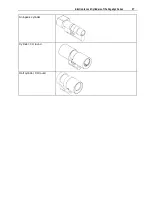
Electronic Lock Cylinders of the PegaSys Series
39
2.2 Installation/dismantling
Preliminary notes:
§
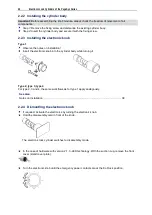
The cylinders are supplied as assembly units.
§
On delivery, the electronic knob is in the factory state and must be programmed before initial
operation/installation.
§
The battery contact has to be removed.
§
All of the described proceedings always relate to a programmed electronic knob.
§
Depending on the reading technology, it might be necessary to "wake up" the electronic knob by turning
it.
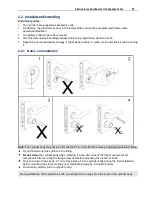
2.2.1 Notes on installation
Note:
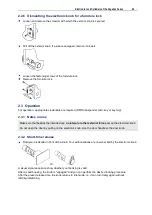
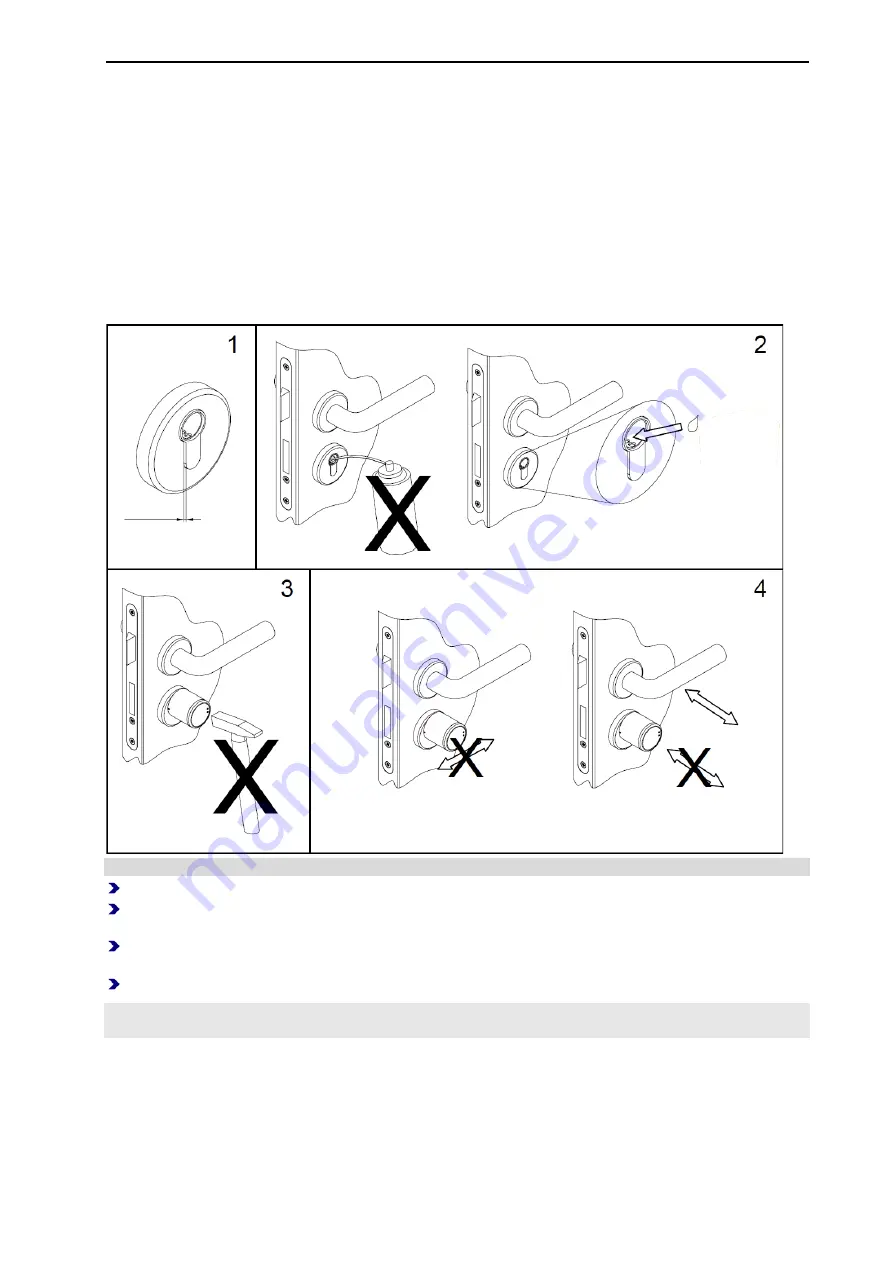
The cylinder body may not jut out more than 1 to 3 mm from the closely adjoining (protection) fitting.
Do not flush-mount the cylinder in the fitting.
Do not strain
the cylinder body when installing it in the door. Check the free movement of all
components after securing the fixing screw and before mounting the electronic knob.
Pour one or two drops (max. 0.1 ml) of resin-free oil in the cylinder body during the first installation
before mounting the electronic knob (e.g. Sprühöl 88 made by: Kontakt Chemie).
Do not spray directly into the cylinder body!
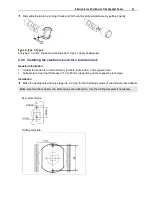
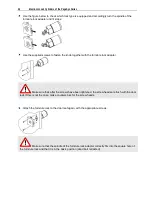
During installation of the electronic knob no external forces may act on the knob or the cylinder body.
Summary of Contents for PegaSys
Page 2: ......
Page 4: ......
Page 7: ...Installation Instructions for PegaSys Electronic Door Fittings ...
Page 8: ......
Page 34: ......
Page 35: ...Installation Instructions for PegaSys Electronic Lock Cylinders ...
Page 36: ......
Page 52: ......
Page 53: ...Installation Instructions for PegaSys Electronic Locker Locks ...
Page 54: ......
Page 61: ...PegaSys Locker Locks 57 Locking lever type 4 6 5 mm angled ...
Page 63: ...PegaSys Teach In or NetworkOnCard Operation Valid for all PegaSys offline components ...
Page 64: ......
Page 78: ......
Page 83: ......

