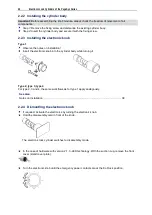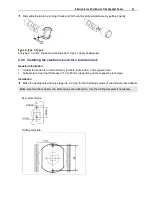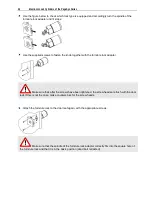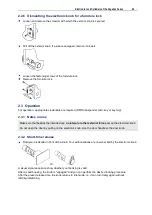
54
PegaSys Locker Locks
3.4.4 Configuring the locker lock
Immediately after inserting the battery:
Hold the facility or master card (depending on the product) in
front of the reader pictogram until the locker lock acknowledges the reading procedure with a visual
signal.
The rest of the procedure depends on whether the locker lock is integrated into an access control system.
For information on configuring the PegaSys Offline components in combination with an access
control system, refer to the associated documentation of the access control systems.
See also
»Teach in« (P 100) operating mode ....................................................................................... 61
Visual and audible signals ...................................................................................................... 64
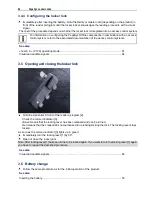
3.5 Opening and closing the locker lock
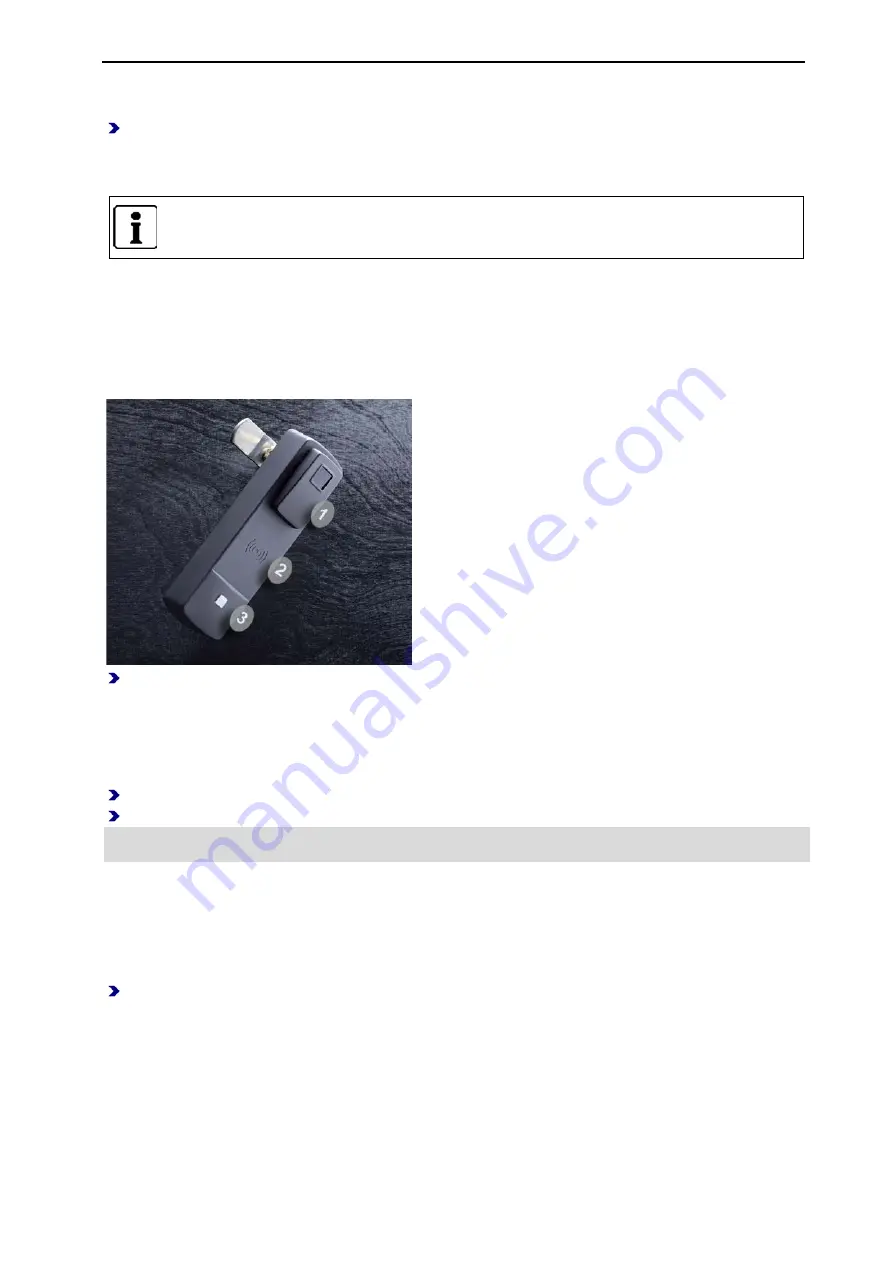
Hold the credential in front of the reader pictogram [2].
Check the colored indicator [3].
Green
means that the locking lever has been released and can be turned.
Red
means that the credential is not authorized for releasing/locking the lock. The locking lever stays
locked.
As soon as the colored indicator [3] lights up in green:
Immediately turn the locking lever [1] by 90°.
Open or close the locker door.
Note: After locking lever [1] has been turned, it is locked again. If you want to turn the locking lever [1] again,
you have to repeat the described procedure.
See also
Visual and audible signals ...................................................................................................... 64
3.6 Battery change
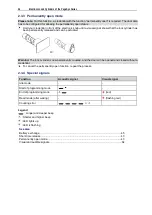
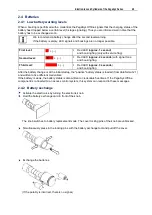
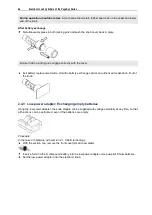
Follow the same procedure as for the initial operation of the product.
See also
Inserting the battery ................................................................................................................ 53
Summary of Contents for PegaSys
Page 2: ......
Page 4: ......
Page 7: ...Installation Instructions for PegaSys Electronic Door Fittings ...
Page 8: ......
Page 34: ......
Page 35: ...Installation Instructions for PegaSys Electronic Lock Cylinders ...
Page 36: ......
Page 52: ......
Page 53: ...Installation Instructions for PegaSys Electronic Locker Locks ...
Page 54: ......
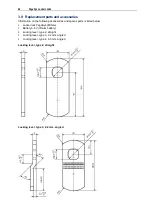
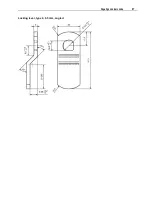
Page 61: ...PegaSys Locker Locks 57 Locking lever type 4 6 5 mm angled ...
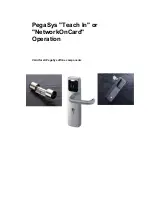
Page 63: ...PegaSys Teach In or NetworkOnCard Operation Valid for all PegaSys offline components ...
Page 64: ......
Page 78: ......
Page 83: ......

