129 • Schlage • ENGAGE Managed Property User's Guide
Control Mobile Enabled Smart Lock
Installation and Commissioning
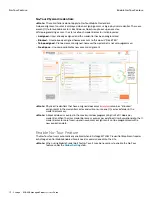
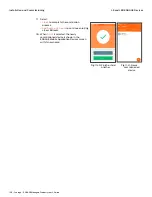
7. The next screen displays:
• Only once per property
• Only once for each Administrator
• Only once for each product type
Note:
Î
This is the ONLY reminder to think about and use the
predefined
) before
setting up several devices. Administrators can use the
currently defined default ENGAGE settings for this device or
elect to modify the Property Wide settings now.
Note:
Î
Administrators may modify individual device settings at any
time, using the
Customize Settings
option also provided.
8. Select
Use Default Settings
to continue
• We will use the previously defined Schlage Control Mobile Enabled
Smart lock default settings.
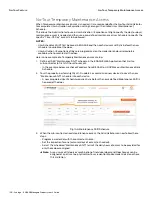
9. Select the specific Schlage Control Mobile
Enabled Smart lock to be commissioned
from the list of new or recently Factory
Default Reset (FDR) devices displayed.
10. Select the desired Schlage Control Mobile
Enabled Smart lock for commissioning.
• In this case we selected the
Schlage Lock
with
serial number
E10000000001B846
.
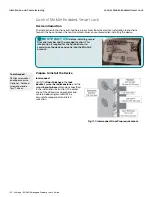
11. Verify that the selected device LED is flashing
RED.
12. Select
YES
to continue.
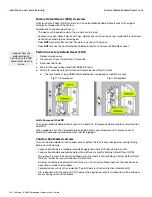
13. Enter a descriptive
Lock Name
for this Lock.
• In this case we entered
Storage Room
.
14. Select
Next
.
Fig. 11.12: Default or
Customize
Fig. 11.13: Select a Lock Screens
All nearby Control
Mobile Enabled Smart
locks with
RETRACTED deadbolt
and available for
commissioning are
displayed.
The Device serial
number can be found
on the sticker on the
front of the Schlage
Control Mobile
Enabled Smart lock or
on the inside plate.
When multiple
Control locks are
present, select the
appropriate device by
serial number, or just
pick one and see
which begins flashing.
Fig. 11.14: Light blinking
screen
Fig. 11.15: Name Lock


