


17
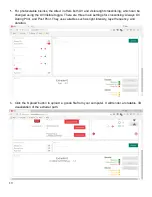
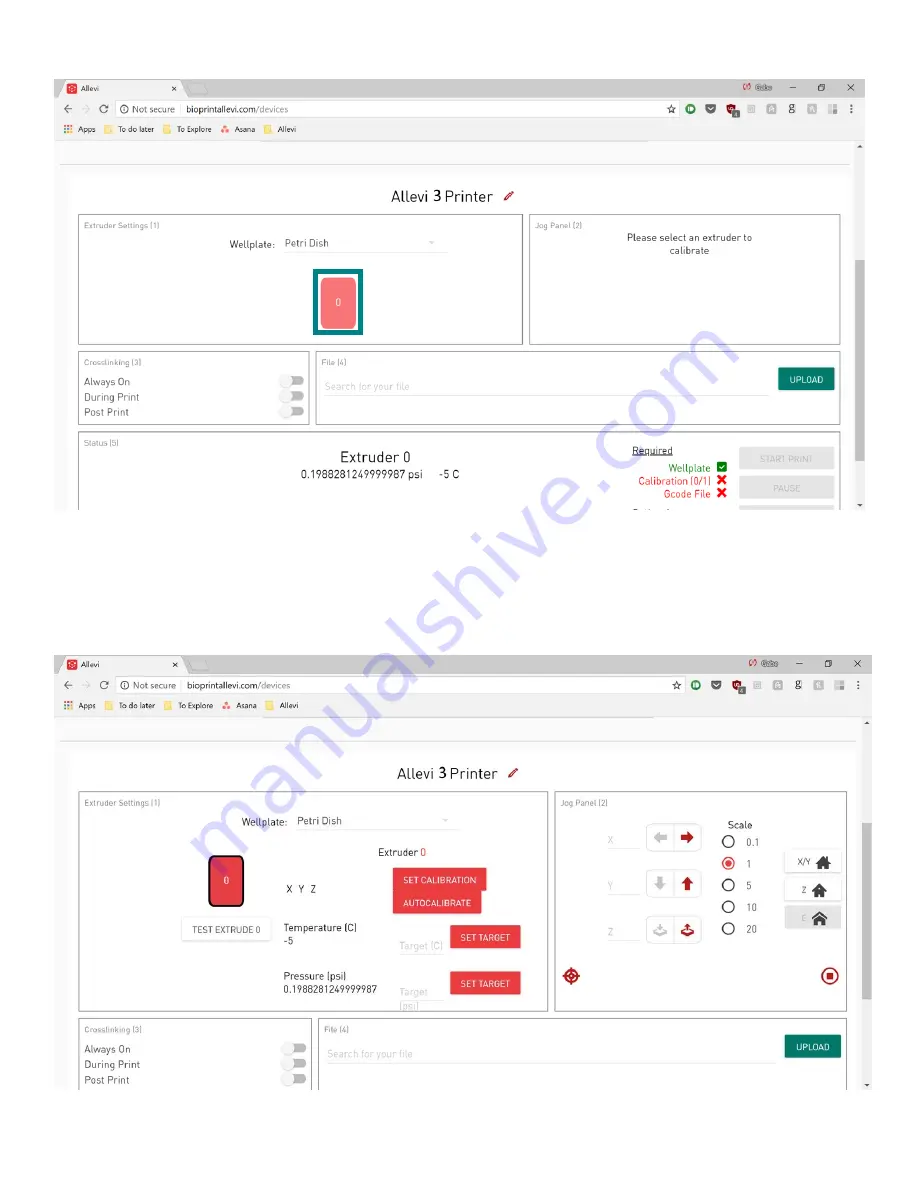
4.
Select your wellplate and then activate your extruders by clicking on the red extruder button.
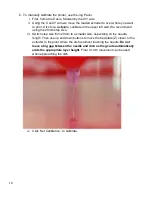
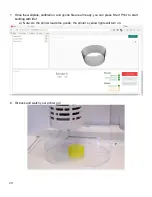
7.
Now that you’ve activated your extruder, you can test its extrusion, move it around (in the
‘Jog Panel’), or calibrate it.
a. For
autocalibration, click the ‘Autocalibrate’ button. (Autocalibration takes ~2 minutes
and will avoid the need for the ‘Jog Panel’.)
For short needles, only add the
wellplate after autocalibration is complete, otherwise the extruder will crash.
Summary of Contents for 3
Page 1: ...1 Allevi 3 User Guide 1 0 3 ...
Page 2: ...2 BUILD W ITH LIF E ...
Page 6: ...6 Let s Get Started ...
Page 13: ...13 Let s Start Printing ...
Page 23: ...23 ...


