background image

19 
 

TROUBLESHOOTING AND MORE INFORMATION 


When you buy an Allevi bioprinter, you’re not just g

etting a biofabrication platform

; you’re 

gaining the Allevi Advantage, which is all the experience and expertise Allevi has to offer. 
 

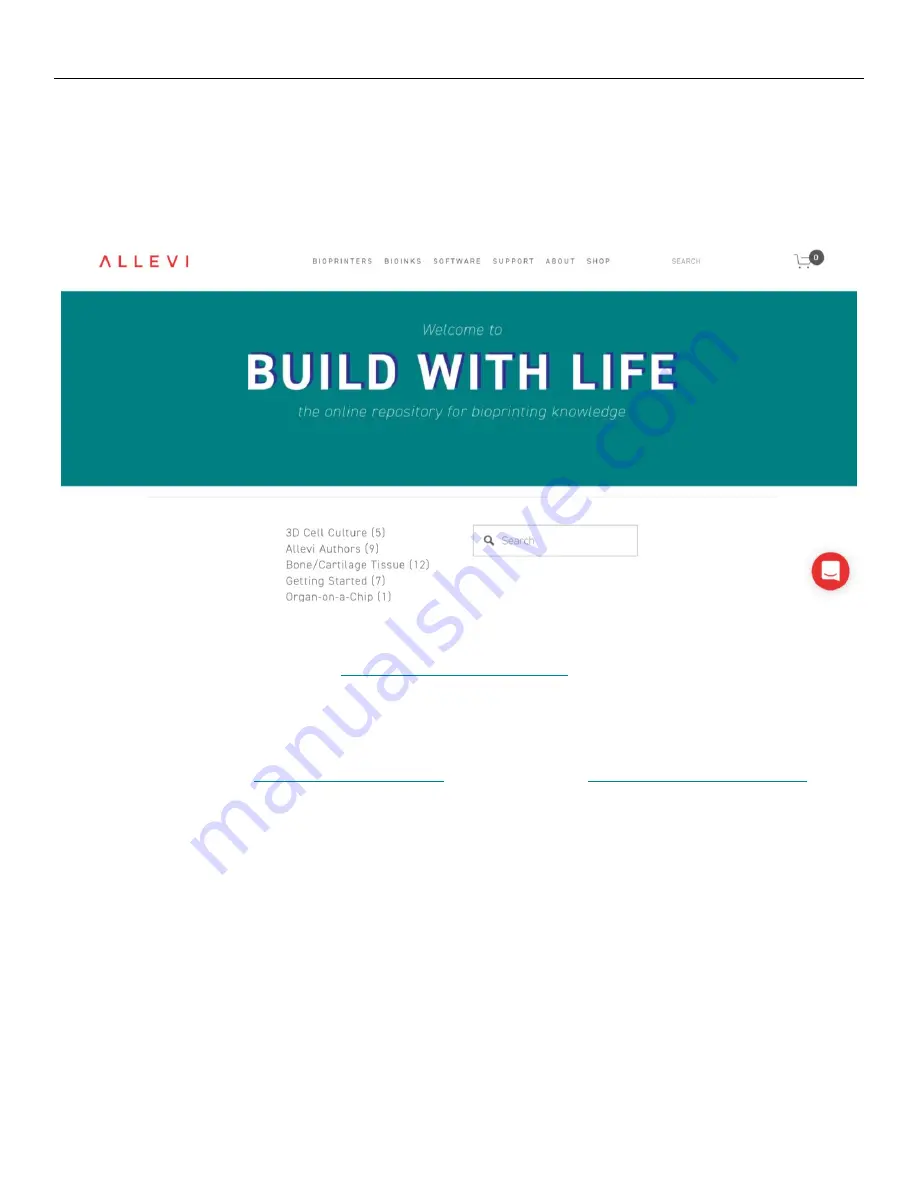
One very useful resource is Allevi’s Build With Life repository. We upload protocols, experiments, 

and guides to help you be more successful with bioprinting. 


You can also visit the 

Allevi YouTube channel

 for video instructions. 


Have more questions or need help? 

 Visit us on the 

Allevi Support page

 or email us at 

support@allevi3d.com

! 


Summary of Contents for Allevi 1

Page 1: ...1 Allevi 1 User Guide 1 0 6 ...

Page 2: ...2 BU IL D W ITH L I FE ...

Page 3: ...NS 4 SAFETY AND COMPLIANCE 4 GETTING STARTED 5 WHAT S IN THE BOX 6 ALLEVI 1 DIAGRAM 7 SETTING UP YOUR PRINTER 8 SETTING UP YOUR SOFTWARE 9 START PRINTING 12 YOUR FIRST BIOPRINT 13 MAINTENANCE TROUBLESHOOTING 19 TROUBLESHOOTING AND CONTACT US 19 ...

Page 4: ...ition Manufacturing Pressure Range 0 120PSI 0 820kPa Layer Resolution 50 microns Print File Type Gcode Build Volume 5 1 x 3 5 x 2 4 in 42 8 in3 13 x 9 x 6 cm 702 cm3 CORE Printhead Max Temp 160 C Min Temp 4 C LED Range 365 nm and 405 nm WARNING The Allevi 1 includes moving parts that can cause injury Never reach inside the printer while it is in operation WARNING Do not leave the printer unattende...

Page 5: ...5 Let s Get Started ...

Page 6: ...6 WHAT S IN THE BOX Allevi 1 bioprinter Power cord Starter bioink kit Air compressor Compressor hose ...

Page 7: ...7 ALLEVI 1 DIAGRAM A Air Compressor Line B CORE printhead C Autocalibration pad D Build Plate E Power On Off ...

Page 8: ...ng the compressor hose to nozzle on the left side of the printer labelled Step 4 below This can be a tricky maneuver so for more in depth directions on connecting the air compressor watch this quick video Note The air compressor must remain turned on for the entirety of the print We recommend keeping the air compressor set to a pressure significantly higher than your print pressure This is so that...

Page 9: ...com Our software runs out of a browser and requires no downloads We recommend Google Chrome or Firefox but Safari and Edge are also acceptable 2 Login to the software To set up an account click Create an account and fill out the form 3 To register your printer scroll down in your printer list and click Add printer ...

Page 10: ...r Your serial number can be found on the back of your printer or in your onboarding email from the Allevi Support Team 5 Once your printer is registered it will appear as an available printer in your printer list You can also see its Internet connection status ...

Page 11: ...r browser By connecting to Allevi WiFi Connect your computer will briefly lose access to the Internet a To connect to WiFi choose your WiFi network from the dropdown menu under SSID type in the password and hit connect The chosen WiFi network should be a private network without a Click to accept intermediate page Your computer s WiFi will be restored and your printer will connect to the Internet E...

Page 12: ...12 Let s Start Printing ...

Page 13: ...deo If you prefer watching videos visit allevi3d com getting started and watch the Your First Bioprint video 1 Turn on your printer Yellow lights will stay on while the printer loads its firmware and connects to the Internet You can connect to your printer once the yellow lights are off 2 Login to bioprint allevi3d com Select your printer from the printer list and click Connect ...

Page 14: ... a preloaded syringe from your starter kit attach a 30 gauge 0 25 pink needle to the syringe and load syringe into the CORE printhead Twist the cap under the shoulder screws to secure it a To load syringes with Pluronic F127 or other materials watch our instructional video which is available on the Getting Started page NOTE Bioinks may be loaded differently and use different needles depending on t...

Page 15: ...15 5 Select your print file 6 Select your wellplate For your first bioprint we ll be using a petri dish ...

Page 16: ...en build plate iii Set the step size to an appropriate increment depending on the needle length Then use up and down buttons to move the bed plate Z closer to the extruder to the point where the dish is almost touching the needle Do not leave a big gap between the needle and dish as the gcode automatically adds the appropriate layer height Finer 0 1 and 0 05 mm movement can be used when approachin...

Page 17: ...ressure to 80 PSI Leave it at room temperature 9 For photocurable bioinks the Allevi 1 offers both UV and visible light crosslinking which can be changed using the UV Visible toggle There are three main settings for crosslinking Always On During Print and Post Print They use variables such as light intensity layer frequency and duration ...

Page 18: ...18 10 Once the everything is ready to go Print to start building with life 11 Sit back and watch your printer go ...

Page 19: ...he experience and expertise Allevi has to offer One very useful resource is Allevi s Build With Life repository We upload protocols experiments and guides to help you be more successful with bioprinting You can also visit the Allevi YouTube channel for video instructions Have more questions or need help Visit us on the Allevi Support page or email us at support allevi3d com ...

Page 20: ...20 Allevi Inc 3401 Grays Ferry Ave Building 176 Philadelphia PA 19146 Copyright Allevi Inc 2018 ...

Page 21: ...21 ...

Reviews: