ALL
FASTENERS.COM
|
19
()
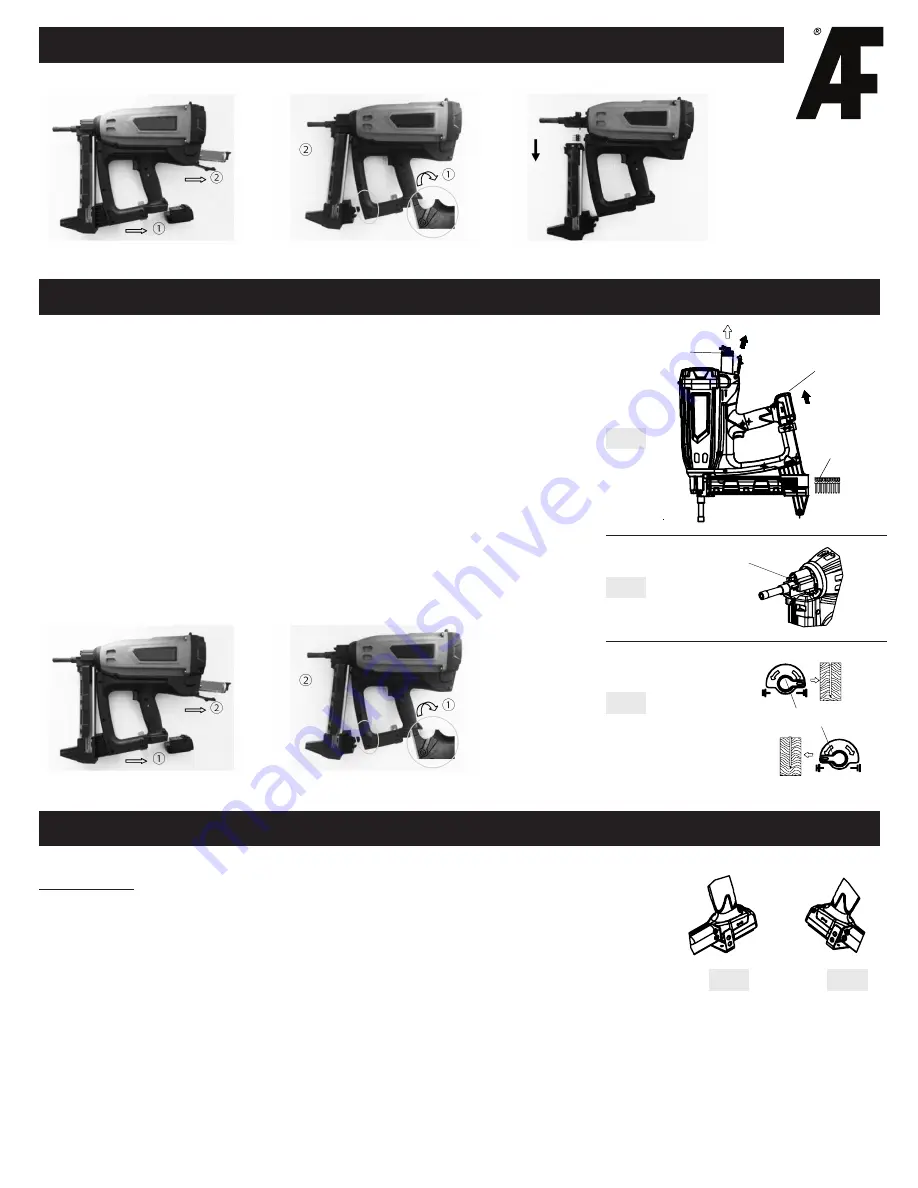
21. NAIL JAM REMOVAL (CONT’D)
23. USING THE HOOK
CAUTION
Using the hook will allow the operator to hang the nailer on work belt, scaffolding, etc.
This nailer hook can be used on the left or right, side by side mounting as shown
in 23.A and 23.B.
Follow these steps to access and use hook feature:
1. Use accessory wrench (M5) to loosen and pull out two screws.
2. Pull out the hook and reverse insert if needed.
3. Insert the screws and tighten. The screws must be tightened to avoid the hook from falling off and causing damage to the nailer
or injury to user.
If the tool falls, there is a risk of malfunctions or damaged parts can occur. It is recommended that you also use fall preventing wires,
clasps, lanyards, etc.
23.A
23.B
To assure that each nail penetrates the same depth, be sure the nailer is always held firmly
against the work surface. If nails are driven too deep or shallow into the work surface, adjust
the nailing depth by following the steps below.
1.
Remove the fuel cell and the battery from the nailer. See drawing 22.A.
2.
Turn the nob. See drawing 22.B.
If nail depth is too deep, turn the knob clockwise. If nail depth is too
shallow, turn the knob anticlockwise. See drawing 22.C.
3.
Connect the fuel cell and the battery to the nailer.
ALWAYS WEAR SAFETY GLASSES.
4.
Perform a nailing test.
22.A
22.B
21.C
Fuel Cell
Battery Pack
Plastic strip nails
Fuel Cell
Battery Pack
Plastic
Strip Nails
Knob
Knob
clockwise
anticlockwise
Knob
Clockwise
Knob
Anticlockwise
22. ADJUSTING THE NAILING DEPTH


