3. Press the NORMAL 40 (
∧
) or the DELICATES COLD (
∨
)
keypad to scroll through the programmable options until
PLSE
appears in the display.
4. When
PLSE
appears in the display, press the START (enter)
keypad.
NOTE: To go back to the current programmable op-
tion without changing the value, press the DELI-
CATES 30 (<) keypad.
5. Press the NORMAL 40 (
∧
) or the DELICATES COLD (
∨
)
keypad to increase or decrease the value of the active digit
and the START (enter) keypad to enter the value of the digit
and advance to the next digit.
6. Press the START (enter) keypad when the correct value ap-
pears in the display. The new value is saved and the next op-
tion will appear in the display.
Start Pulse Mode
PLSNod
This option allows the owner to program the Start Pulse Input.
The Start Pulse Mode can be used for after-market central pay or
card systems. The central system sends the start pulse to the Start
Pulse Input of the control to start the cycle. If set for single pulse,
one start pulse from the central system will start the cycle. If set
for multiple pulses, each pulse will deduct from the vend price
value set up in Start Pulse Value until the vend is satisfied.
1. Control must be in Manual Mode. Refer to
2. Press the NORMAL 40 (
∧
) or the DELICATES COLD (
∨
)
keypad until
Prog
appears in the display. Press the START
(enter) keypad, and
AtS 1
will appear in the display.
3. Press the NORMAL 40 (
∧
) or the DELICATES COLD (
∨
)
keypad to scroll through the programmable options until
PLSNod
appears in the display.
4. When
PLSNod
appears in the display, press the START (en-
ter) keypad.
oFF
or a number will appear in the display. This
number corresponds to the current Start Pulse Mode Program-
ming Value.
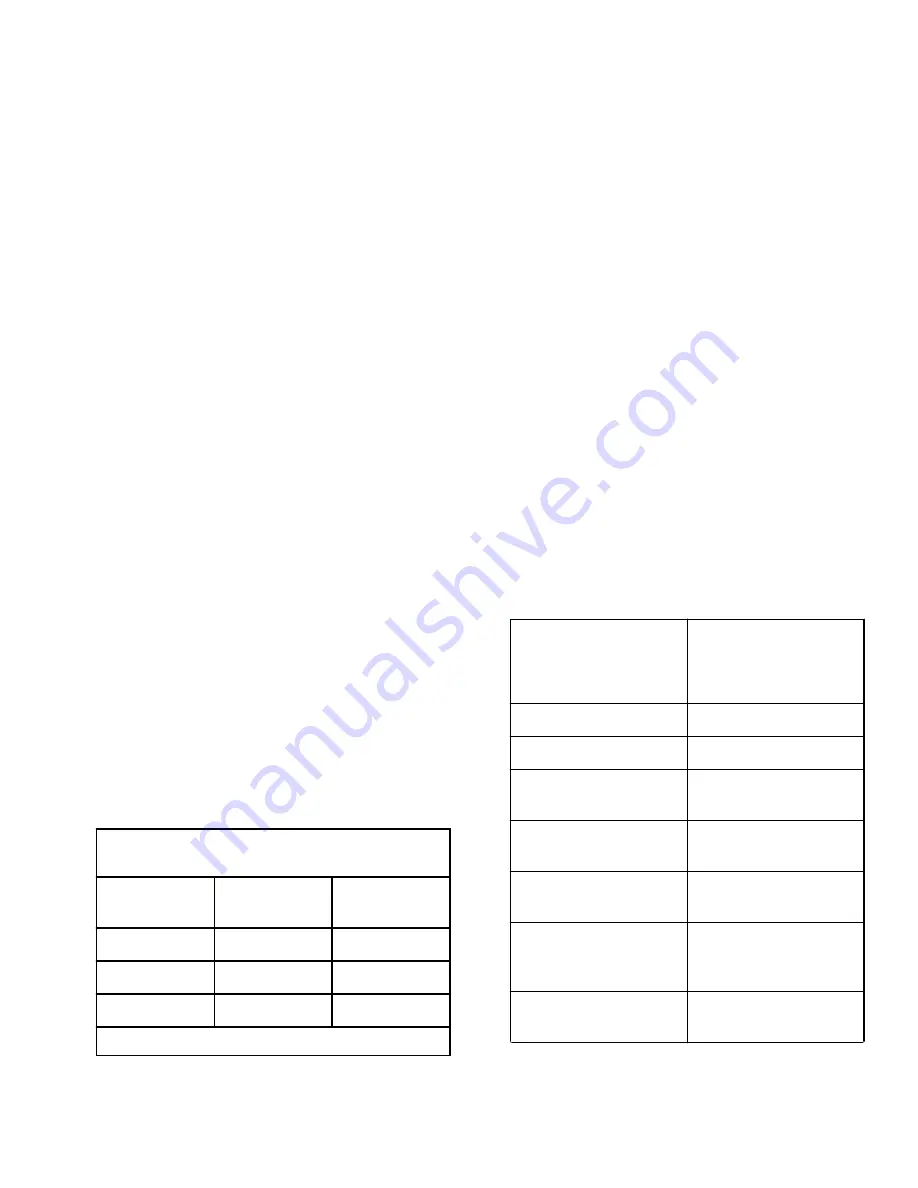
5. Locate the desired number in the first column of
low.
PLSNod
Start Pulse
Mode Value
Start Pulse
ON/OFF
Single Pulse/
Multiple Pulses
0
OFF
OFF
128 *
ON
Single Pulse
192
ON
Multiple Pulses
* Factory default setting.
Table 1
6. Press the NORMAL 40 (
∧
) or the DELICATES COLD (
∨
)
keypad to increase or decrease the current number until cor-
rect.
NOTE: To go back to the current programmable op-
tion without changing the current value, press the
DELICATES 30 (<) keypad.
7. Press the START (enter) keypad when the correct value ap-
pears in the display. The new value is saved and the next op-
tion will appear in the display.
Programmable Output Type
AtyPE
This option allows the owner to program when the control pro-
vides an output that can be used for variety of reasons.
1. Control must be in Manual Mode. Refer to
2. Press the NORMAL 40 (
∧
) or the DELICATES COLD (
∨
)
keypad until
Prog
appears in the display. Press the START
(enter) keypad, and
AtS 1
will appear in the display.
3. Press the NORMAL 40 (
∧
) or the DELICATES COLD (
∨
)
keypad to scroll through the programmable options until
AtyPE
appears in the display.
4. When
AtyPE
appears in the display, press the START (enter)
keypad. A number will appear in the display. This number
corresponds to the current Output Type Value.
5. Press the NORMAL 40 (
∧
) or the DELICATES COLD (
∨
)
keypad to increase or decrease the current number to the de-
sired number selected from
.
Programmable Out-
put Type Value
Mode(s) in Which
Available Signal is
Active
0* - Available
Ready Mode only
1 - Available with Start
Ready Mode, Start Mode
2 - Available with End of
Cycle
Ready Mode, End of Cy-
cle Mode
3 - Available with Start
and End of Cycle
Ready Mode, End of Cy-
cle Mode, Start Mode
4 - Vend is Not Satisfied
Ready Mode, Partial
Vend Mode
5 - Vend is Not Satisfied
with End of Cycle
Ready Mode, Partial
Vend Mode, End of Cycle
Mode
6 - Available with Vend
Ready Mode, Partial
Vend Mode, Start Mode
Table 2
continues...
Programming Control
©
Published by permission of the copyright owner -
DO NOT COPY or TRANSMIT
47
Part No. 805405ENR5
Summary of Contents for BT3JGASG403UW01
Page 2: ......


