13
45-074, REV. 5/18
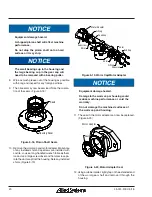
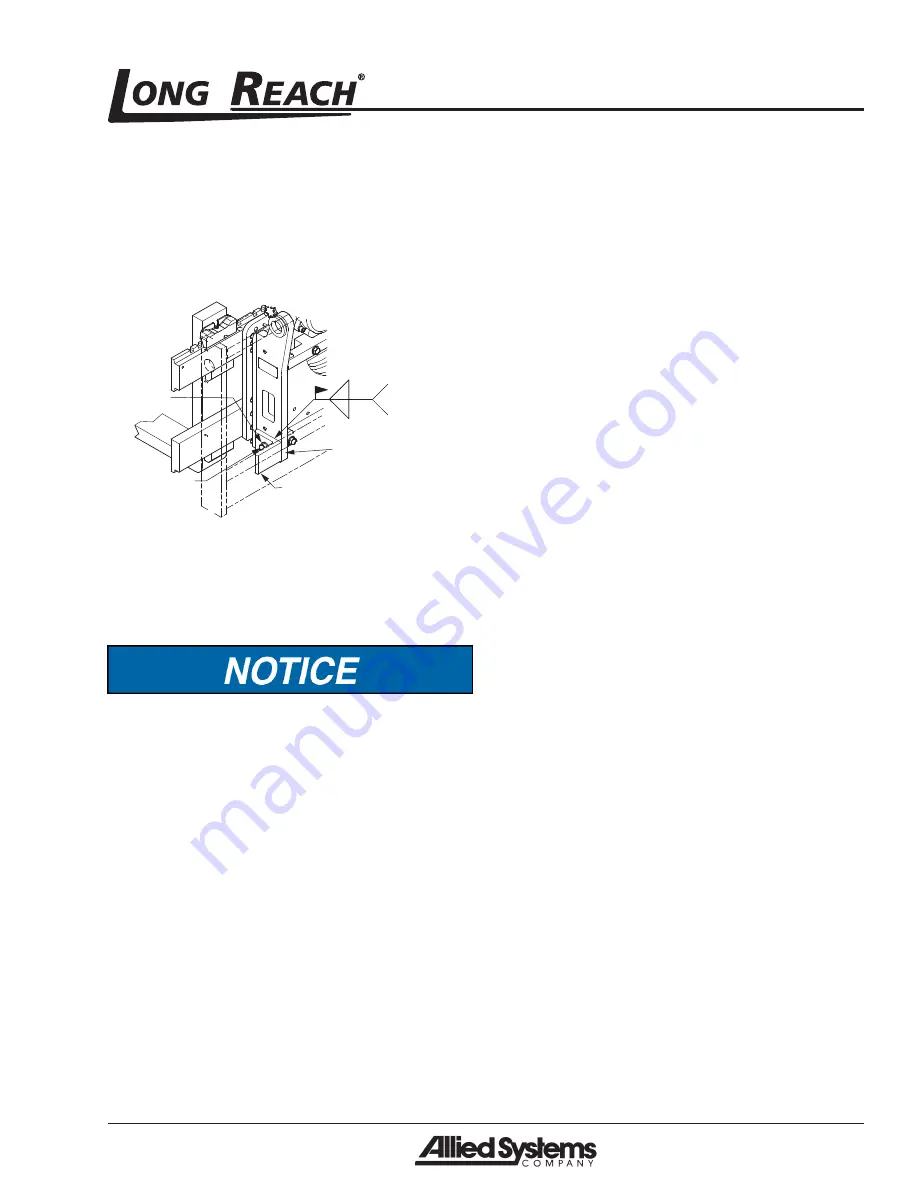
3. Install the pin-mount attachment to truck carriage.
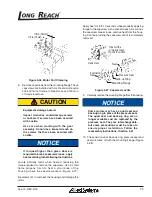
Using the attachment as a template, weld on the
bracket lugs, supplied with the attachment, to lower
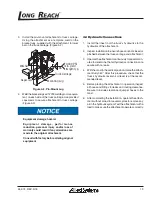
bar on the truck carriage. (Figure 4-2)
Truck Carriage
Mounting Lug
Capscrew
70,000 PSI
min. yield
strength typ.
.38
Washer
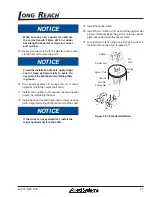
Figure 4-2, Pin-Mount Lug
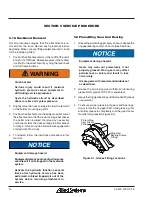
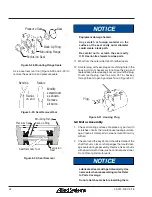
4. Weld the bracket lugs with 7018 welding rod, or equiva-
lent, on each side of the truck carriage. Use provided
capscrews to secure attachment to truck carriage.
(Figure 4-3)
Equipment damage hazard.
E q u i p m e n t d a m ag e , p e r fo r m a n c e
reduction, personal injury and/or loss of
warranty could result if any alterations are
made to the original attachment.
Consult with factory before altering original
equipment.
4.3 Hydraulic Connections
1. Install the lines from the truck’s hydraulics to the
hydraulics of the attachment.
2. Inspect installation to ensure hoses are not kinked or
pinched between the truck carriage and attachment.
3. Operate the attachment continuously for several min-
utes to determine that all hydraulic connections are
secure with no leaks.
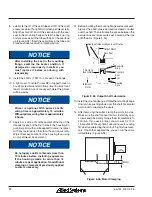
4. With the mast in the vertical position, rotate the attach-
ment fully 360°. After this procedure, check that the
truck’s hydraulic reservoir oil level is at the recom-
mended level.
5. Before placing the attachment in operation inspect
all hoses and fittings for leaks and routing clearance.
Be sure to include clearance of jumper hoses to the
mast.
6. After completing the installation, operate the attach-
ment without a load for several cycles to remove any
air in the hydraulic system. Test the attachment with a
load to make sure the attachment operates correctly.

