24
45-074, REV. 5/18
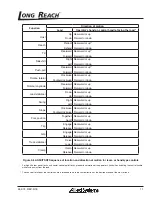
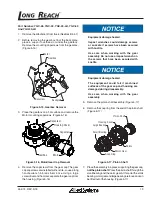
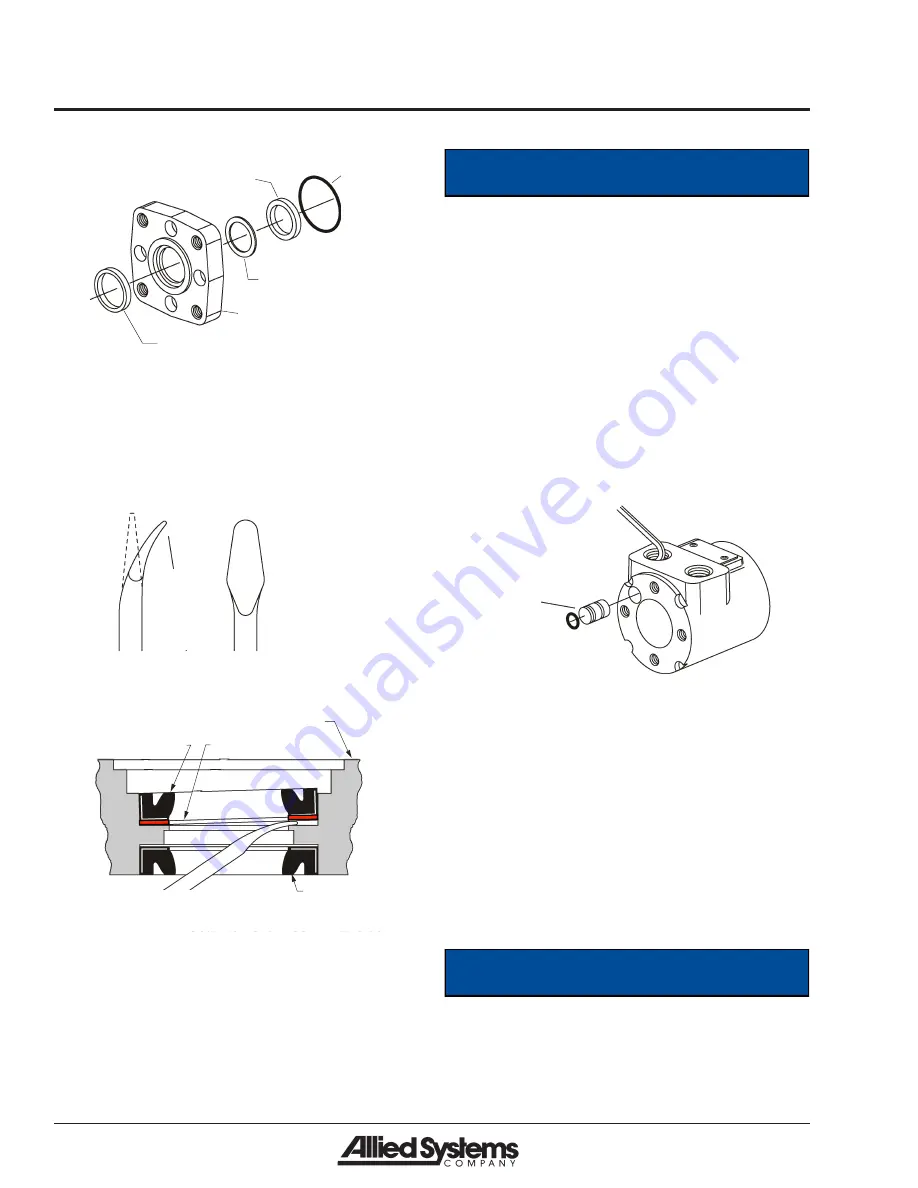
Pressure Seal
Mounting Flange
Exclusion Seal
Back-Up Ring
Seal
Figure 5-28, Mounting Flange Seals
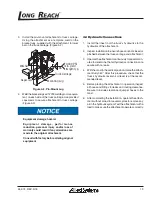
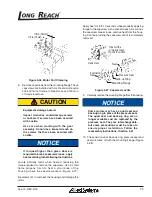
Use a seal removal tool (Figure 5-29 and 5-30) to
remove the exclusion and pressure seals.
Radius
Bend tip
Radius
on end
Modify
screwdriver
as shown.
Remove
all burrs.
Figure 5-29, Seal Removal Tool
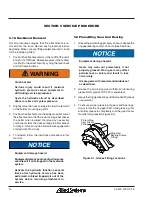
Exclusion
Seal
Back-up Ring
Pressure Seal
Mounting Flange
Seal Removal Tool
Figure 5-30, Seal Removal
NOTICE
Equipment damage hazard.
Any scratch or foreign material on the
surface of the seal cavity outer diameter
could create a leak path.
Be careful not to scratch the seal cavity
O.D. Use lint-free towels to wipe parts
11. Work from the outer side for both (either) seals.
12. A metal plug, with seal, plugs a machining hole in the
housing. It is not necessary to remove the plug and
replace seal unless leakage occurs around the plug.
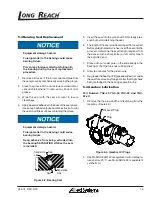
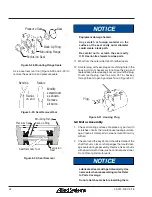
To remove the plug, insert a 5 mm (.187 in.) hex key
through the port opening and push it out. (Figure 5-31)
Plug
Figure 5-31, Housing Plug
5.8 Motor Assembly
1. Check all mating surfaces. Replace any parts with
scratches or burrs that could cause leakage or dam-
age. Clean all metal parts in clean solvent. Blow dry
with air.
2. Check around the key slot and chamfered area of the
shaft for burrs, nicks or sharp edges that could dam-
age seals during reassembly. Remove nicks or burrs
with a hard smooth stone (such as an Arkansas stone).
Do not file or grind motor parts.
NOTICE
Lubricate all seals with petroleum jelly. Use
new seals when reassembling motor. Refer
to Parts Coverage.
Do not stretch seals before installing them.


