x310 Series Installation Guide for Stand-alone Switches
71
Allied Telesis recommends cleaning out the holes with a brush or
compressed air.
8. Insert the two anchors into the holes.
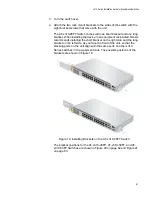
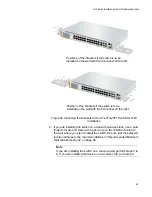
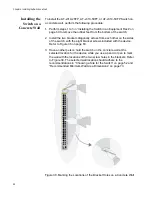
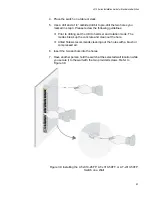
9. Have another person hold the switch at the selected wall location while
you secure it to the wall with the two provided screws. Refer to
Figure 28. Be sure to observe the following guidelines as you install
the switch on the wall:
If you are installing the switch on a wall with wooden studs, you
must secure the switch to the middle of the stud you identified in
step 4.
Be sure to leave sufficient space from other devices or walls so that
you can access the front and back panels. Refer to
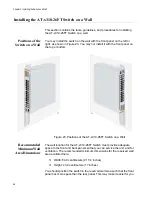
“Recommended Minimum Wall Area Dimensions” on page 66.
Figure 28. Installing the AT-x310-26FT Switch on a Wall
Summary of Contents for AT-x310-26FP
Page 10: ...Tables 10 ...
Page 14: ...Preface 14 ...
Page 46: ...Chapter 1 Overview 46 ...
Page 56: ...Chapter 2 Beginning the Installation 56 ...
Page 92: ...Chapter 5 Cabling the Networking Ports 92 ...


