Chapter 4: Installing the Switch on a Wall
78
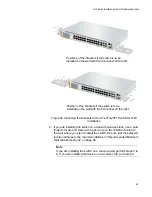
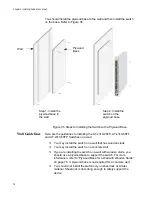
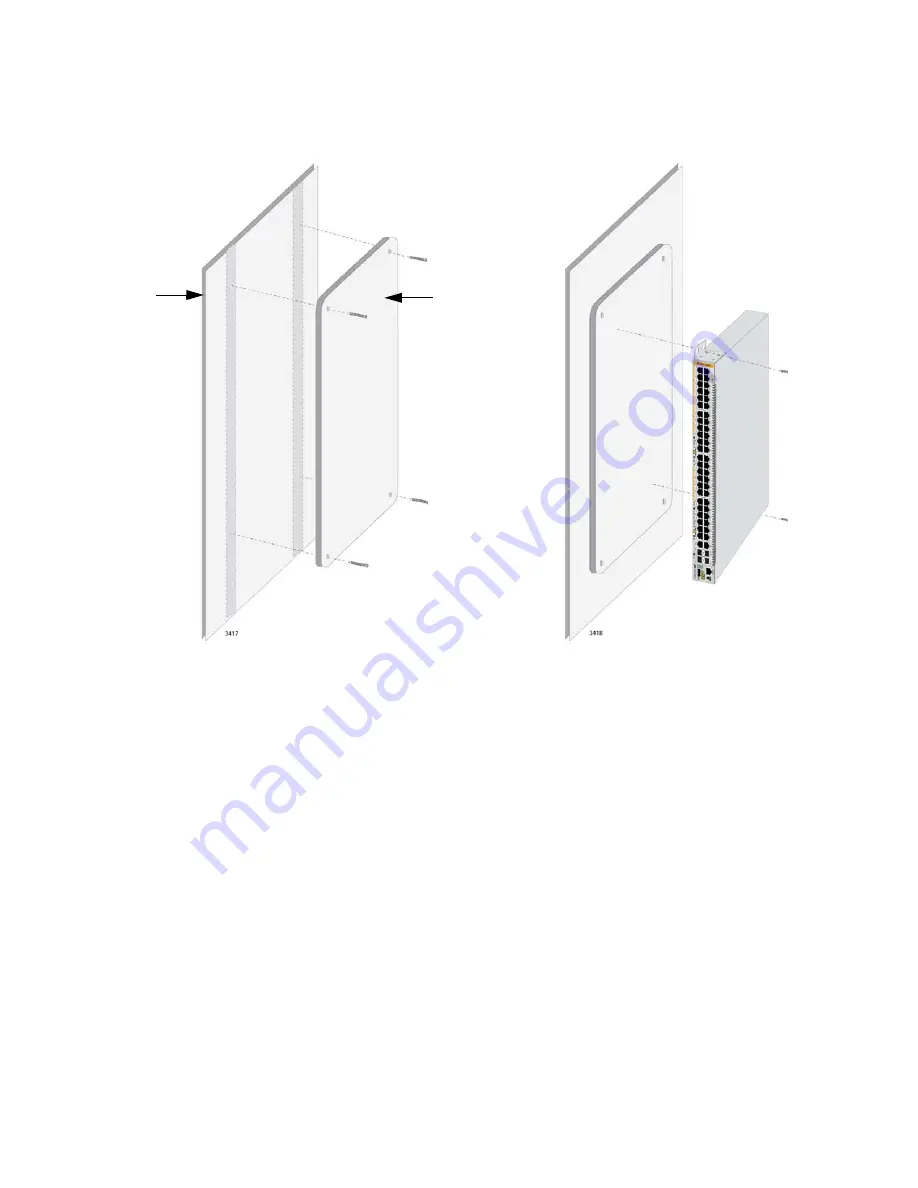
You should install the plywood base to the wall and then install the switch
on the base. Refer to Figure 35.
Figure 35. Steps to Installing the Switch with a Plywood Base
Wall Guidelines
Here are the guidelines to installing the AT-x310-26FP, AT-x310-50FT,
and AT-x310-50FP Switches on a wall.
You may install the switch on a wall that has wooden studs.
You may install the switch on a concrete wall.
If you are installing the switch on a wall with wooden studs, you
should use a plywood base to support the switch. For more
information, refer to “Plywood Base for a Wall with Wooden Studs”
on page 75. A plywood base is not required for a concrete wall.
You should not install the switch only on sheetrock or similar
material. Sheetrock is not strong enough to safely support the
device.
Step 1: Install the
plywood base to
the wall.
Step 2: Install the
switch on the
plywood base.
Wall
Plywood
Base
Summary of Contents for AT-x310-26FP
Page 10: ...Tables 10 ...
Page 14: ...Preface 14 ...
Page 46: ...Chapter 1 Overview 46 ...
Page 56: ...Chapter 2 Beginning the Installation 56 ...
Page 92: ...Chapter 5 Cabling the Networking Ports 92 ...


