TQ6000 GEN2 Access Points User’s Guide
134
8. Click the
SAVE & APPLY
button to save and update the configuration,
or configure other VAPs and save the configurations at once later.
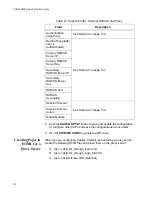
9. Or click
VIEW QR CODE
to generate a QR code.
Delegating a
Proxy Sever to
Interact with
Wireless Clients
When you want to display one web page with a Agree button to wireless
client without authenticating wireless clients, perform the following
procedure:
1. Select
Settings > VAP / Security
from the main menu.
2. Select
Radio1
or
Radio2
from the sub-menu. The default is Radio1.
You can configure only one radio at a time.
3. Select a VAP to configure from the next sub-menu. The default is
VAP0.
Note
You can configure multiple VAPs without saving each VAP
configuration page. You can save multiple VAP configurations all at
once by clicking the
SAVE & APPLY
button.
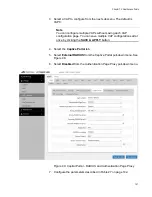
4. Select the
Captive Portal
tab.
5. Select
Click-Through
from the Captive Portal pull-down menu.
6. Select
Enabled
from the Authentication Page Proxy pull-down menu.
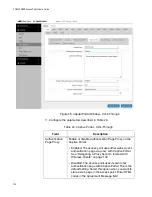
See Figure 46.
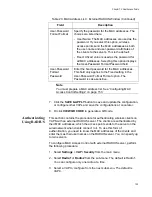
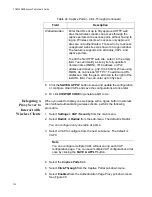
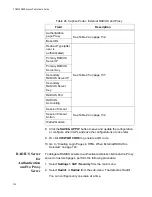
Walled Garden
Enter the URLs of up to fifty approved HTTP web
sites that wireless clients can access through the
captive portals on the access point, without having to
log on. Wireless clients who access only approved
sites are not authenticated. Those who try to access
unapproved web sites are shown to a logon window.
The feature is supported on all radios, VAPs, and
captive portals.
To add the first HTTP web site, enter it in the empty
field. You can identify a site by its fully qualified
domain name (FQDN), IPv4 address, or IPv4
address and mask (e.g 32.134.45.0/24). When using
FQDN, do not include “HTTP://”. To add more URL
addresses, click the green add icon to the right of the
last URL field. You can enter up to fifty sites.
Table 24. Captive Portal - Click-Through (Continued)
Field
Description
Summary of Contents for TQ6000 GEN2
Page 4: ......
Page 8: ...TQ6000 GEN2 Access Points User s Guide 8 ...
Page 12: ...TQ6000 GEN2 Access Points User s Guide 12 ...
Page 16: ...TQ6000 GEN2 Access Points User s Guide 16 ...
Page 40: ...TQ6000 GEN2 Access Points User s Guide 40 Figure 6 Log Window for Event Messages ...
Page 68: ...TQ6000 GEN2 Access Points User s Guide 68 ...
Page 92: ...TQ6000 GEN2 Access Poinst User s Guide 92 ...
Page 102: ...TQ6000 GEN2 Access Poinst User s Guide 102 ...
Page 156: ...TQ6000 GEN2 Access Points User s Guide 156 Configuring Passpoint Passpoint is not supported ...
Page 159: ...Chapter 8 Quality of Service 159 Figure 55 QoS Window ...

