Chapter 5: Installing Power Supplies and Optional XEM2 Line Card
132
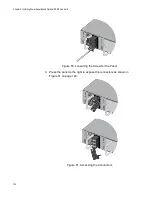
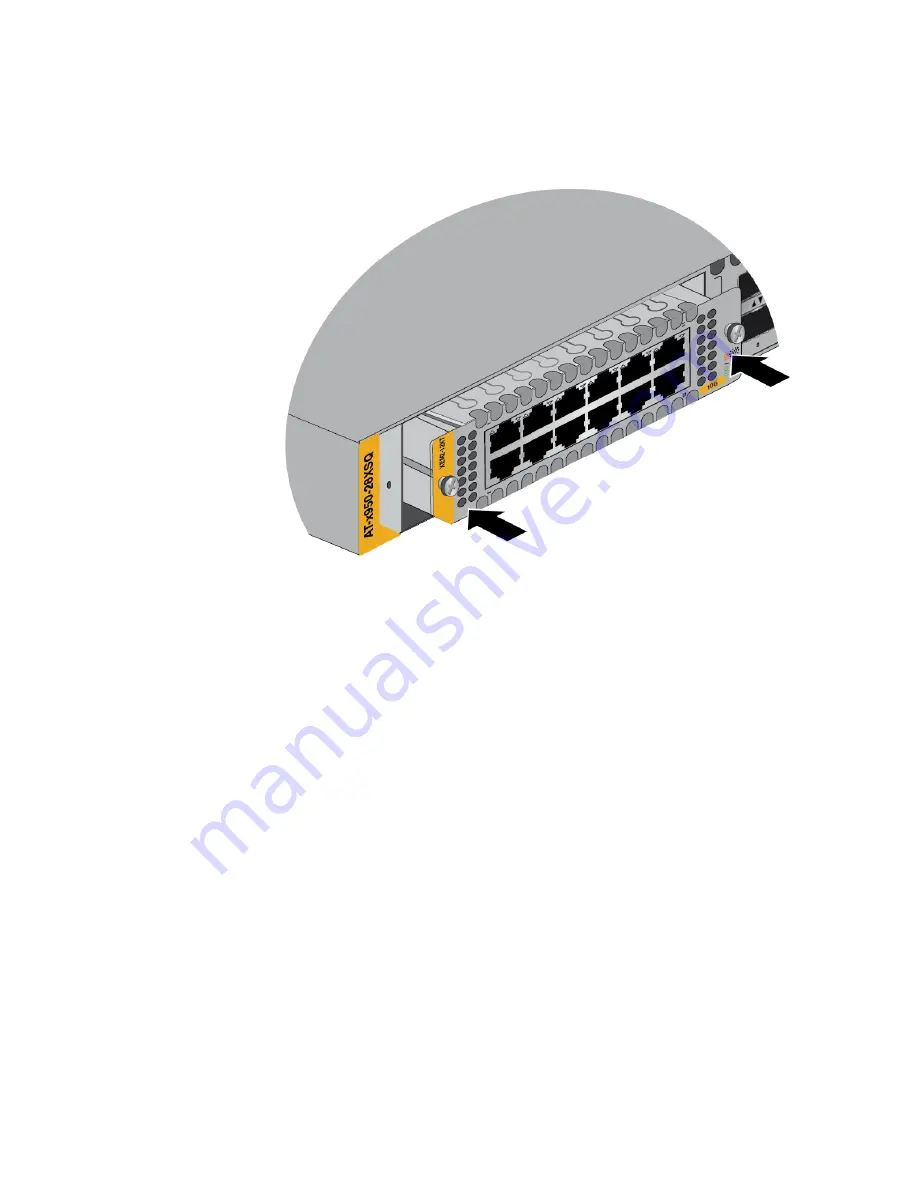
4. When the line card makes contact with the internal connector in the
switch. gently press on the sides of its faceplate to seat it on the
connector. Refer to Figure 75.
Figure 75. Seating the Ethernet Line Card in the Expansion Slot
5. Visually inspect the line card to verify that its faceplate is flush against
the front panel of the chassis.
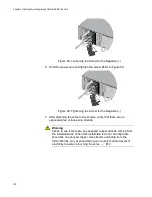
6. Tighten the two captive screws on the card to secure it in the switch.
Refer to Figure 76 on page 133.
Summary of Contents for x950 Series
Page 12: ...Figures 12 ...
Page 18: ...Preface 18 ...
Page 50: ...Chapter 1 Overview 50 ...
Page 70: ...Chapter 2 XEM2 Ethernet Line Cards 70 ...
Page 134: ...Chapter 5 Installing Power Supplies and Optional XEM2 Line Card 134 ...
Page 146: ...Chapter 7 Installing the Switch in an Equipment Rack 146 ...
Page 162: ...Chapter 8 Installing the Switch on a Wall 162 ...
Page 224: ...Chapter 12 Powering On and Verifying the Stack 224 ...
Page 256: ...Chapter 14 Replacing Modules 256 ...


