x950 Series Installation Guide for VCStack
157
The sides of the switch have two sets of holes. One set is for installing
the switch on a wall with the brackets and the other is for the RKMT-
SL01 Rack Mounting Kit. For this procedure, you need to use the
bracket holes, identified in Figure 82 on page 140.
3. After attaching the brackets to the side of the switch, have two people
hold the switch on the plywood base on the wall while you secure it
with the four provided screws. Refer to Figure 93.
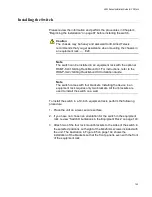
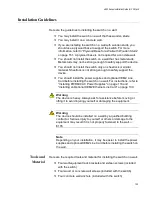
Please follow these guidelines as you position the switch on the wall:
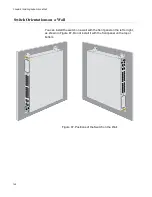
Position the switch so that the front panel is either on the left or the
right. Refer to Figure 87 on page 148. You may not install the
switch with the front panel facing up or down.
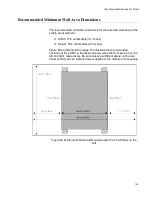
Leave sufficient space from other devices or walls so that you can
access the front and back panels. Refer to “Recommended
Minimum Wall Area Dimensions” on page 149.
Figure 93. Attaching the Switch to the Plywood Base
Summary of Contents for x950 Series
Page 12: ...Figures 12 ...
Page 18: ...Preface 18 ...
Page 50: ...Chapter 1 Overview 50 ...
Page 70: ...Chapter 2 XEM2 Ethernet Line Cards 70 ...
Page 134: ...Chapter 5 Installing Power Supplies and Optional XEM2 Line Card 134 ...
Page 146: ...Chapter 7 Installing the Switch in an Equipment Rack 146 ...
Page 162: ...Chapter 8 Installing the Switch on a Wall 162 ...
Page 224: ...Chapter 12 Powering On and Verifying the Stack 224 ...
Page 256: ...Chapter 14 Replacing Modules 256 ...

