x950 Series Installation Guide for VCStack
189
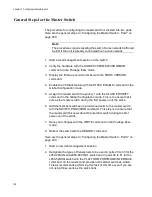
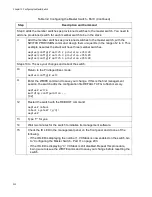
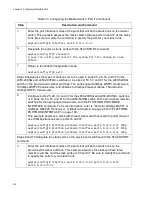
awplus(config)# platform portmode interface
port1.0.33,port1.0.37 100g
This example configures port 25 for a breakout cable:
awplus(config)# platform portmode interface port1.0.25
10gx4
This example restores the default settings for ports 49 and 53 to 40Gbps
QSFP+ transceivers:
awplus(config)# platform portmode interface
port1.0.49,port1.0.53 40g
For background information on port numbering, refer to “Designating Ports
in the Command Line Interface” on page 46.
STACKPORT
You use this command to designate the ports of the stack trunk. The
command has to be performed after you have enabled the stacking feature
with the STACK ENABLE command. Additionally, it has to be performed
from the Interface mode of the selected ports. In this example, ports 1 to 4
on the switch are designated as ports of the stack trunk:
awplus(config)# interface port1.0.1-1.0.4
awplus(config-if)# stackport
The command for removing the stacking function from ports is the NO
STACKPORT command. You might perform the command if you assign
the stacking function to the wrong ports or decide to change the trunk
ports. Like the STACKPORT command, it has to be performed from the
Interface mode, This example removes the stacking function from ports 6
and 8:
awplus(config)# interface port1.0.6,port1.0.8
awplus(config-if)# no stackport
As explained in “Designating Ports in the Command Line Interface” on
page 46, you need to adjust the PORT parameter depending on the ID
number of the switch. This example designates ports 33 and 37 as the
trunk ports on a switch with the ID number 2:
awplus(config)# interface port2.0.33,port2.0.37
awplus(config-if)# stackport
STACK
ENABLE
This command, which is located in the Global Configuration mode, is used
to activate the VCStack feature. Activating the VCStack feature requires
resetting the switch. You must perform this command before designating
the ports of the stack trunk with the STACKPORT command. Here is the
command:
awplus(config)# stack enable
Summary of Contents for x950 Series
Page 12: ...Figures 12 ...
Page 18: ...Preface 18 ...
Page 50: ...Chapter 1 Overview 50 ...
Page 70: ...Chapter 2 XEM2 Ethernet Line Cards 70 ...
Page 134: ...Chapter 5 Installing Power Supplies and Optional XEM2 Line Card 134 ...
Page 146: ...Chapter 7 Installing the Switch in an Equipment Rack 146 ...
Page 162: ...Chapter 8 Installing the Switch on a Wall 162 ...
Page 224: ...Chapter 12 Powering On and Verifying the Stack 224 ...
Page 256: ...Chapter 14 Replacing Modules 256 ...


