Using S-Mount lenses
19
S-Mount Lenses User Guide V1.1.0
Mounting and focusing S-Mount lenses
This section instructs on using Allied Vision S-Mount lenses with Alvium cameras
safely.
Actual fixing nuts may vary from the instruction drawings
.
We recommend using pinch nose pliers to tighten fixing nuts.
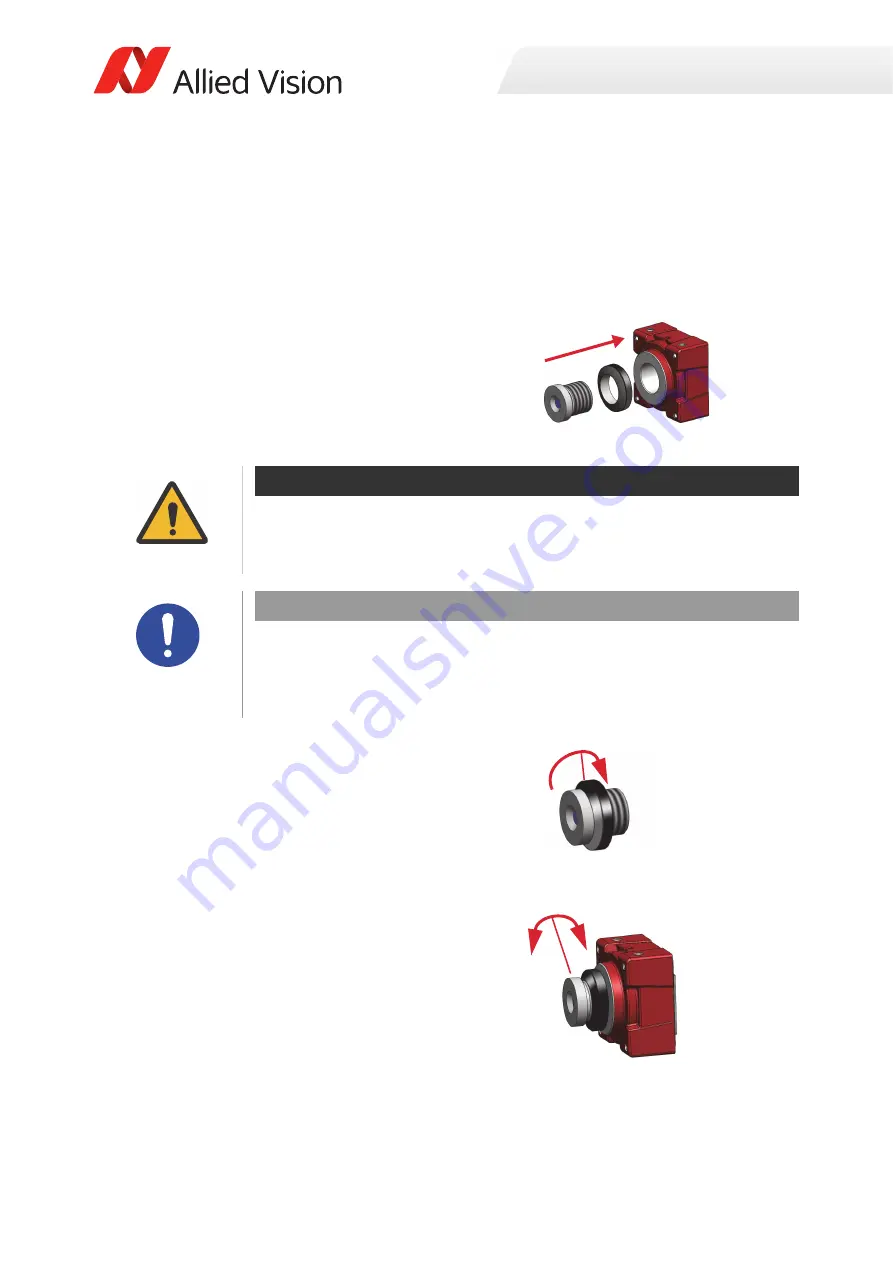
Figure 4
shows how fixing nuts
lock S-Mount lenses.
Follow the instructions to lock the lens in focus position.
Figure 4: Fixing nut locking an S-Mount lens
CAUTION
Cuts to the skin by sharp edges of lens mounts
The threads of the lens mount and the lens itself have sharp edges.
Be careful when mounting or unmounting lenses.
NOTICE
Damage to sensor, optics, or electronics by improper handling
If an S-Mount lens is screwed against the sensor or electronics, sensor, lens, or
electronics can be damaged.
Follow the instructions carefully.
Mounting the fixing nut to the lens
1. Screw the fixing nut clockwise onto the lens until you
can hold the front part (a) of the lens with your finger
tips.
Focusing the lens
Focus by live image. Avoid to screw in the lens deeper
than for infinity focus. For a rough estimation, see
2. Slowly screw the lens clockwise into the lens mount
until the image is roughly in focus.
3. Slowly screw in and unscrew the lens until you have
found the most accurate focus.
Figure 5: Lens and fixing Nut
Figure 6: Adjusting focus
a


