Preparing Cameras without
Sensor Cover Glass
Page 4 of 18
7. Instructions for Alvium bare board cameras – TCG
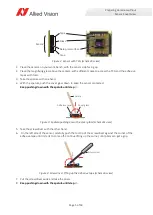
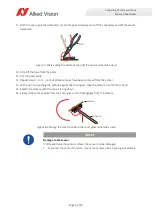
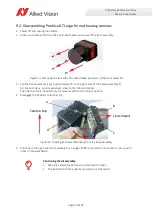
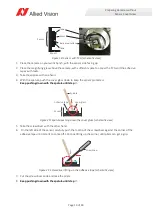
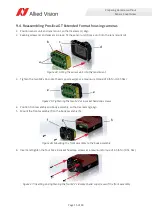
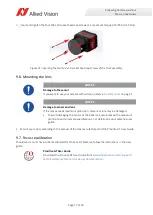
At delivery, sensors of TCG cameras are protected by the cover glass fixed by adhesive tapes. This section
instructs on removing these tapes and the cover glass. Note that you must mount bare board cameras into
housings immediately after the TCG has been removed.
NOTICE
Damage to the camera electronics and sensor
• Work in a dust-free environment (class 100 or better) with humidity according
to ESD requirements.
3.1. Electrostatic discharge (ESD)
• To protect the sensor from dirt, mount the camera into a housing immediately.
• Follow the instructions thoroughly.
NOTICE
Damage to sensor and lens
If the lens exceeds maximum protrusion, camera or lens may be damaged.
• To avoid damaging the sensor or the back lens, use lenses with a maximum
protrusion within camera specifications. For details, see your camera’s user
guide.
About the following instructions
The instructions consist of multiple steps. We recommend you to read the
instructions first to get an orientation on camera preparation.
Ease handling
• Use a magnifying glass for better view.
• Read the instructions thoroughly and keep tools at hand for camera
preparation.
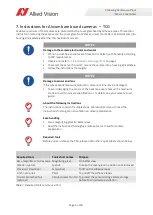
Required tools
Before you can remove the TCG, please obtain the required tools shown below.
Required tools
Tools short names
Purpose
Base magnifier or microscope Magnifying glass
For better view
Wooden spatula
Spatula
To keep the cover glass in position until removed
Precision screwdriver
Screwdriver
To lift up the adhesive tapes
Pinch nose pliers
Pliers
To pull off the adhesive tapes
Circular protection foil
(optional)
Circular protection foil To protect the sensor during camera storage
before final hardware installation
Table 2: Required tools to remove a TCG

