Preparing Cameras without
Sensor Cover Glass
Page 9 of 18
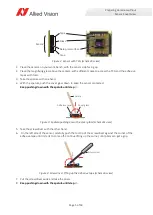
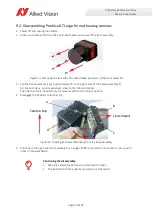
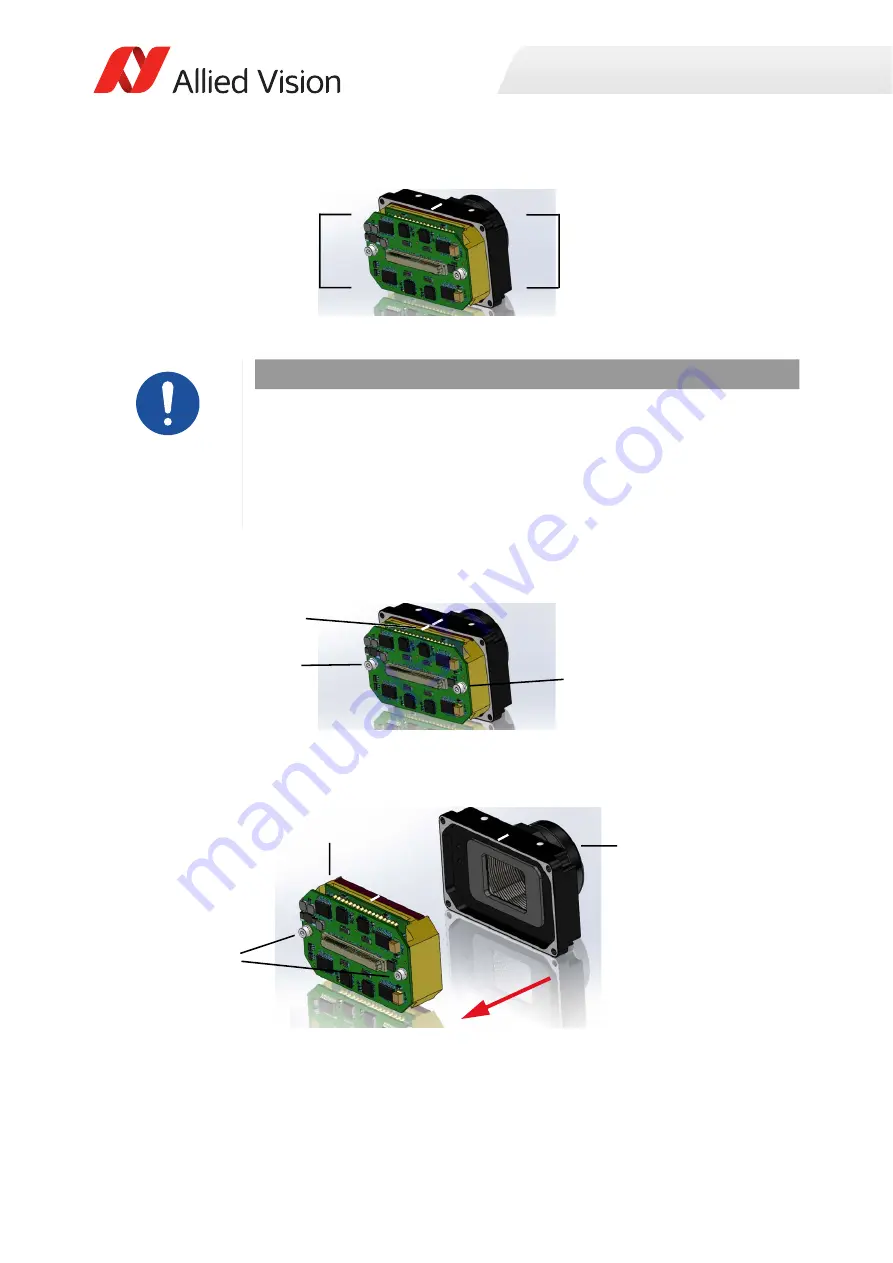
The front assembly consists of the sensor unit (d) and the lens mount (e). The sensor unit must be kept
in one piece to avoid damage to the sensor.
5. With a water resistant ink pen, draw a line (f) across the joint between sensor unit and front assembly.
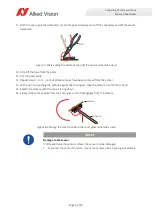
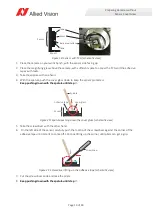
6. Loosen the two M2 x 16 socket head cap screws (g) of the sensor unit, keeping screws in place.
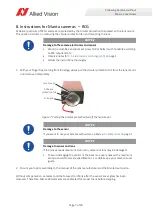
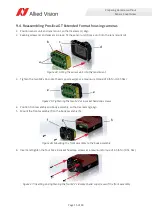
7. Keeping screws (h) in place, remove the sensor unit (i) from the lens mount (k).
• Continue with
9.3. Removing the taped cover glass
Figure 10: Front assembly overview: sensor unit and lens mount
NOTICE
Damage to the sensor
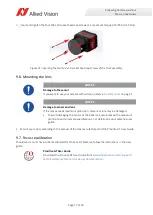
If you must reassemble the sensor unit, do not put the sensor surface down facing
the PCB, as it can damage the sensor.
• Keep the sensor unit in one piece.
• If PCBs have been separated, place the sensor PCB on top with the sensor
surface facing the lens mount.
Figure 11: Loosening the two M2 x 16 socket head cap screws
Figure 12: Removing the sensor unit from the lens mount
d
e
g
g
f
i
h
k

