507335-02
Page 31 of 39
Issue 2001
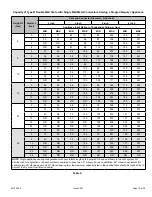
Capacity
Gas
Orifice
Size
0 - 7500
ft.
1
Orifice
Size
7501 -
10000 ft.
Manifold
Pressure in. w.g.
0 - 4500 ft.
Manifold
Pressure in. w.g.
4501 - 7500 ft.
Manifold
Pressure in. w.g.
7501 - 10000 ft.
2
Supply Line
Pressure
in. w.g.
Low
Fire
High
Fire
Low
Fire
High
Fire
Low
Fire
High
Fire
Min
Max
070
Natural
.063
.055
1.7
3.5
1.6
3.4
1.7
3.5
4.5
13.0
LP / propane
3
.034
.032
4.9
10.0
4.9
10.0
4.9
10.0
11.0
13.0
090
Natural
.063
.055
1.7
3.5
1.5
3.2
1.7
3.5
4.5
13.0
LP / propane
3
.034
.032
4.9
10.0
4.9
10.0
4.9
10.0
11.0
13.0
110
Natural
.063
.055
1.7
3.5
1.5
3.2
1.7
3.5
4.5
13.0
LP / propane
3
.034
.032
4.9
10.0
4.9
10.0
4.9
10.0
11.0
13.0
1
This is the only permissible derate for these units.
2
Natural gas high altitude orifice kit required.
3
A natural to L.P./propane gas changeover kit is necessary to convert this unit. Refer to the changeover kit installation instruction for
the conversion procedure.
NOTE
: Units may be installed at altitudes up to 4500 ft. above sea level without modifications.
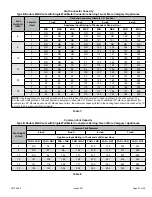
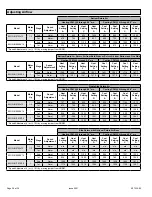
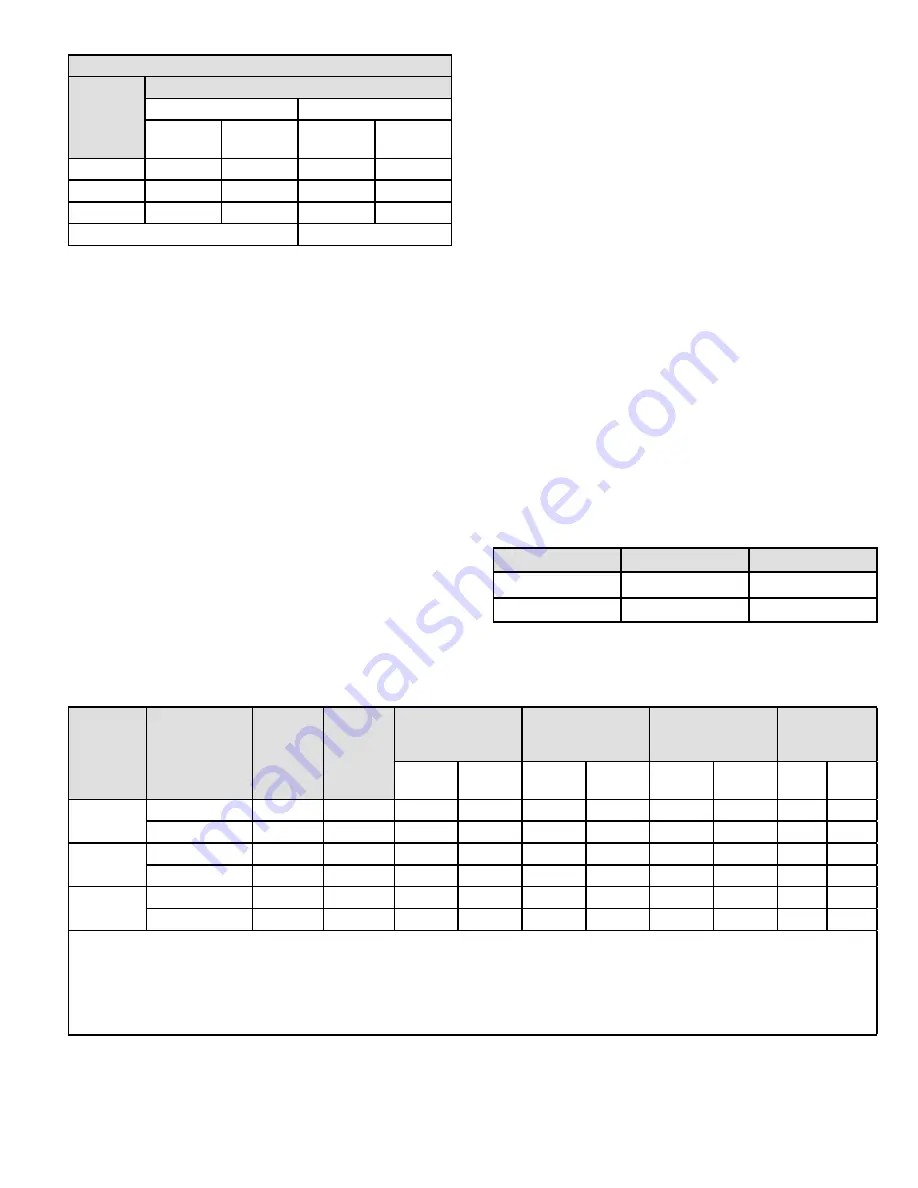
Table 15. Manifold Pressure Settings
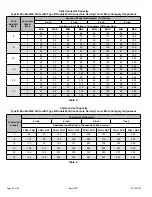
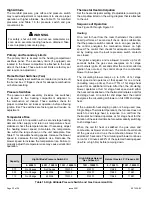
Gas Meter Clocking Chart
Capacity
Seconds for One Revolution
Natural
LP
1 cu ft
Dial
2 cu ft
Dial
1 cu ft
Dial
2 cu ft
Dial
-070
55
110
136
272
-090
41
82
102
204
-110
33
66
82
164
Natural - 1000 btu/cu ft
LP - 2500 btu/cu ft
Table 13.
Supply Line Pressure
A threaded plug on the inlet side of the gas valve provides
access to the supply pressure tap.
Honeywell Valve
1. Remove the threaded plug.
2. Install a field provided barbed fitting.
3. Connect a manometer.
White Rodgers Valve
1. Loosen threaded plug (removal not required).
2. Connect a manometer.
See Table 15 for supply line pressure. Replace or tighten
the threaded plug after measurements have been taken.
Manifold Pressure
NOTE:
A pressure test adapter kit is available to facilitate
manifold pressure measurement.
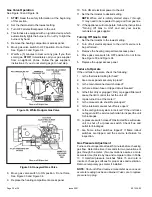
1. Connect test gauge to manifold pressure tap (Figure
33 and Figure 34) on gas valve.
2. Ignite unit on high fire and let run for 5 minutes to allow
for steady state conditions.
3. After allowing unit to stabilize for 5 minutes, record
manifold pressure and compare to value given in
4. If necessary, make adjustments. Figure 33 and Figure
34 show the location of high fire adjustment screw.
5. If an adjustment is made on high fire, re-check
manifold pressure on low fire. Do not adjust low fire
manifold pressure. If low fire manifold pressure is
more than 1/2” above or below value specified in Table
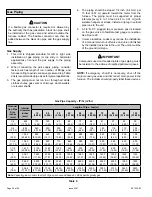
Proper Combustion
Furnace should operate a minimum 15 minutes with correct
manifold pressure and gas flow rate before checking
combustion. Take combustion sample beyond the flue
out let and compare to Table 14. The maximum carbon
monoxide reading should not exceed 100 ppm.
Table 14.
Firing Rate
CO2% for Nat
CO2% for L.P.
High Fire
6.8 - 7.4
7.5 - 9.0
Low Fire
4.2 - 5.7
5.0 - 6.0


