37
OPERATION
Raising
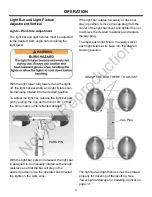
1. Before raising the light tower, adjust the
tower lights to the desired work position; see
Light Bar and Light Fixture Adjustment-
Laydown
on page 34.
2.
Start engine. Refer to your
Engine Opera-
tor’s Manual
for starting procedure.
3. Switch the 120V circuit breaker switch to the
ON position .
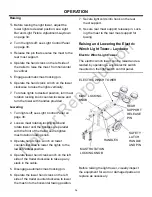
4. Release the pin that secures the mast to the
rear tower support.
5. Push the toggle switch to the UP position to
raise the tower from horizontal to vertical.
6. Turn lower black knob counterclockwise and
engage latch in strike plate. Retighten knob.
7. Remove Safety Latch pin
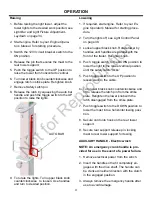
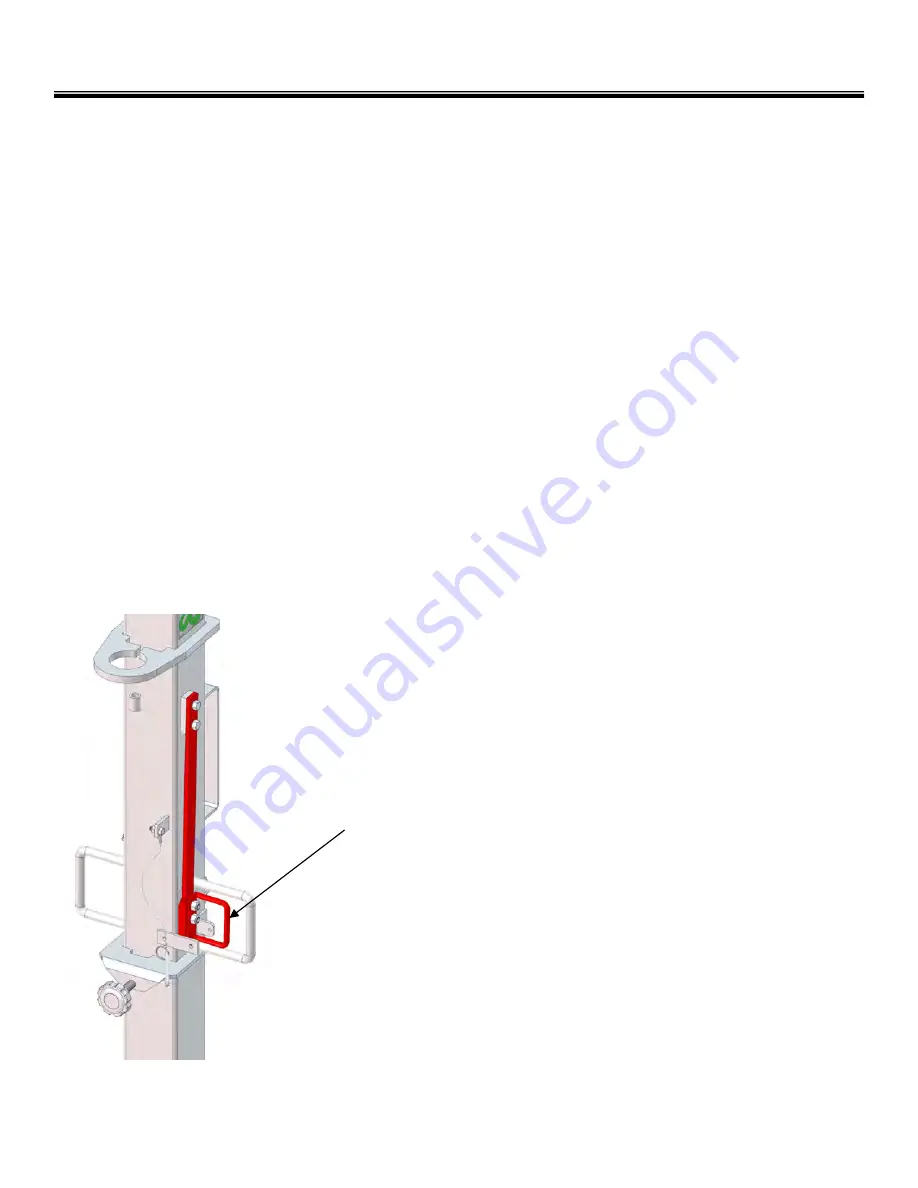
8. Release the latch by squeezing the auto bar
handle and push the toggle switch to the UP
position to raise the lights.
Lowering
1. If required, start engine. Refer to your
En-
gine Operator’s Manual
for starting proce-
dure.
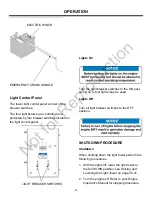
2. Turn the lights off; see
Light Control Panel
on page 38.
3. Loosen upper black knob. Rotate tower by
handles until handles are parallel with the
front of the trailer. Retighten knob.
4. Push toggle switch to the DOWN position to
lower the light to the lowest vertical position
until the safety latch “clicks”.
5. Push toggle switch to the UP position to
lessen slack in the cable.
AUXILIARY HANDLE - Electric winch
NOTE: An emergency crank handle is pro-
vided for use in the event of a power failure.
1. Remove electrical power from the winch.
2. Insert the handle so that it completely en-
gages with the drive shaft. The handle can
be cranked in either direction with the clutch
in the engaged position.
3. Always remove the emergency handle after
use to avoid damage.
6. Turn lower black knob counterclockwise and
lift to release the latch pin from the strike
plate. Retighten the lower knob with the
latch disengaged from the strike plate.
7. Push toggle switch to the DOWN position to
lower the mast into a horizontal towing posi-
tion.
8. Secure cord onto hook on the rear tower
support.
9. Secure rear support release pin, locking
mast to rear tower support for towing.
9. To rotate the lights. Turn upper black knob
counterclockwise to loosen. Use handles
and turn to desired position.
AUTO BAR
Not
for
Reproduction
Summary of Contents for MAXI-LITE AS3000
Page 46: ...46 MAINTENANCE RECORD DATE SERVICE DESCRIPTION SERVICED BY N o t f o r R e p r o d u c t i o n...
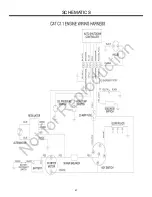
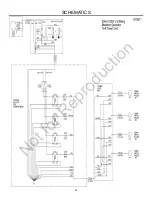
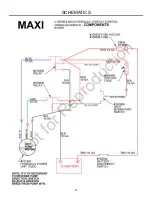
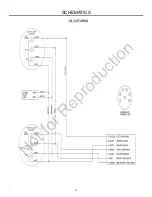
Page 47: ...47 SCHEMATICS N o t f o r R e p r o d u c t i o n...
Page 48: ...48 SCHEMATICS N o t f o r R e p r o d u c t i o n...
Page 49: ...49 SCHEMATICS N o t f o r R e p r o d u c t i o n...
Page 50: ...50 SCHEMATICS N o t f o r R e p r o d u c t i o n...
Page 51: ...51 SCHEMATICS N o t f o r R e p r o d u c t i o n...
Page 52: ...52 WARRANTY N o t f o r R e p r o d u c t i o n...
Page 53: ...53 WARRANTY N o t f o r R e p r o d u c t i o n...

