30
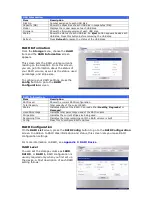
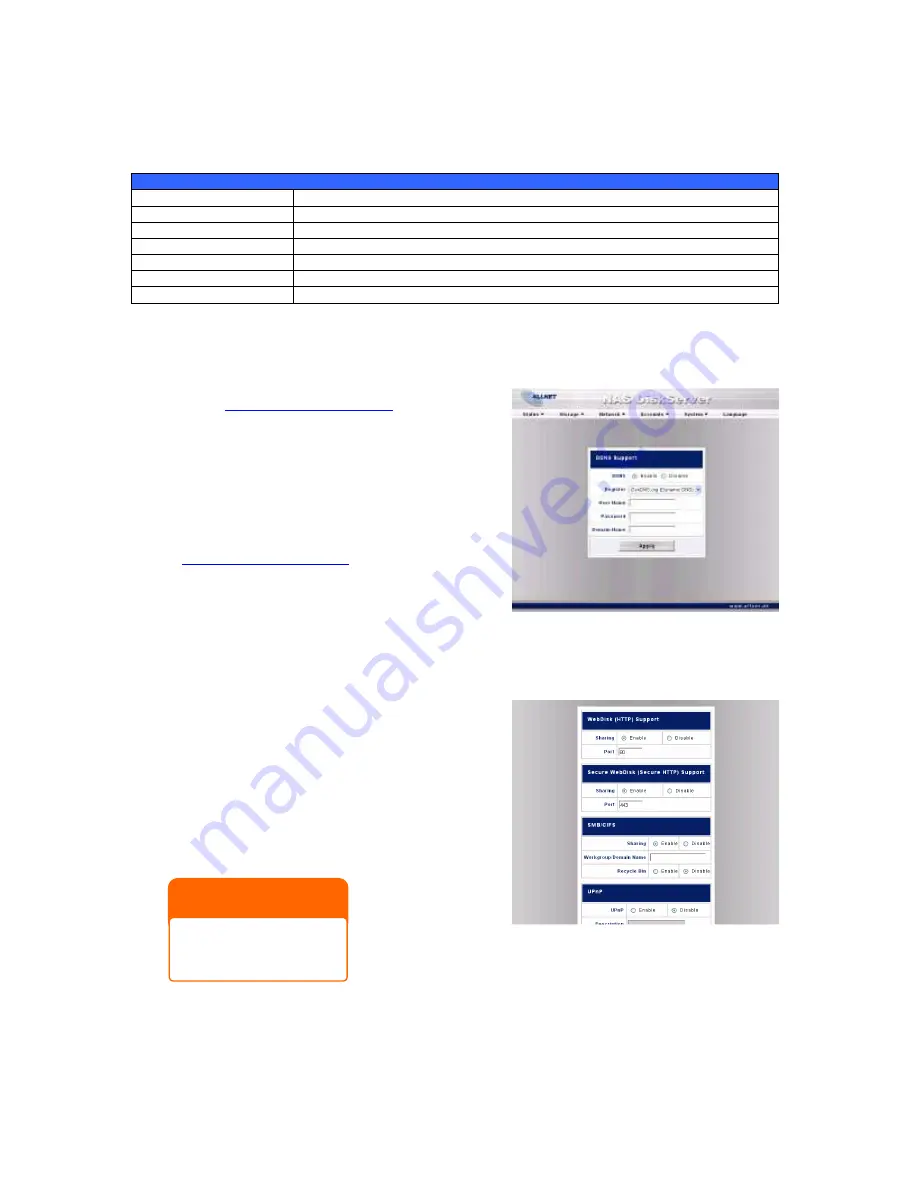
DDNS Configuration
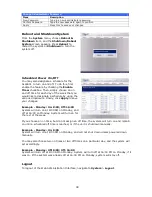
From the
Network
menu, choose the
DDNS
item, and the
DDNS Support
screen appears.
You can change any of these items and press
Apply
to confirm your settings. A description of
each item follows:
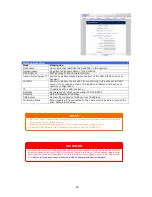
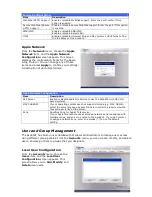
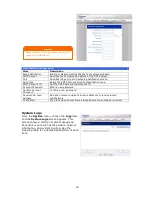
DDNS Support
Item
Description
DDNS
Enable or disable DDNS support.
Register
Enter your desired DDNS server here.
User Name
Enter your user name.
Password
Enter your password or DDNS key.
Domain Name
Enter your host name (i.e. ALL6501 .dyndns.org)
Apply
Click to save your changes.
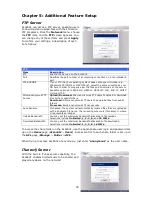
Typical DDNS Configuration Procedure
To setup DDNS on your ALL6501, follow the steps below:
1.
Go to
http://www.dyndns.org
from your
home PC.
2.
Click on the
Sign up Now
link.
3.
Check the check boxes, select a user name
(i.e.: ALL6501), enter your E-mail address
(i.e.: xxx@example.com), check
Enable
Wildcard
, and create a password (i.e.:
xxxx).
4.
Wait for an E-mail from
http://www.dyndns.org
.
5.
Open the email and click on the link to
activate your account.
6.
Once your account is activated, enter the
DDNS server, user name, password, and host name into the
DDNS Support
screen.
7.
Click
Apply
to save your changes.
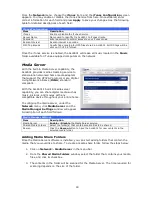
Services Configuration
From the
Network
menu, choose the
Service
item, and the
Web
Service
screen appears. This
screen displays the service support parameters of
the system. You can change any of these items and
press
Apply
to confirm your settings. A description
of each item follows:
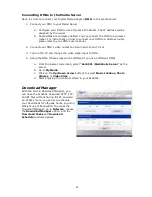
NOTE
Disable HTTP support and
Enable Secure HTTP
support to guarantee
secure access.


