33
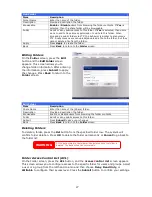
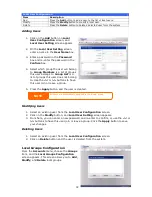
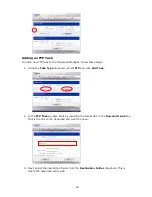
Adding Groups
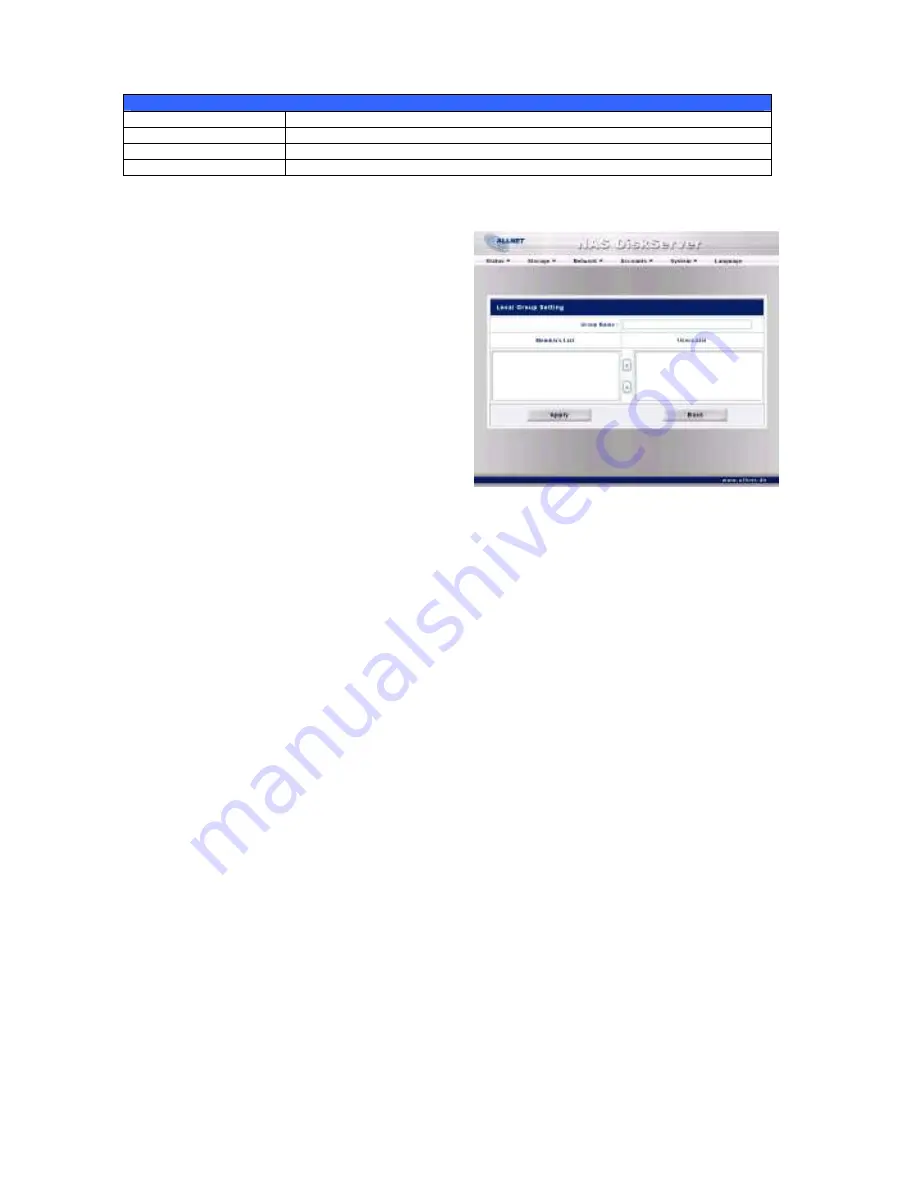
1.
On the
Local
Group Configuration
screen, click on the
Add
button.
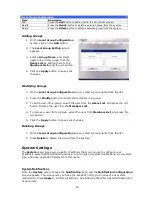
2.
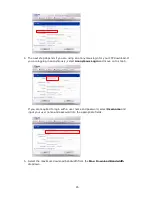
The
Local Group Setting
screen
appears.
3.
Enter a
Group Name
, and select
users to be in this group from the
Users List
by adding them to the
Members List
using the
<<
button.
4.
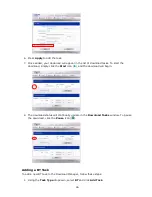
Click the
Apply
button to save your
changes.
Modifying Groups
1.
On the
Local
Group Configuration
screen, select a group name from the list.
2.
Press the
Modify
button to modify the members in a group.
3.
To add a user into a group, select the user from the
Users List
, and press the
<<
button to move the user into the
Members List
.
4.
To remove a user from a group, select the user from
Members List
, and press the
>>
button.
5.
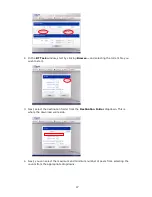
Click the
Apply
button to save your changes.
Deleting Groups
1.
On the
Local
Group Configuration
screen, select a group name from the list.
2.
Press
Delete
to delete the group from the system.
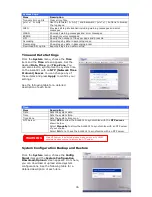
System Settings
The
System
menu gives you a wealth of settings that you can use to configure your
ALL6501’s system administration functions. You can set up system notifications, view system
logs, and even upgrade firmware from this menu.
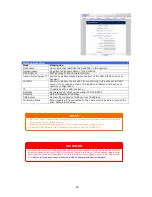
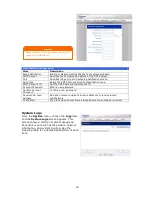
System Notifications
From the
System
menu, choose the
Notification
item, and the
Notification Configuration
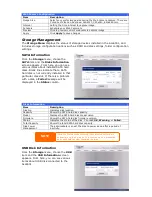
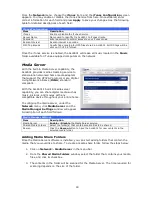
screen appears. This screen lets you have the ALL6501 notify you in case of any system
malfunction. Press
Apply
to confirm all settings. See following table for a detailed description
of each item.
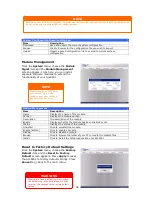
Local Groups Configuration
Item
Description
Add
Press the
Add
button to add a user to the list of local groups.
Modify
Press the
Modify
button to delete a selected group from the system.
Delete
Press the
Delete
button to delete a selected group from the system.

