40
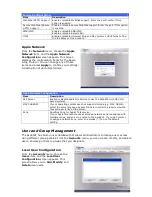
From the
Network
menu, choose the
iTunes
item, and the
iTunes Configuration
screen
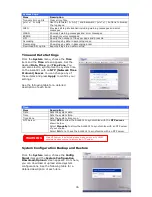
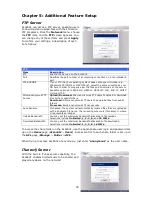
appears. You may enable or disable the iTunes Service from here. Once enabled, enter
correct information for each field and press
Apply
to save your changes. See the following
table for detailed descriptions of each field:
iTunes Configuration
Item
Description
iTunes
Enable or disable the iTunes Service.
Server Name
Name used to identify the ALL6501 to iTunes clients.
Password
Enter password to control access to your iTunes music.
Rescan Interval
Rescan interval in seconds.
MP3 Tag Encode
Specify tag encoding for MP3 files stored in ALL6501. All ID3 tags will be
sent out in UTF-8 format.
Once the iTunes service is enabled, the ALL6501 will make all music located in the
Music
folder available for iTunes-equipped computers on the network.
Media Server
With the built-in Media Server capability, the
ALL6501 provides media streaming service to
stand-alone networked home media adapters
that support the UPnP AV protocol or are Digital
Living Network Alliance (
DLNA
) standard
compliant.
With the ALL6501’s built-in media server
capability, you can share digital media such as
music, pictures, and movies with any
compatible device throughout your entire home.
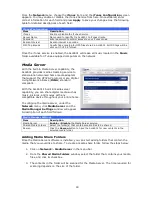
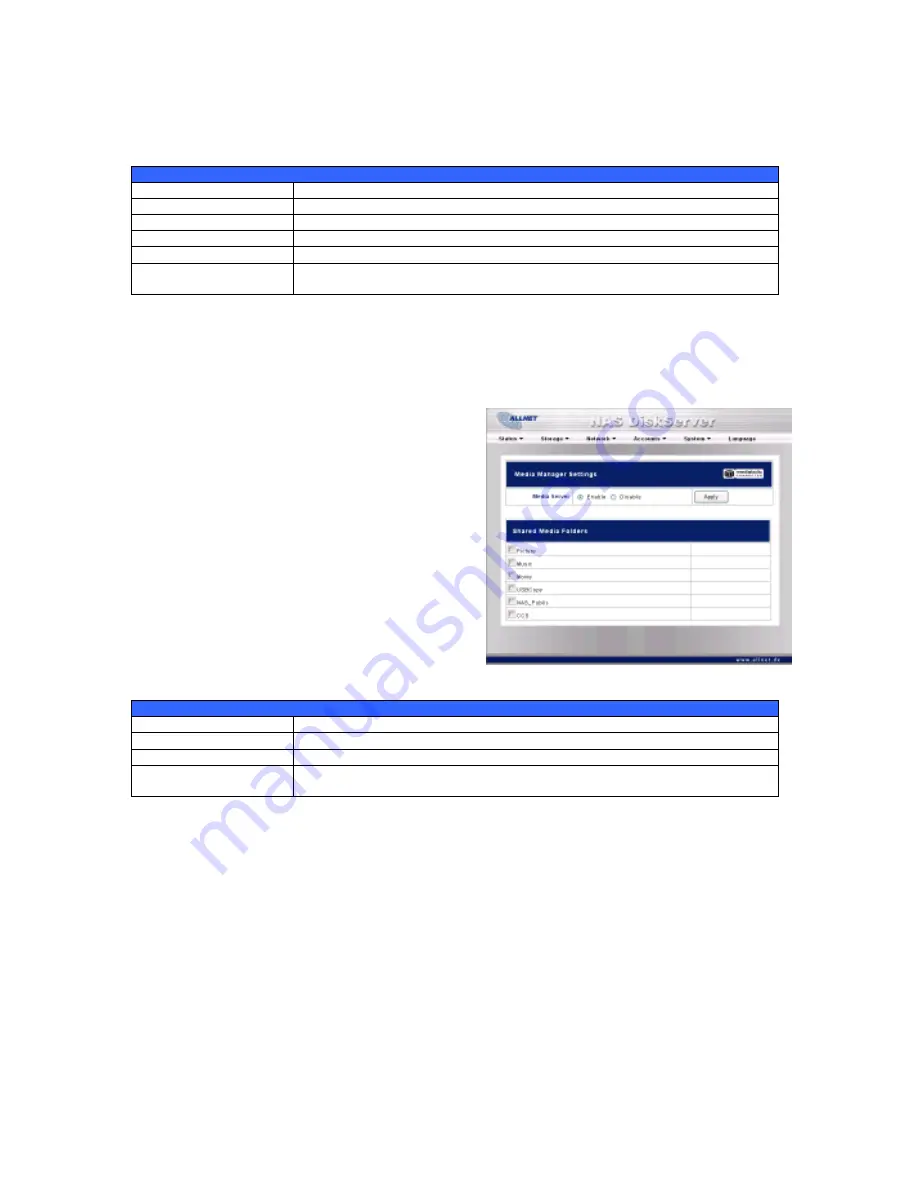
To configure the media server, under the
Network
menu, click
Media Server
and the
Media Manager Settings
window will appear.
A description of each field follows:
Media Manager Settings
Item
Description
Media Server
Enable
or
Disable
the Media Server service.
Shared Media Folders
Select the folder(s) that contains media files to be shared.
Rescan
Click the
Rescan
button to have the ALL6501 for new contents in the
selected media folder.
Adding Media Share Folders
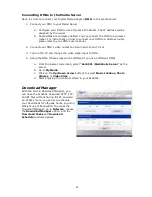
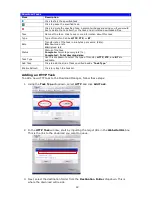
Once the Media Server software is installed, you can start adding folders that contain the
media that you would like to share. To create a media share folder, follow the steps below:
1.
Click on
Network
>
Media Server
in the menu bar.
2.
From the
Shared Media Folders
window, select the folder that contains your media
files, and click its checkbox.
3.
The contents in the folder will be scanned for the Media Server. The time required for
scanning depends on the size of the folder.

