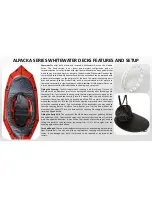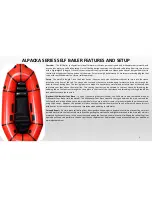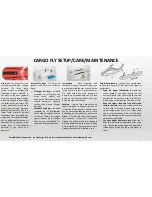
ALPACKA SERIES CRUISER DECK FEATURES AND SETUP
6
Overview
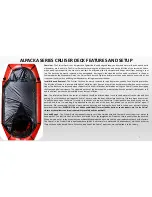
- The Cruiser Deck is our simplest and lightest deck and designed keep you drier and warmer than an open boat in
whitewater, wind, and rain. The Cruiser Deck attaches along the left boat tube and up the left side of the torso with Velcro,
which easily comes apart in the event of a wet-exit. An inflatable pillow sheds water and keeps water from pooling in your
lap. The deck can be mostly removed when not needed, leaving only the zippered outline and a small panel in the bow.
Compared with the Whitewater Decks, the Cruiser Deck is much lighter and simpler with no extra parts to keep track of, but
is not nearly as dry when paddling in whitewater or taking waves over the bow.
Installation and Removal
- The Cruiser Deck can be mostly removed for nice days when you don’t need splash protection.
The left side of the deck is secured with Velcro® while the right, front and rear of the deck are secured with a water resistant
zipper. The deck can be removed when the packraft is either inflated or deflated by pulling the Velcro® free and unzipping
the front and side/rear zippers. The zippered portion of the deck should be reinstalled when the packraft is deflated or soft,
and the Velcro® portion can be installed at any state of inflation.
Use
- The inflatable pillow in the center of the deck should be inflated when in use to shed water off to the side and limit
pooling. To enter the deck, pull open the Velcro® closure, enter the boat, and reclose the Velcro® closure around your waist.
To exit the deck, open the Velcro® closure. In the event of a capsize, the Velcro® is designed to free itself as you exit the
packraft and there is a webbing loop attached to the left side of the boat that allows you to pull the Velcro® open if
necessary. We recommend that you always practice entering and exiting the deck before taking your packraft into any
hazardous conditions.
WARNING: Do not add any additional closures (hooks, buttons, snaps, zippers, etc.) to the Velcro®
closure as these items can impair your ability to safely exit the packraft.
Care and Repair
- The Cruiser Deck components require very little maintenance and there are no extra parts or pieces to
keep track of. The fabric in the Cruiser Deck is selected for its lightweight and will wear out more quickly than the packraft.
When it wears out or in the event that you accidentally damage the deck, we can fit a new replacement deck at the factory.
The Velcro® in the Cruiser Deck is a polyester base (which is necessary for a water and UV exposed use), which has a shorter
lifespan than a nylon based Velcro. When the loop nap of the Velcro® wears out, we can replace it at the factory.


