___________________________________________________________________
Alpha ESS Co., Ltd.
Page 22
Your Smart Energy
Installation
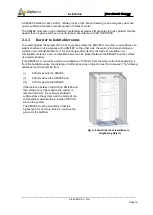
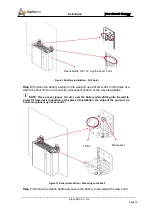
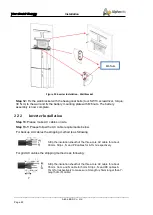
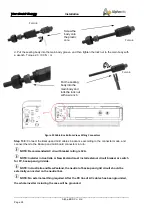
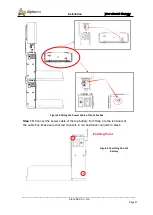
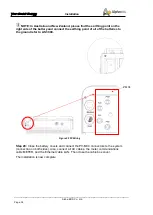
Figure 22 Inverter Installation - Wall Bracket
Step 12:
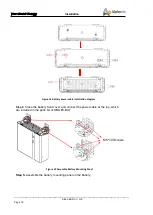
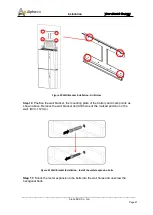
Fix the wall bracket with the hexagonal bolts (tool: SW13 screwdriver, torque:
30 N.m) to the wall and fix the battery mounting plate with M6 nuts. The battery
assembly is now complete.
2.2.2
Inverter Installation
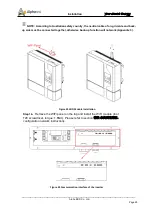
Step 13
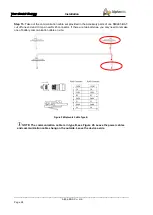
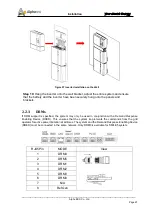
: Please make AC cables on site.
Step 13-1:
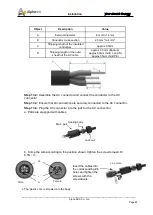
Please follow the AC cable requirements below.
For backup AC cables the stripping method is as following:
Strip the insulation sheath of the three-core AC cable for about.
30mm. Strip L, N and PE cables for 6-7mm respectively.
For grid AC cables the stripping method is as following:
Strip the insulation sheath of the three-core AC cable for about
35mm. Cut L and N cable for 5mm. Strip L, N and PE cables 6-
7mm for respectively to make sure X-length is 5mm longer than Y-
length of L/ N cable.
M6 Nuts
Y

