8
LOW BATTERY
WARN
I NG
LOW
BATTERY
SHUTDOW N
LINE PRESENT
LINE FAILURE
SERVICE
T E S T
A LP H A
T ECHNO LOGIES
ALARM
OFF
OUTPUT LOAD
OVERLOAD
100 %
75 %
50 %
25 %
MANUAL
START
2. FEATURES
2.4
Information Management Options
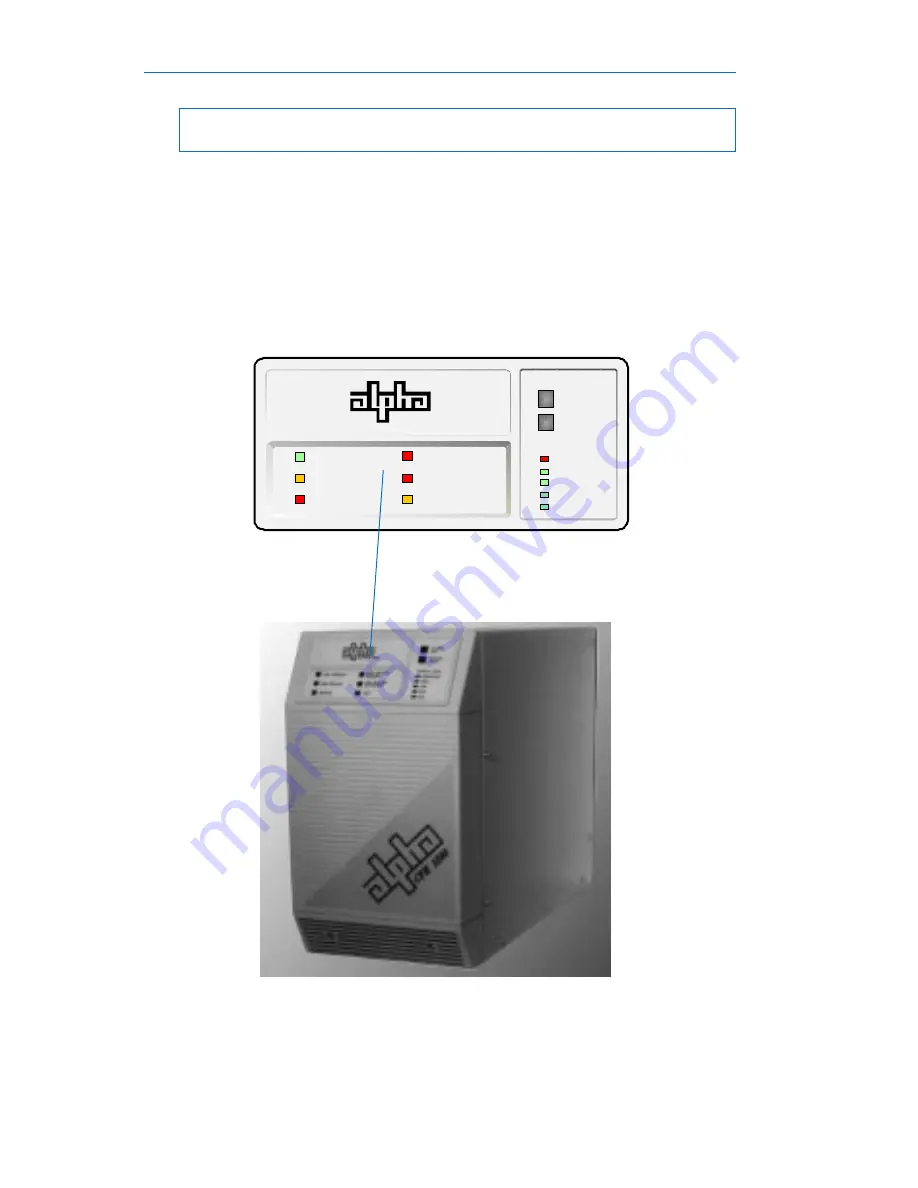
Standard Interface Device
The Standard Interface Device provides you with vital UPS operating
parameters from front panel LEDs (see section 4.4). The Standard Interface also
has a load indicator to help you determine precise loading on your UPS, plus
Manual Star t and Alarm Off switches. To ensure optimum backup performance,
the Standard Interface comes with a self-test feature which lights the “Service”
LED whenever a problem is detected.
Fig. 3
CFR Front Panel with Standard Interface Device
65
6. MAINTENANCE
Fig. 37
Front Panel Removal
6.4
Removing the CFR Front Panel and Cover
CAUTION: Inter nal maintenance should be performed only by qualified
personnel.
1. Disconnect all loads from the OUTPUT receptacles on the UPS.
2. Switch the rear panel BATTERY circuit breaker OFF.
3. Disconnect the UPS from the AC wall receptacle.
4. If an external battery pack is connected to the UPS, remove the connector
from the UPS rear panel.
5. Loosen the two (2) Phillips screws from the UPS front panel (located in the
lower grill). Carefully pull the lower part of the front panel away from the
UPS and lift the panel straight up.
6. Remove the twelve (12) Phillips screws from the sides and rear of the UPS.
7. Carefully lift the cover upward until it clears the chassis.
Cover Screws
(6 on each side)
Front Panel Screws
Requires
Phillips Screwdriver


