14
2. INSTALLATION
2.2 Wall Mounting
WARNING: The UPS is heavy (75 lbs; 34 kg). Use proper lifting tech-
niques.
Tools Required
•
Phillips Screwdriver
•
Wrenches to fit
1
/
4
and
5
/
16
inch bolts
•
Electric Drill and
5
/
16
inch bits
•
Wall Mounting Hardware Kit (Shipped with the UPS)
DANGER: Read the safety instructions in the introduction of this manual.
PURPOSE: Describes how to wall or host mount the
UPS (Figures 2.1, 2.2, 2.3, 2.4).
WARNING: The rain–proof Type 3R enclosure provides weather
protection in normal operating conditions. Where there is a risk of snow
buildup or flooding, mount the UPS as high as possible. The mounting
location must be sheltered from road splash.
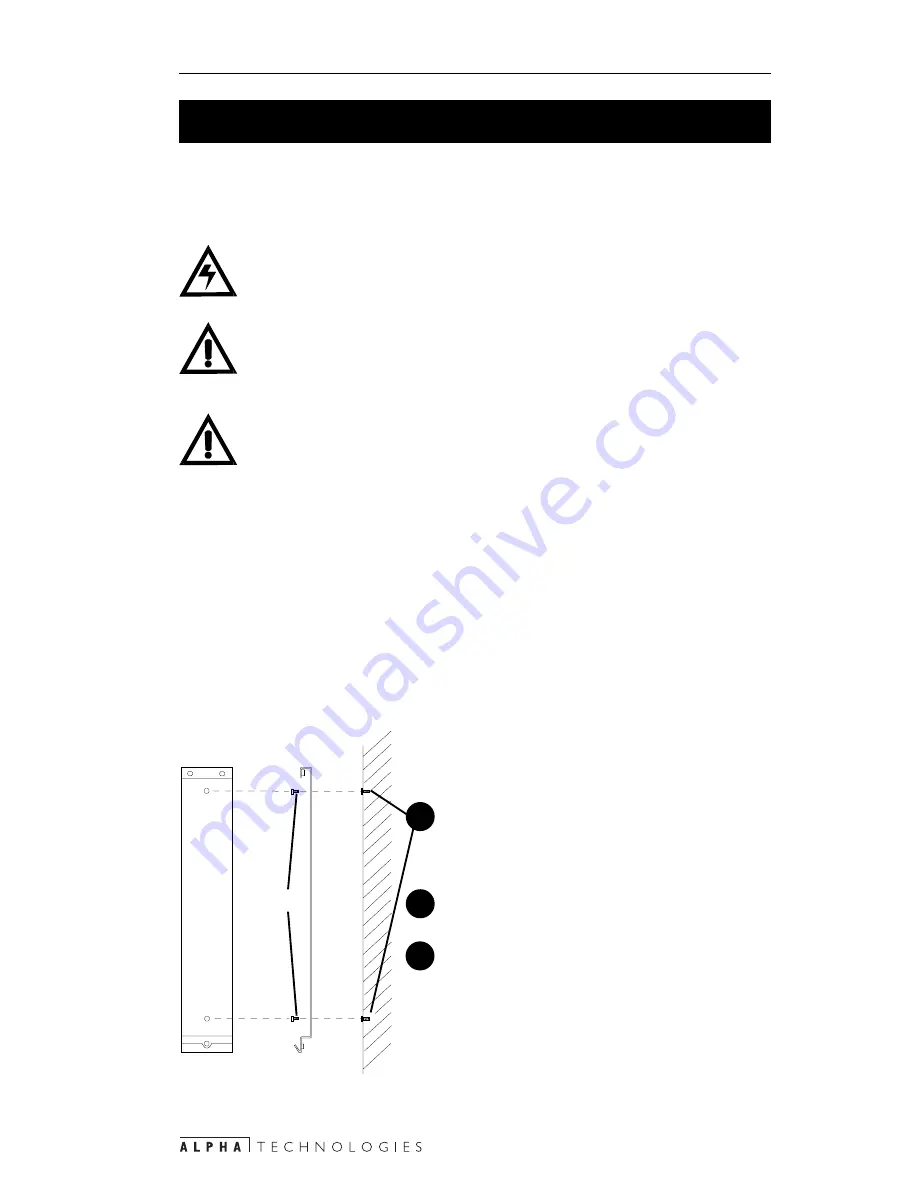
Ensure the two bolts can be tightened from
inside the host. Make sure wiring is not
damaged and the bolts don't touch moving
parts.
Place the mounting bracket on the host and
make scribe marks for the two mounting bolts.
Remove the bracket and drill two holes for
1
/
4
inch bolts. Clean away any metal fillings from
inside the host and around the holes.
Figure 2.1
Positoning the Mounting Bolts on the Host
Two
1
/
4
inch
bolts
Procedure
STEP 1: Install the Mounting Bracket
1
3
2


